Goblins, after serving as the punching bags for every elf and dwarf in the fantasy realms, they finally decided it was time for a career change.
Tired of the brawls, they’ve traded their mischievous ways to become cute little companions, content to sit idly on your shelf and enjoy the view.
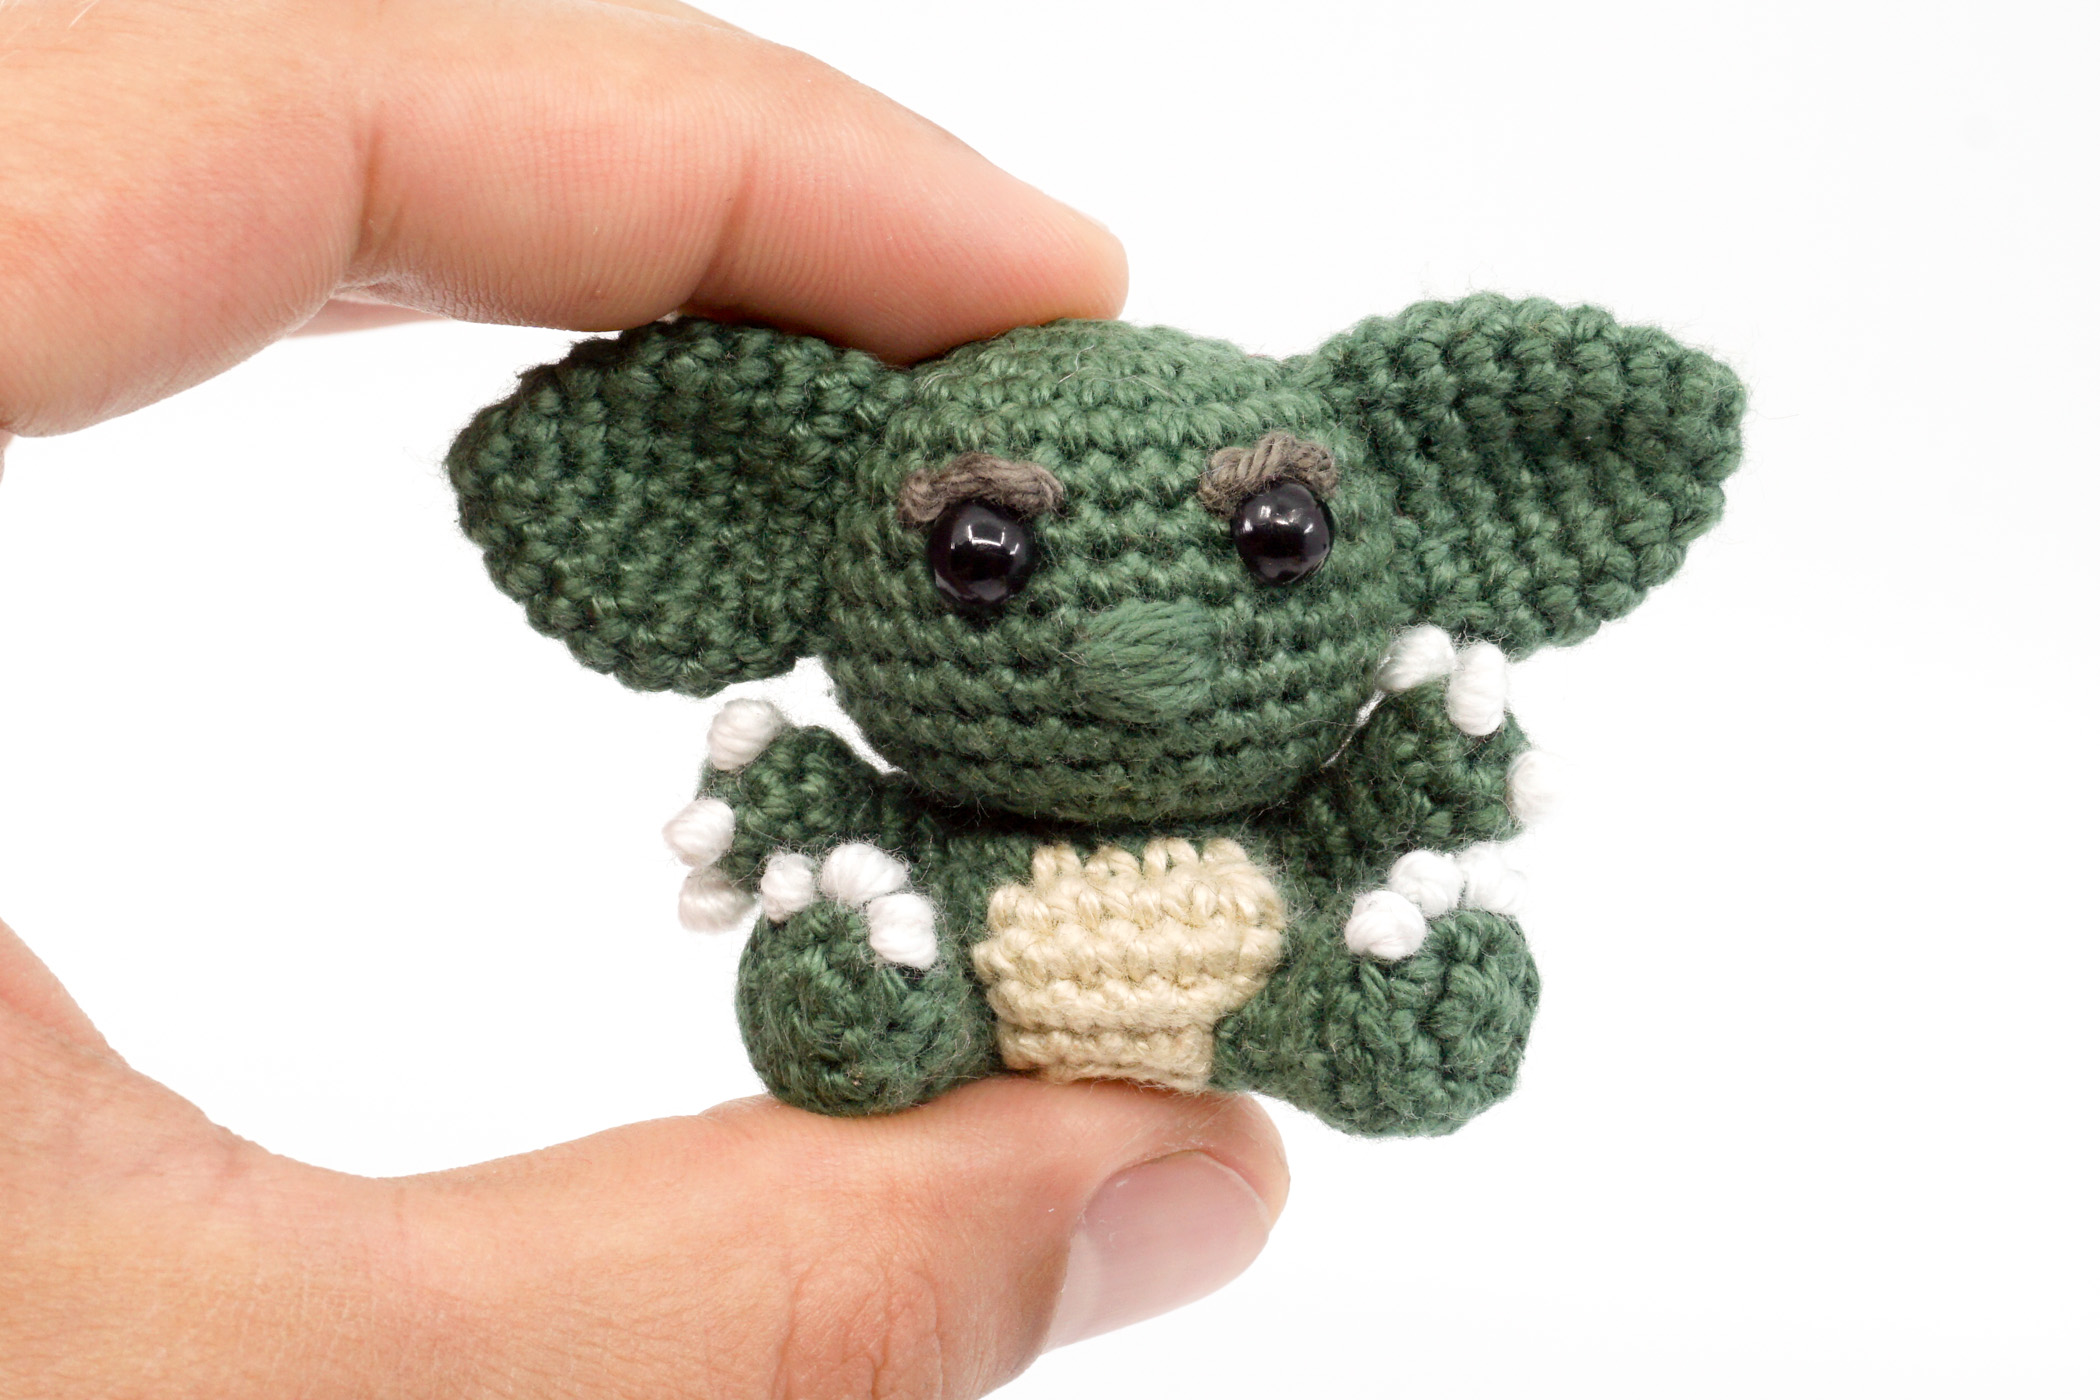
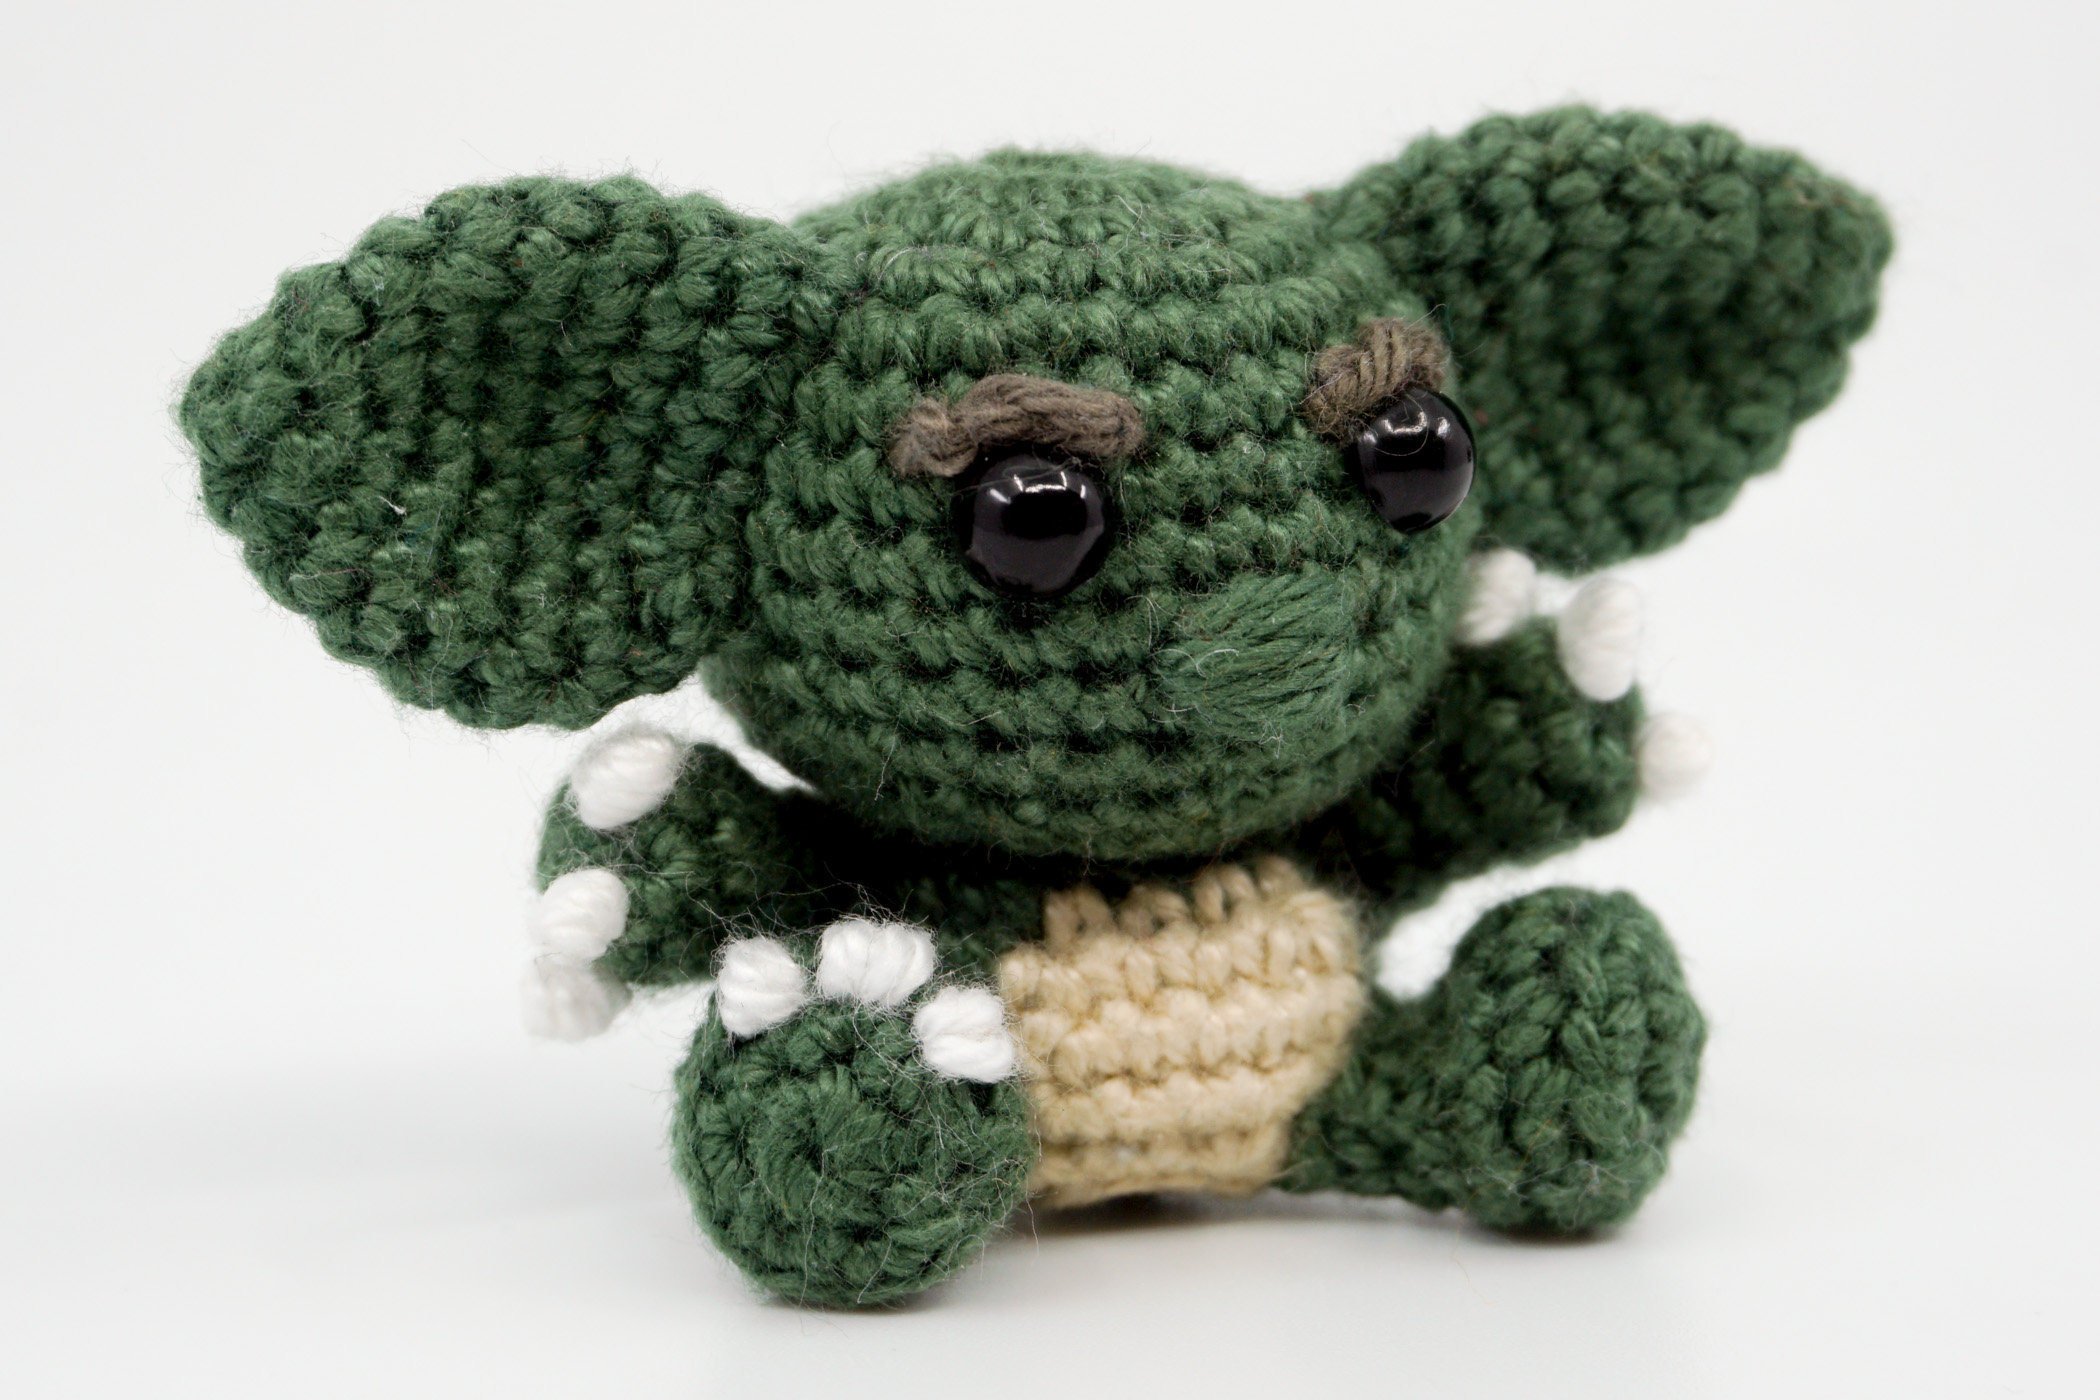
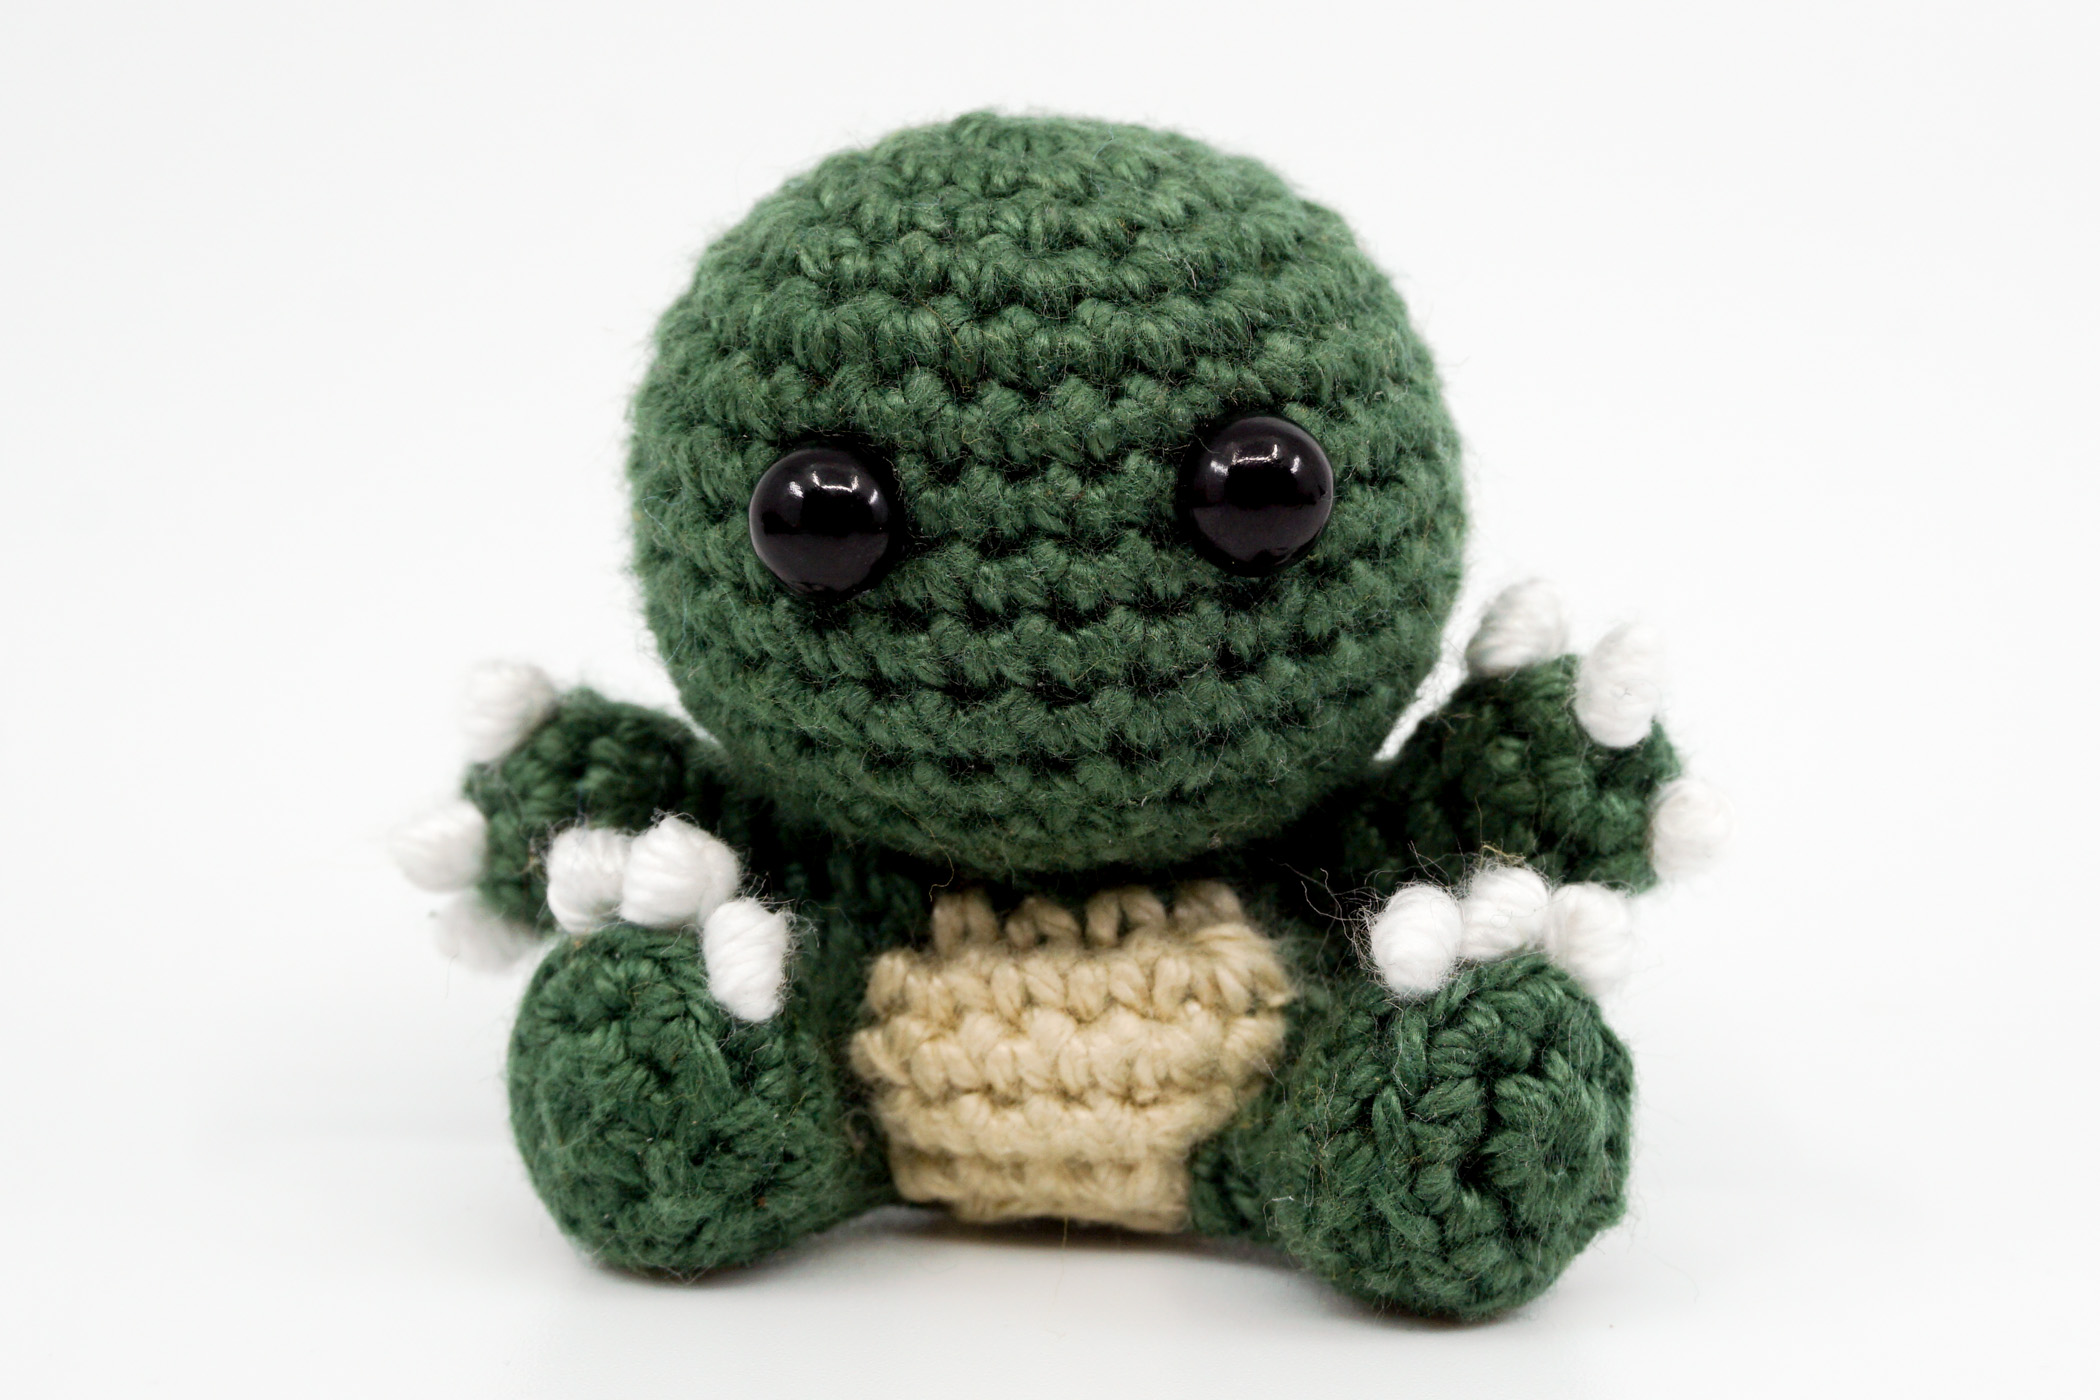
If you would like to rescue one of these misunderstood critters from those pesky elves and dwarves, now is your chance to crochet your own little goblin and give it a cozy new life perched among your treasures.
This crochet goblin is crocheted only with single crochet stitches in spiral rounds and is easy to crochet.
The depicted amigurumi goblin has been crocheted with the “Schachenmayr Catania” yarn with a 2.5 mm crochet hook and has sitting a height of 4.5 cm.


Free Goblin Crochet Pattern
ATTENTION: The pattern, in whole or in parts, may not be published, resold, translated, changed or exchanged in any way whatsoever!
Needed Techniques
- Slip Knot
- Magic Ring
- Chain Stitch
- Single Crochet (sc)
- Increase
- Decrease
- Crochet into Front and Back Loop
- Color Change
- Close Openings
- Sewing
Needed Materials and Tools
To order the materials click on the respective link (affiliate link).
- Colors: white, green, greenbrown, sand
- This pattern was crocheted using the “Schachenmayr Catania” yarn (100% Cotton, Meterage: 125 m, Yarn Ball Weight: 50 g, Yarn Weight: Sport – 5ply / Fine (2)) in the following colors:
- White (Weiß (106)), Pine (Tannenbaum (419)), Fango (Fango (387)), Sand (Sand (404))
- 2.5 mm Crochet Hook
- 6 mm Safety Eyes
- Polyfill
- Scissors
- Tapestry Needle
- Stitch Marker
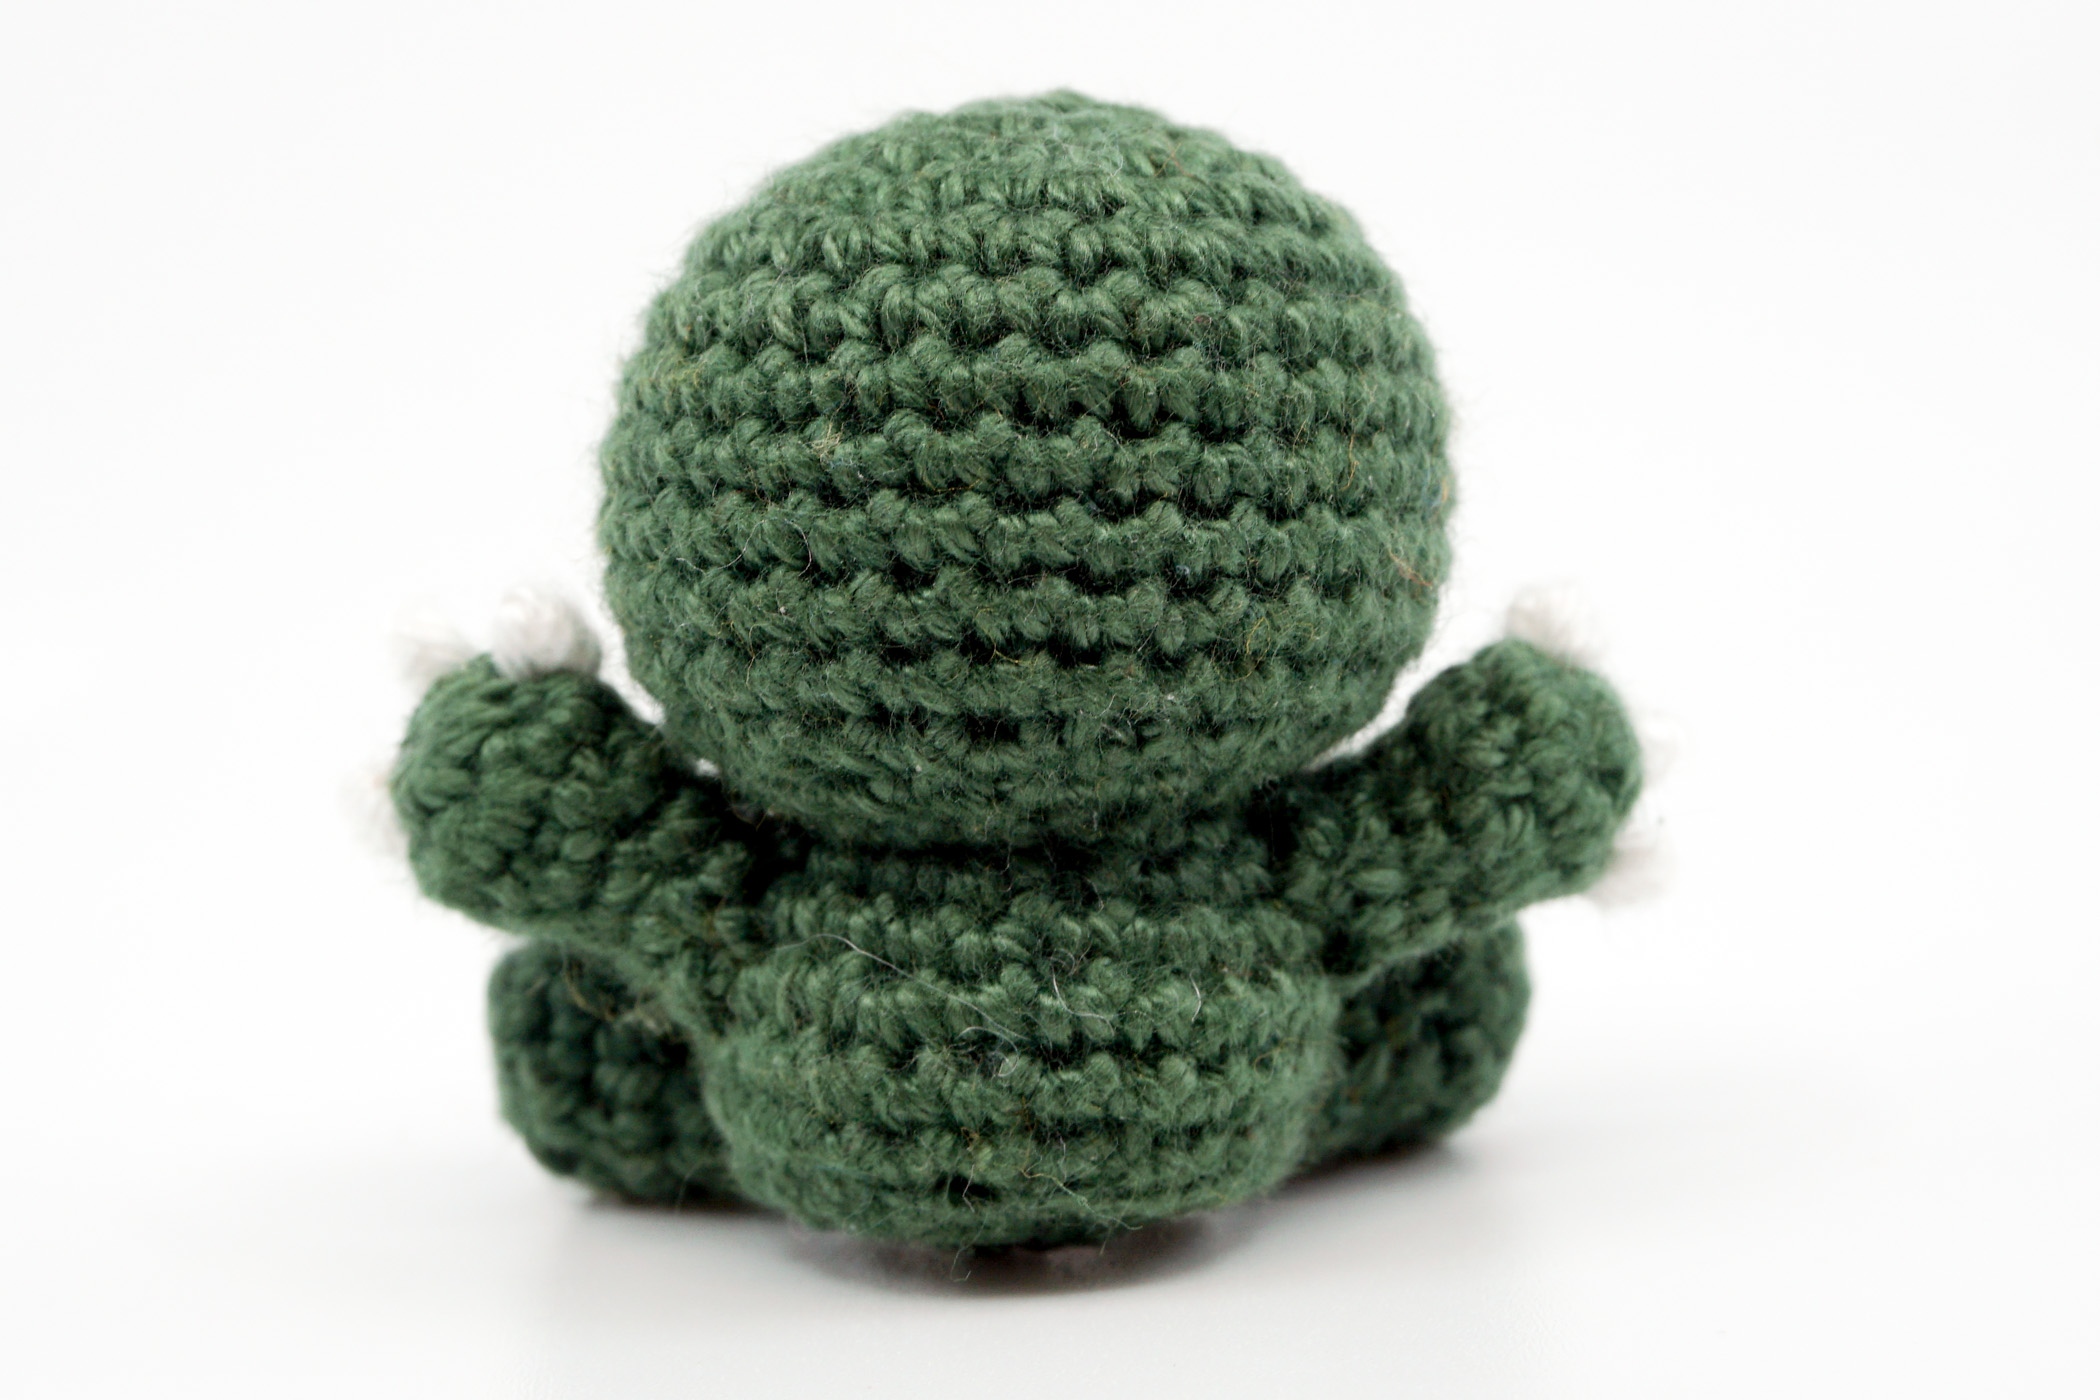
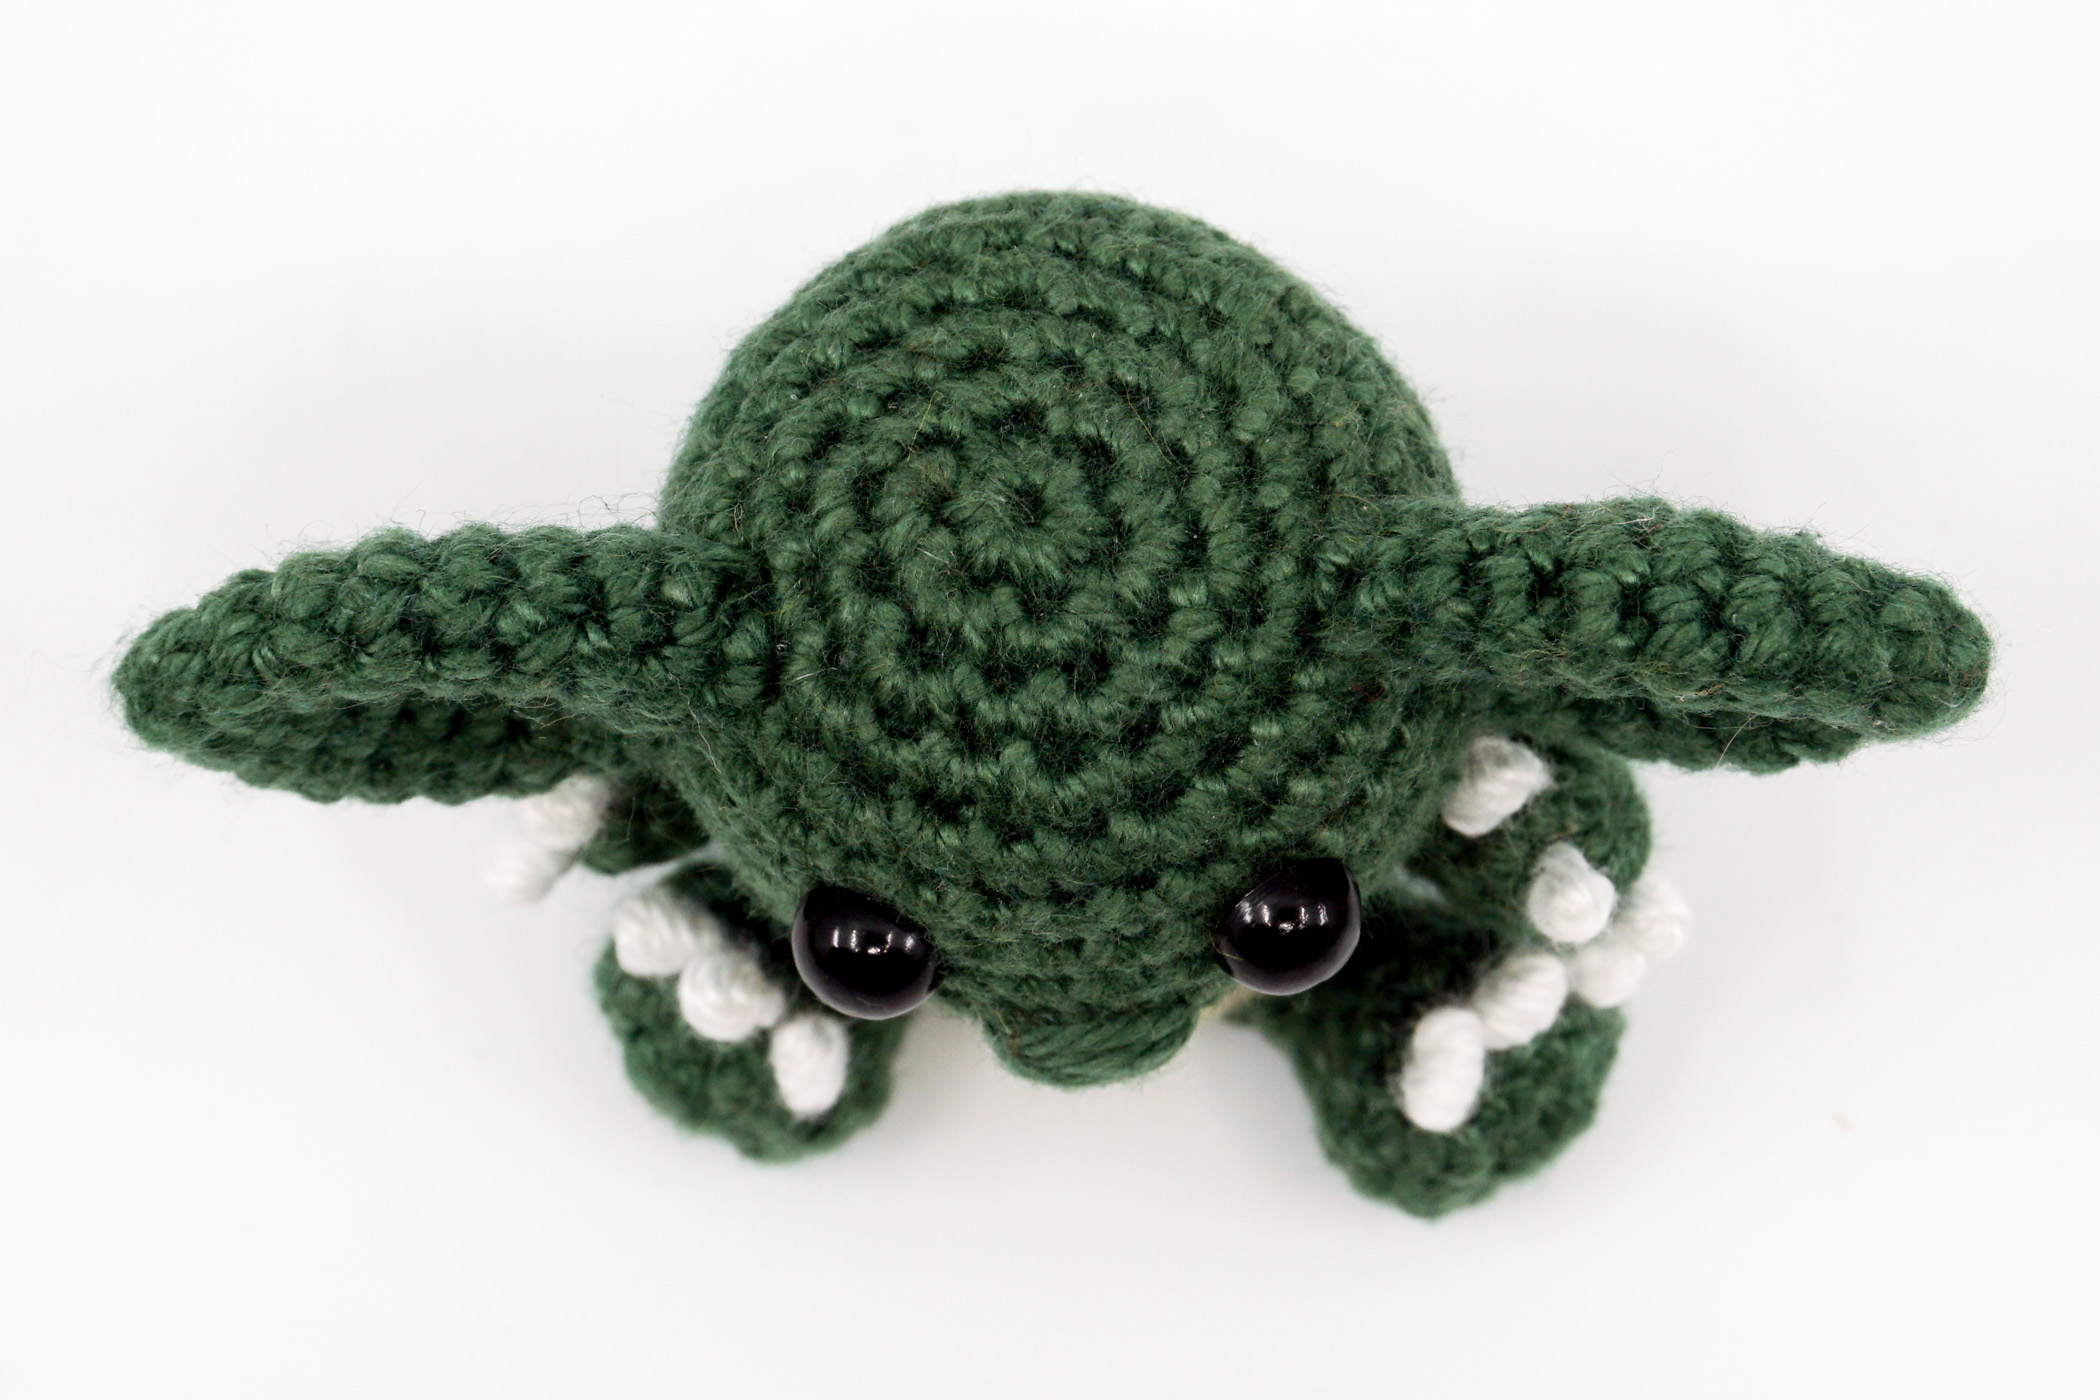
Crochet the Head and Body
The head and body is crocheted in one piece in Pine and Sand in spiral rounds with single crochet stitches.


Use the check boxes to mark your finished rounds, rows and steps.
- Crochet the head and body in spiral rounds in Pine.
- Round 1: 6 sc into the Magic Ring (6 stitches).
- Round 2: [1 increase] repeat till end of the round (12 stitches).
- Round 3: [1 sc, 1 increase] repeat till end of the round (18 stitches).
- Round 4: 1 sc, 1 increase, [2 sc, 1 increase] repeat 5 times, 1 sc (24 stitches).
- Round 5: [3 sc, 1 increase] repeat till end of the round (30 stitches).
- Round 6-11: 6 rounds, each round 30 sc (30 stitches). Attach the eyes and then continue crocheting the next round.
- Round 12: [3 sc, 1 decrease] repeat till end of the round (24 stitches).
- Round 13: 1 sc, 1 decrease, [2 sc, 1 decrease] repeat 5 times, 1 sc (18 stitches).
- Round 14: [1 sc, 1 decrease] repeat till end of the round (12 stitches).
- Round 15: Crochet the complete round into the front loop only. [1 sc, 1 increase] repeat till end of the round (18 stitches).
- Round 16: Fill the head with polyfill. 7 sc, color change to Sand, 4 sc, color change to Pine, 7 sc (18 stitches).
- Round 17: 1 sc, 1 increase, 2 sc, 1 increase, 2 sc, color change to Sand, 1 increase, 2 sc, 1 increase, color change to Pine, [2 sc, 1 increase] repeat 2 times, 1 sc (24 stitches).
- Round 18-19: 2 rounds, each round 9 sc, color change to Sand, 6 sc, color change to Pine, 9 sc (24 stitches).
- Round 20: 1 sc, 1 decrease, 2 sc, 1 decrease, 2 sc, color change to Sand, 1 decrease, 2 sc, 1 decrease, color change to Pine, [2 sc, 1 decrease] repeat 2 times, 1 sc (18 stitches).
- Round 21: Crochet the complete round into the back loop only. [1 sc, 1 decrease] repeat till end of the round (12 stitches).
- Round 22: Fill the body only with some polyfill, do not stuff the body too full. [1 decrease] repeat till end of the round (6 stitches).
- Finish: Cut the yarn generously, close the opening, weave in and hide the leftover yarn.
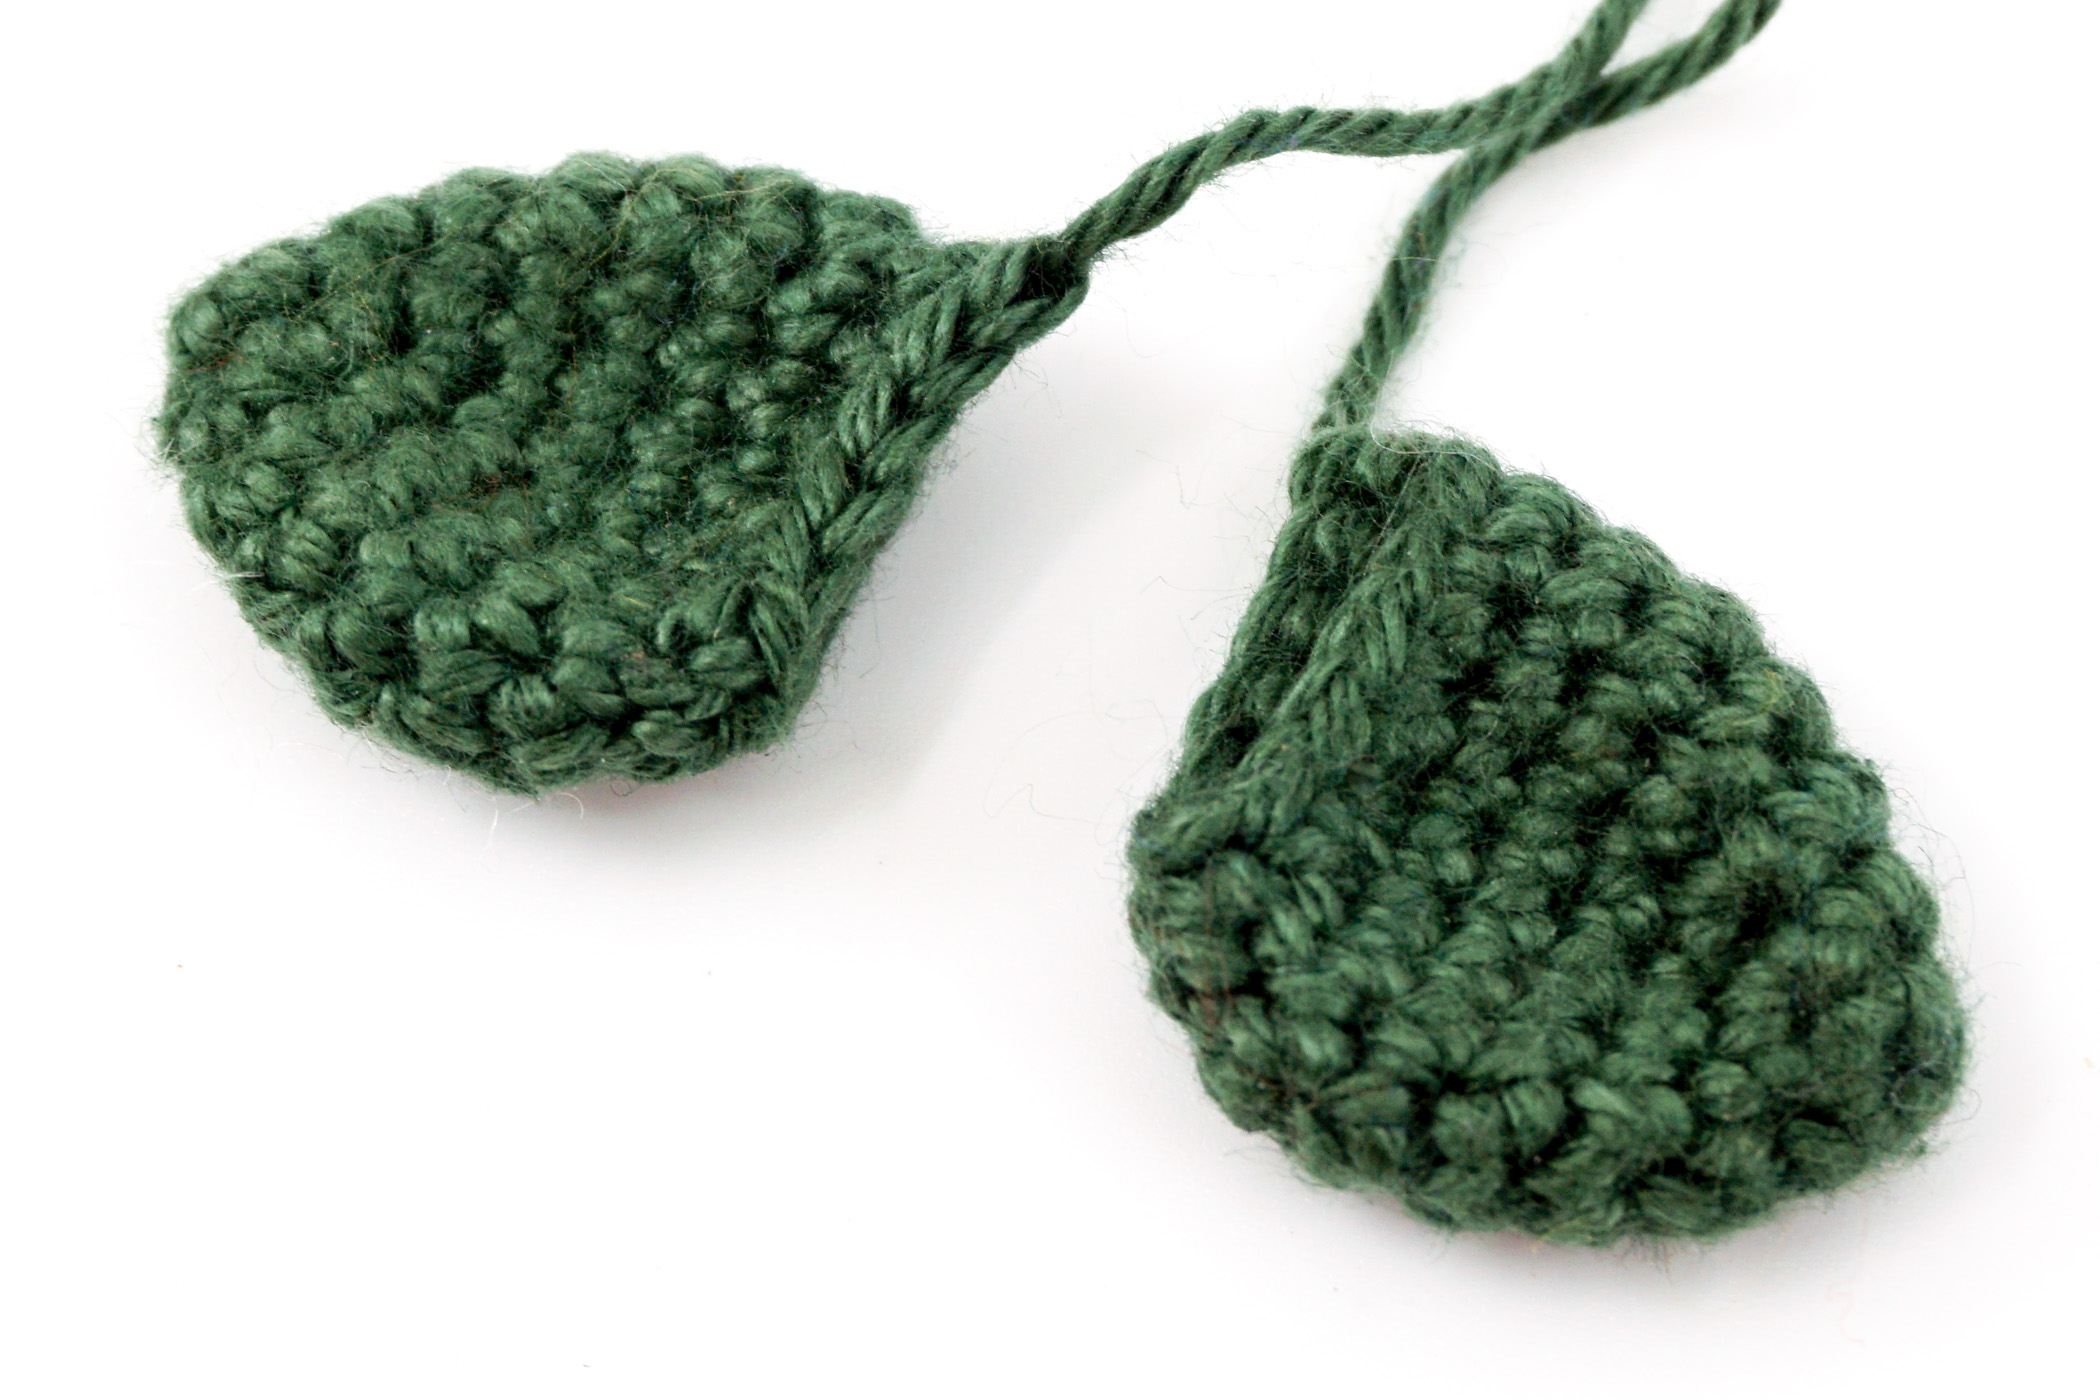
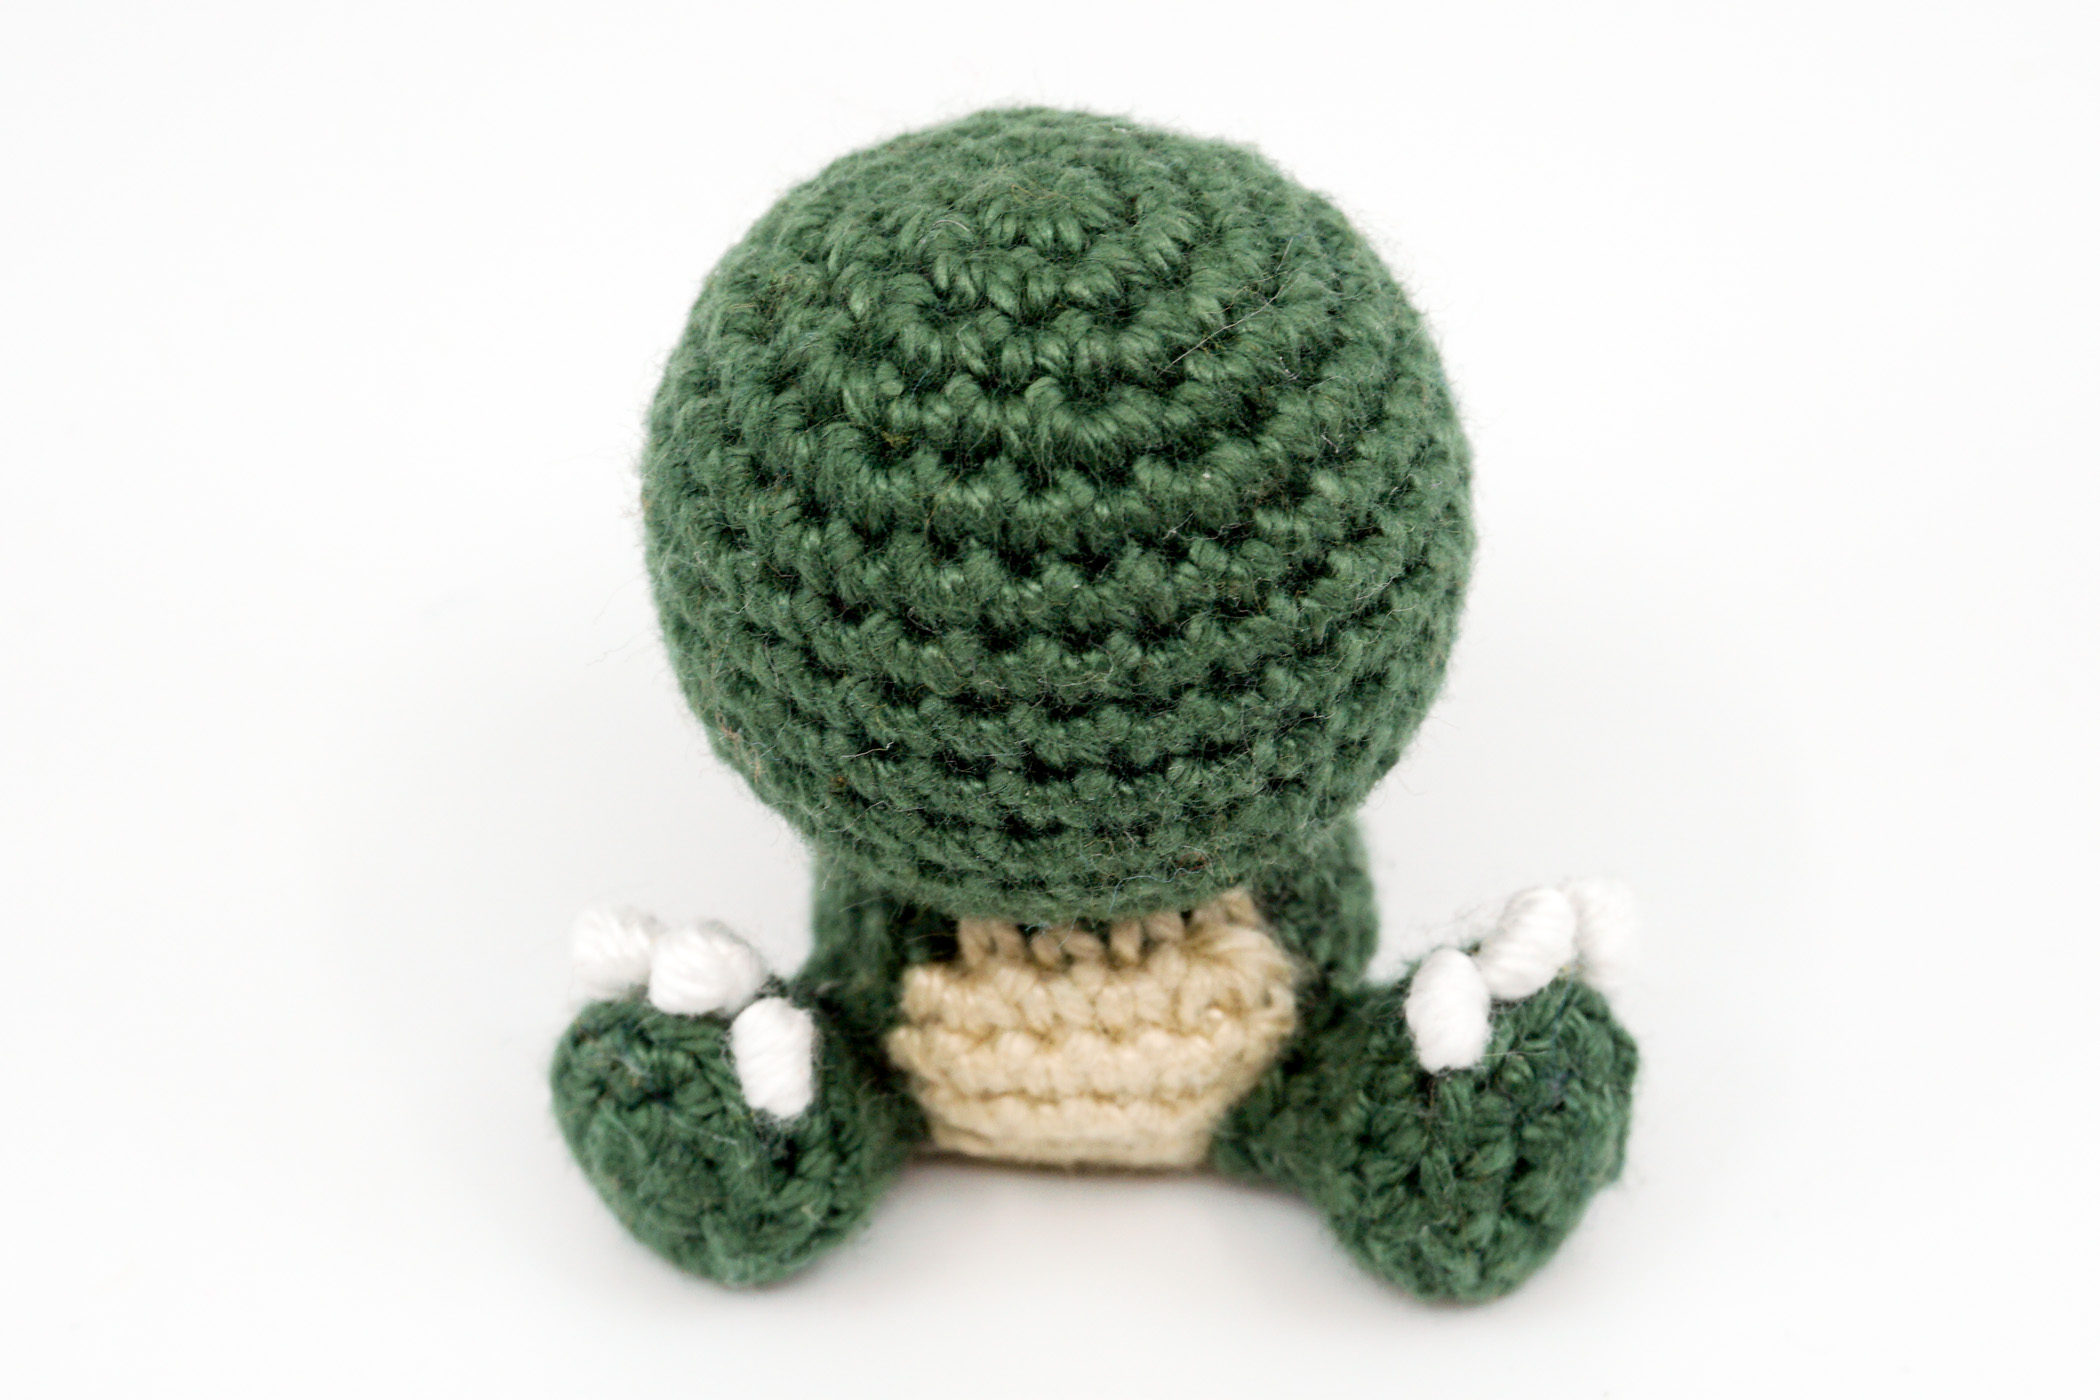
Crochet the Legs (2x)
The legs are crocheted in Pine in spiral rounds with single crochet stitches. Crochet a total of 2 legs. The finished legs do not need to be filled with polyfill.


- Crochet the legs in spiral rounds in Pine.
- Round 1: 6 sc into the Magic Ring (6 stitches).
- Round 2: [1 increase] repeat till end of the round (12 stitches).
- Round 3: Crochet the complete round into the back loop only. Crochet 12 sc (12 stitches).
- Round 4: Crochet 12 sc (12 stitches).
- Round 5: [1 decrease] repeat till end of the round (6 stitches).
- Round 6: Crochet 6 sc (6 stitches).
- Finish: Cut the yarn generously and leave a long tail for sewing.
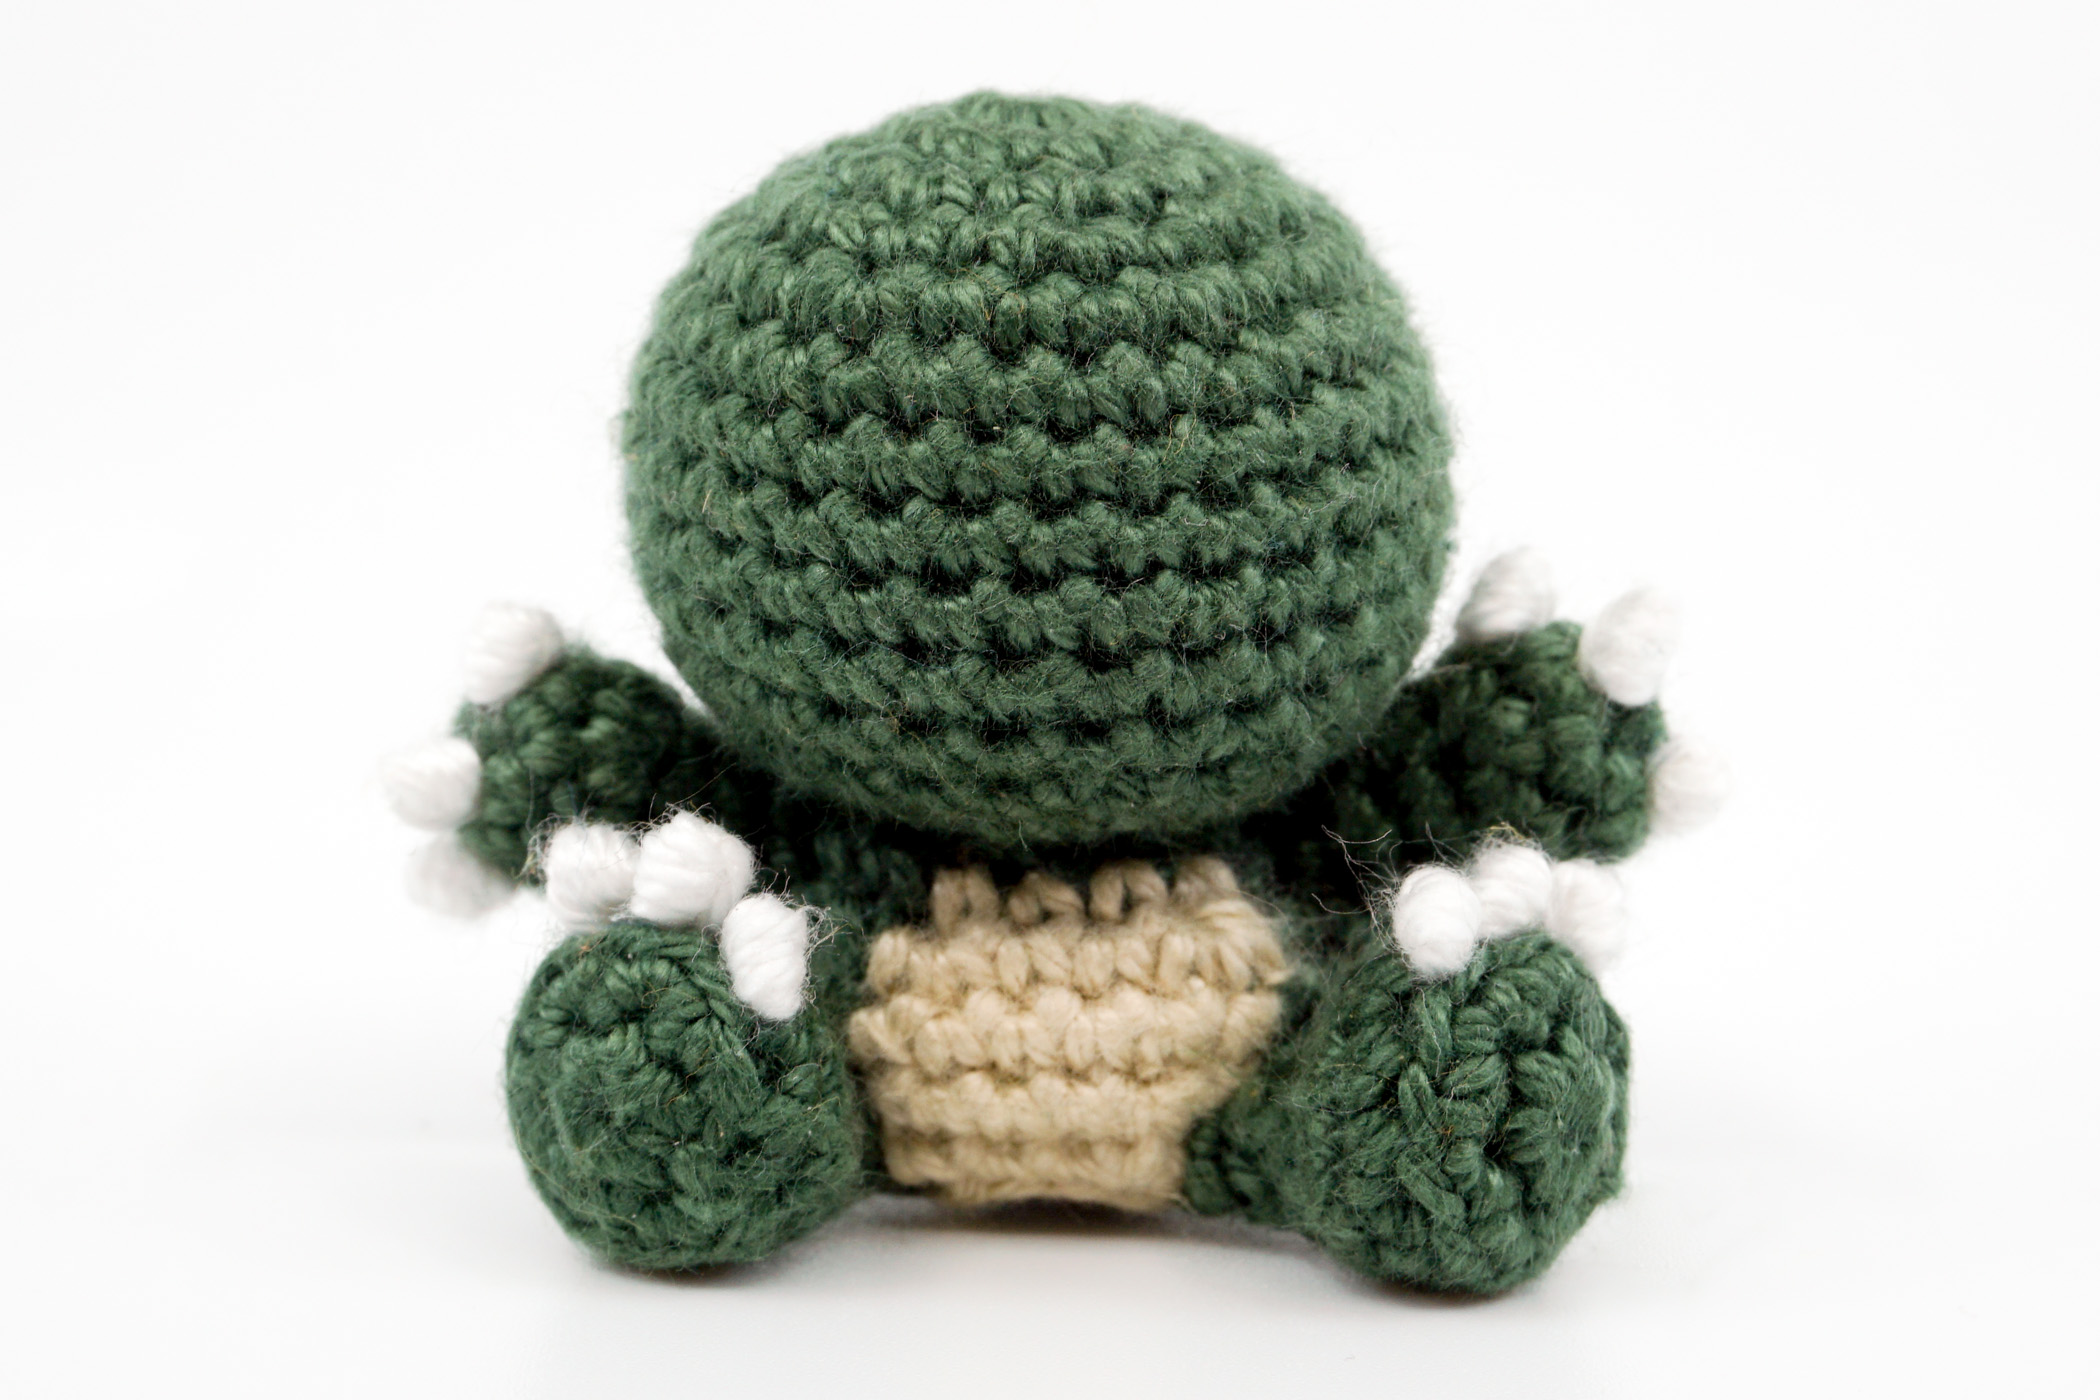
Crochet the Arms (2x)
The arms are crocheted in Pine in spiral rounds with single crochet stitches. Crochet a total of 2 arms.

- Crochet the arms in spiral rounds in Pine.
- Round 1: 6 sc into the Magic Ring (6 stitches).
- Round 2: [1 increase] repeat till end of the round (12 stitches).
- Round 3: [1 decrease] repeat till end of the round (6 stitches).
- Round 4-5: 2 Rounds, each round 6 sc (6 stitches).
- Finish: Fill only the front part of the arm with polyfill. Cut the yarn generously and leave a long tail for sewing.
Crochet the Ears (2x)
The ears are crocheted in Pine in spiral rounds with single crochet stitches. Crochet a total of 2 ears.

- Crochet the ears in spiral rounds in Pine.
- Round 1: 4 sc into the Magic Ring (4 stitches).
- Round 2: [1 increase] repeat till end of the round (8 stitches).
- Round 3: [1 sc, 1 increase] repeat till end of the round (12 stitches).
- Round 4: 1 sc, 1 increase, [2 sc, 1 increase] repeat 3 times, 1 sc (16 stitches).
- Round 5-7: 3 Rounds, each round 16 sc (16 stitches).
- Round 8: 4 sc, [1 decrease] repeat 4 times, 4 sc (12 stitches).
- Finish: Cut the yarn generously and leave a long tail for sewing.
Crochet the Eyebrows (2x)
The eyebrows are crocheted in Fango in rows with chain stitches. Crochet a total of 2 eyebrows.
- Crochet the eyebrows in rows in Fango.
- Row 1: 3 chain stitches (3 stitches).
- Finish: Cut the yarn generously and leave a long tail for sewing.
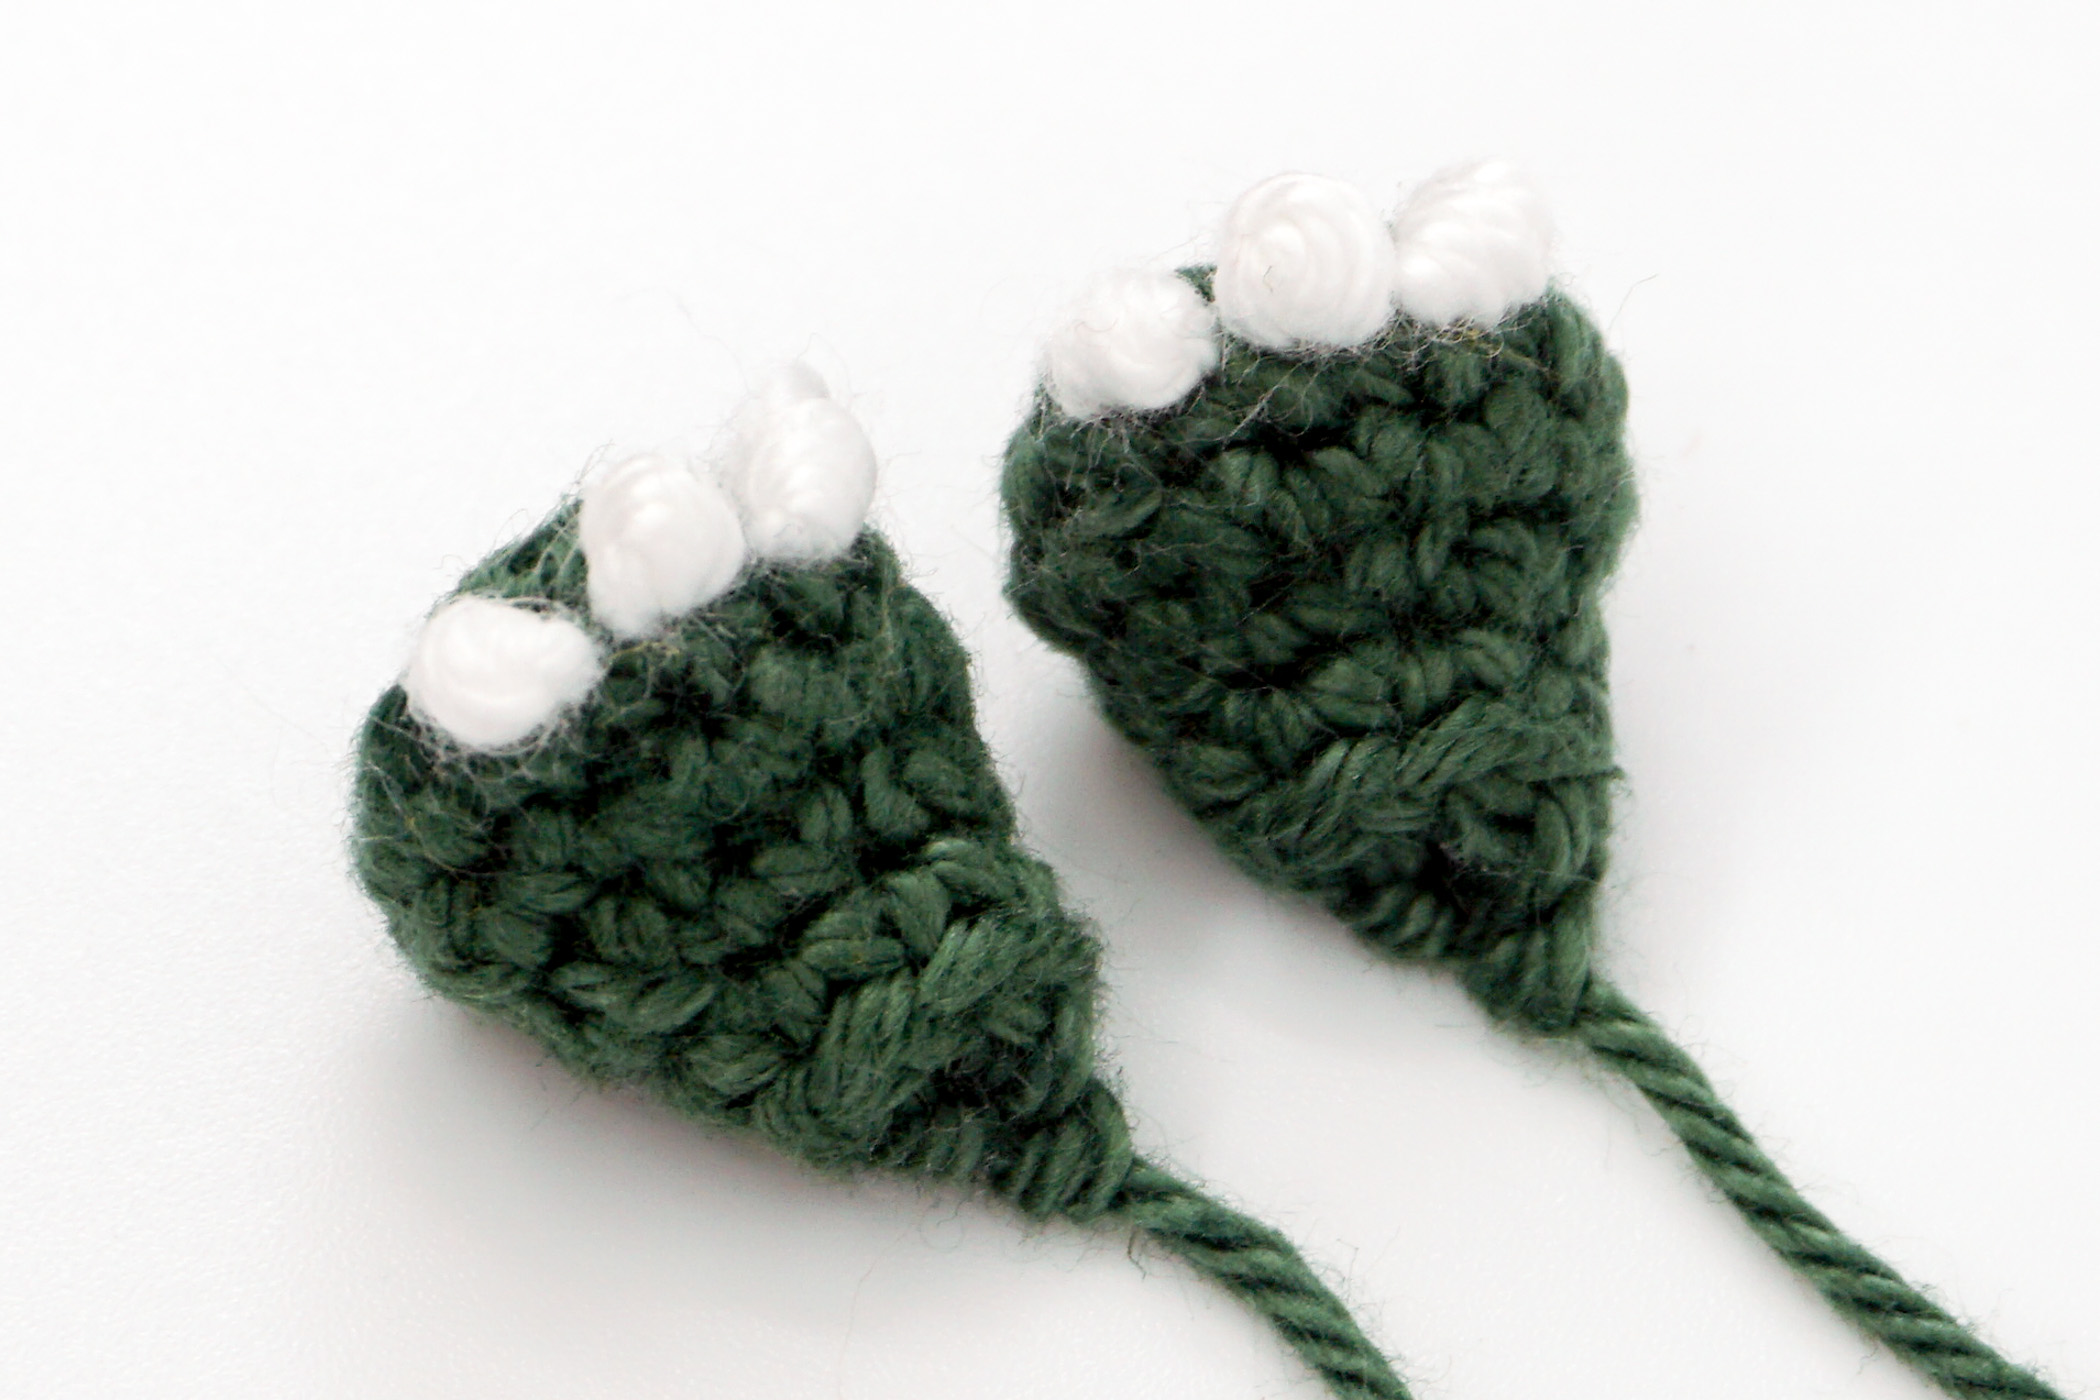
Knot the Claws (12x)
The claws are knotted in White. Create a total of 12 claws if you want to attach the claws after Variant 1 (see “Assembling” further down). If you attach the claws on the legs after Variant 2, then make only 6 claws for the arms.
- Crochet the claws in White.
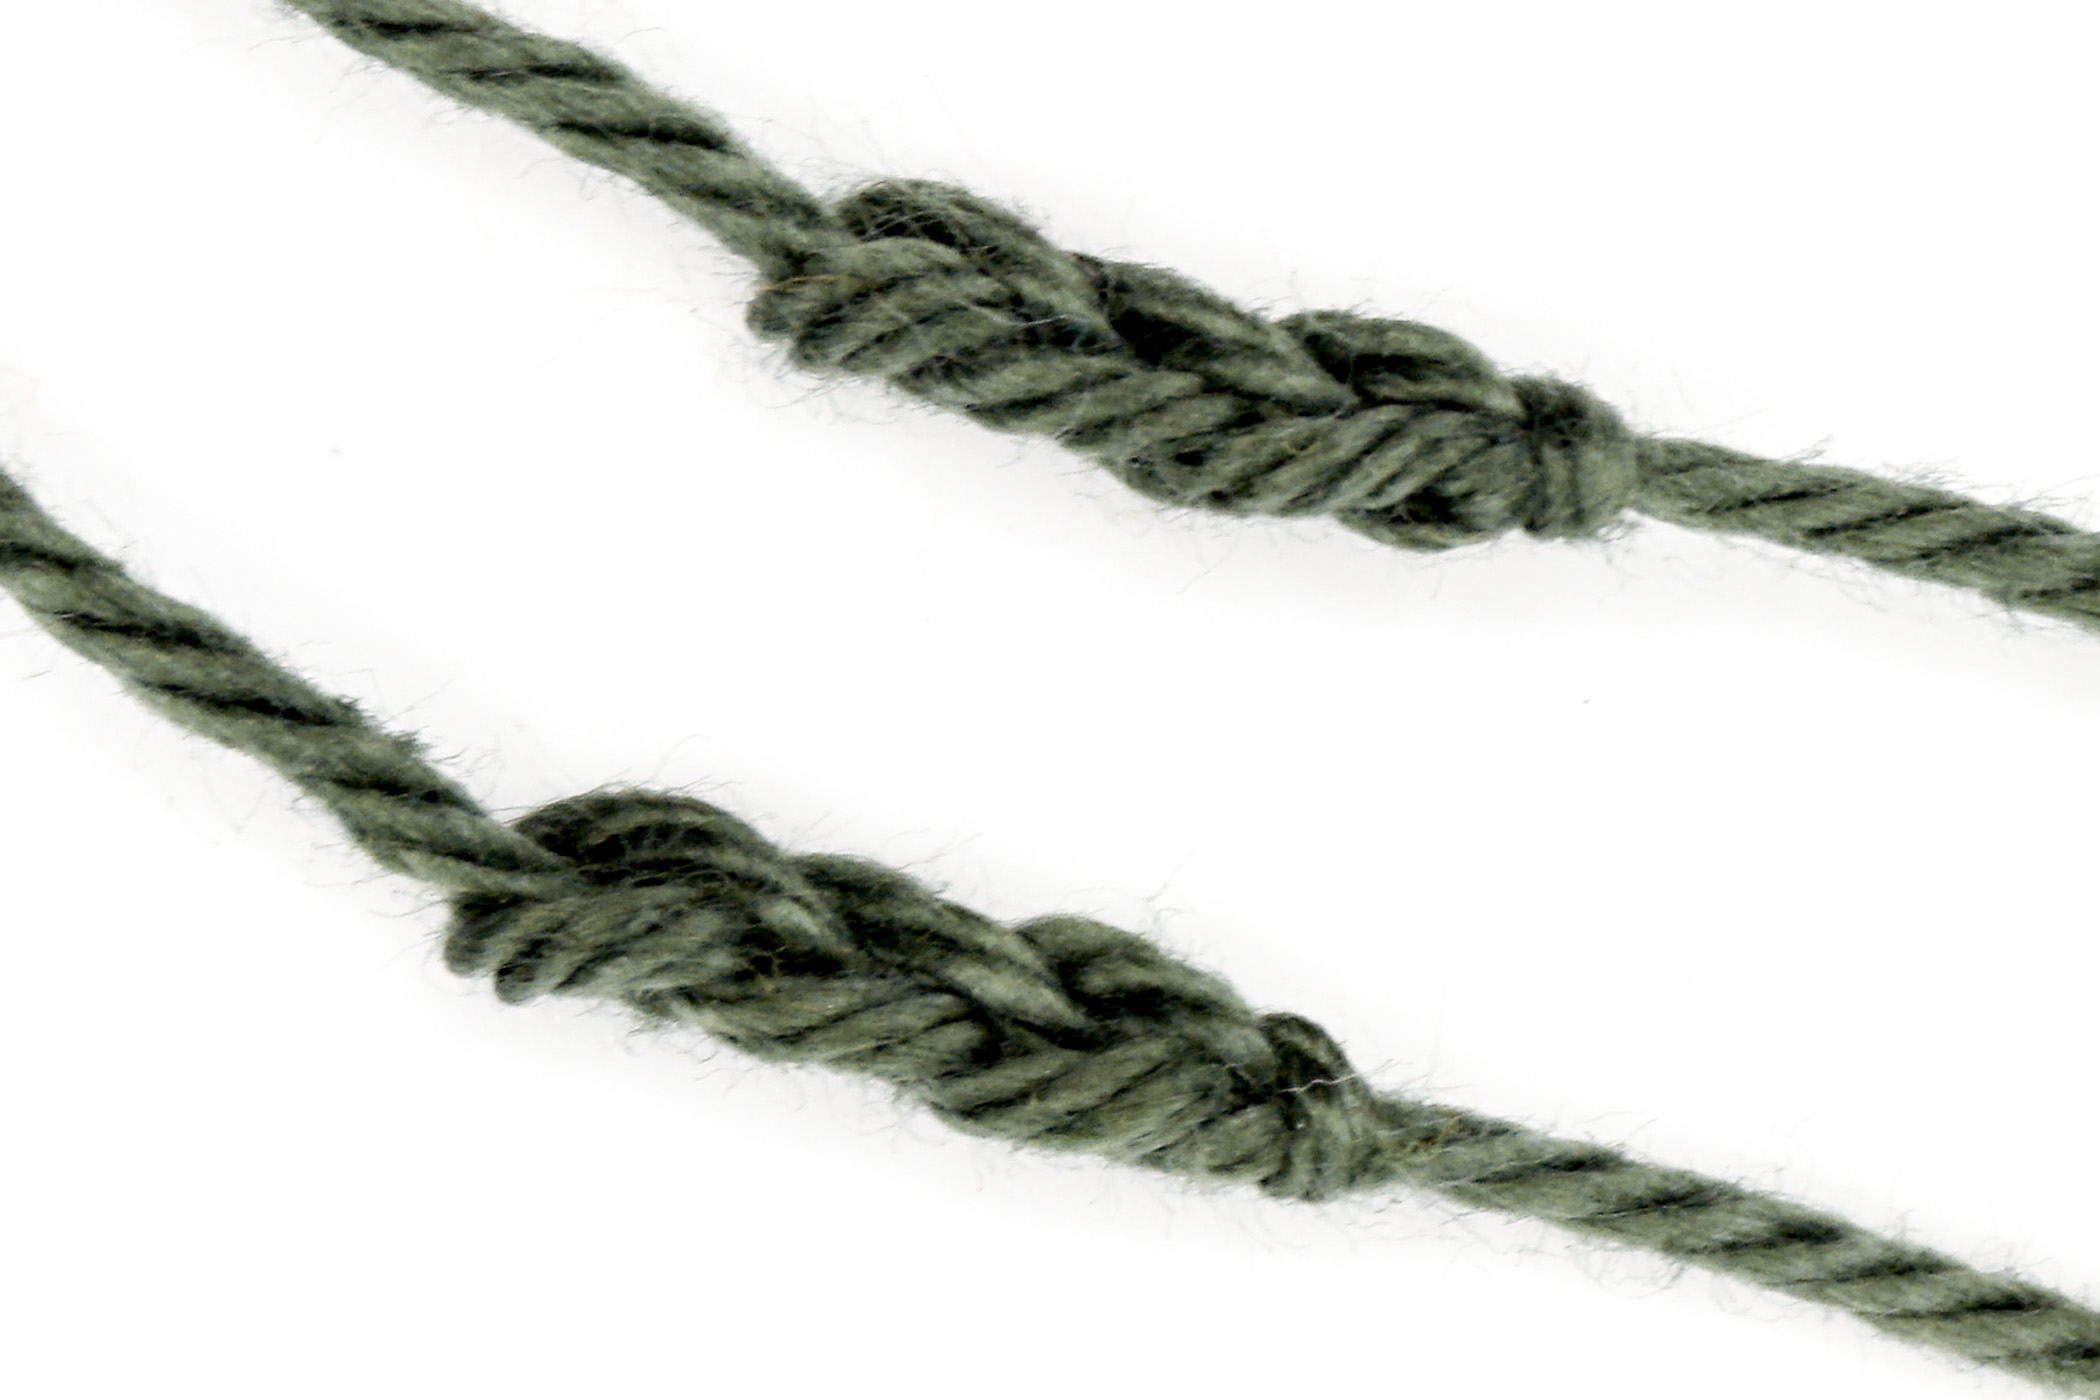
- Take a White thread and form a circle with it, same as if you would do a basic knot. Wind one end of the thread 3 times through the circle and then tighten.


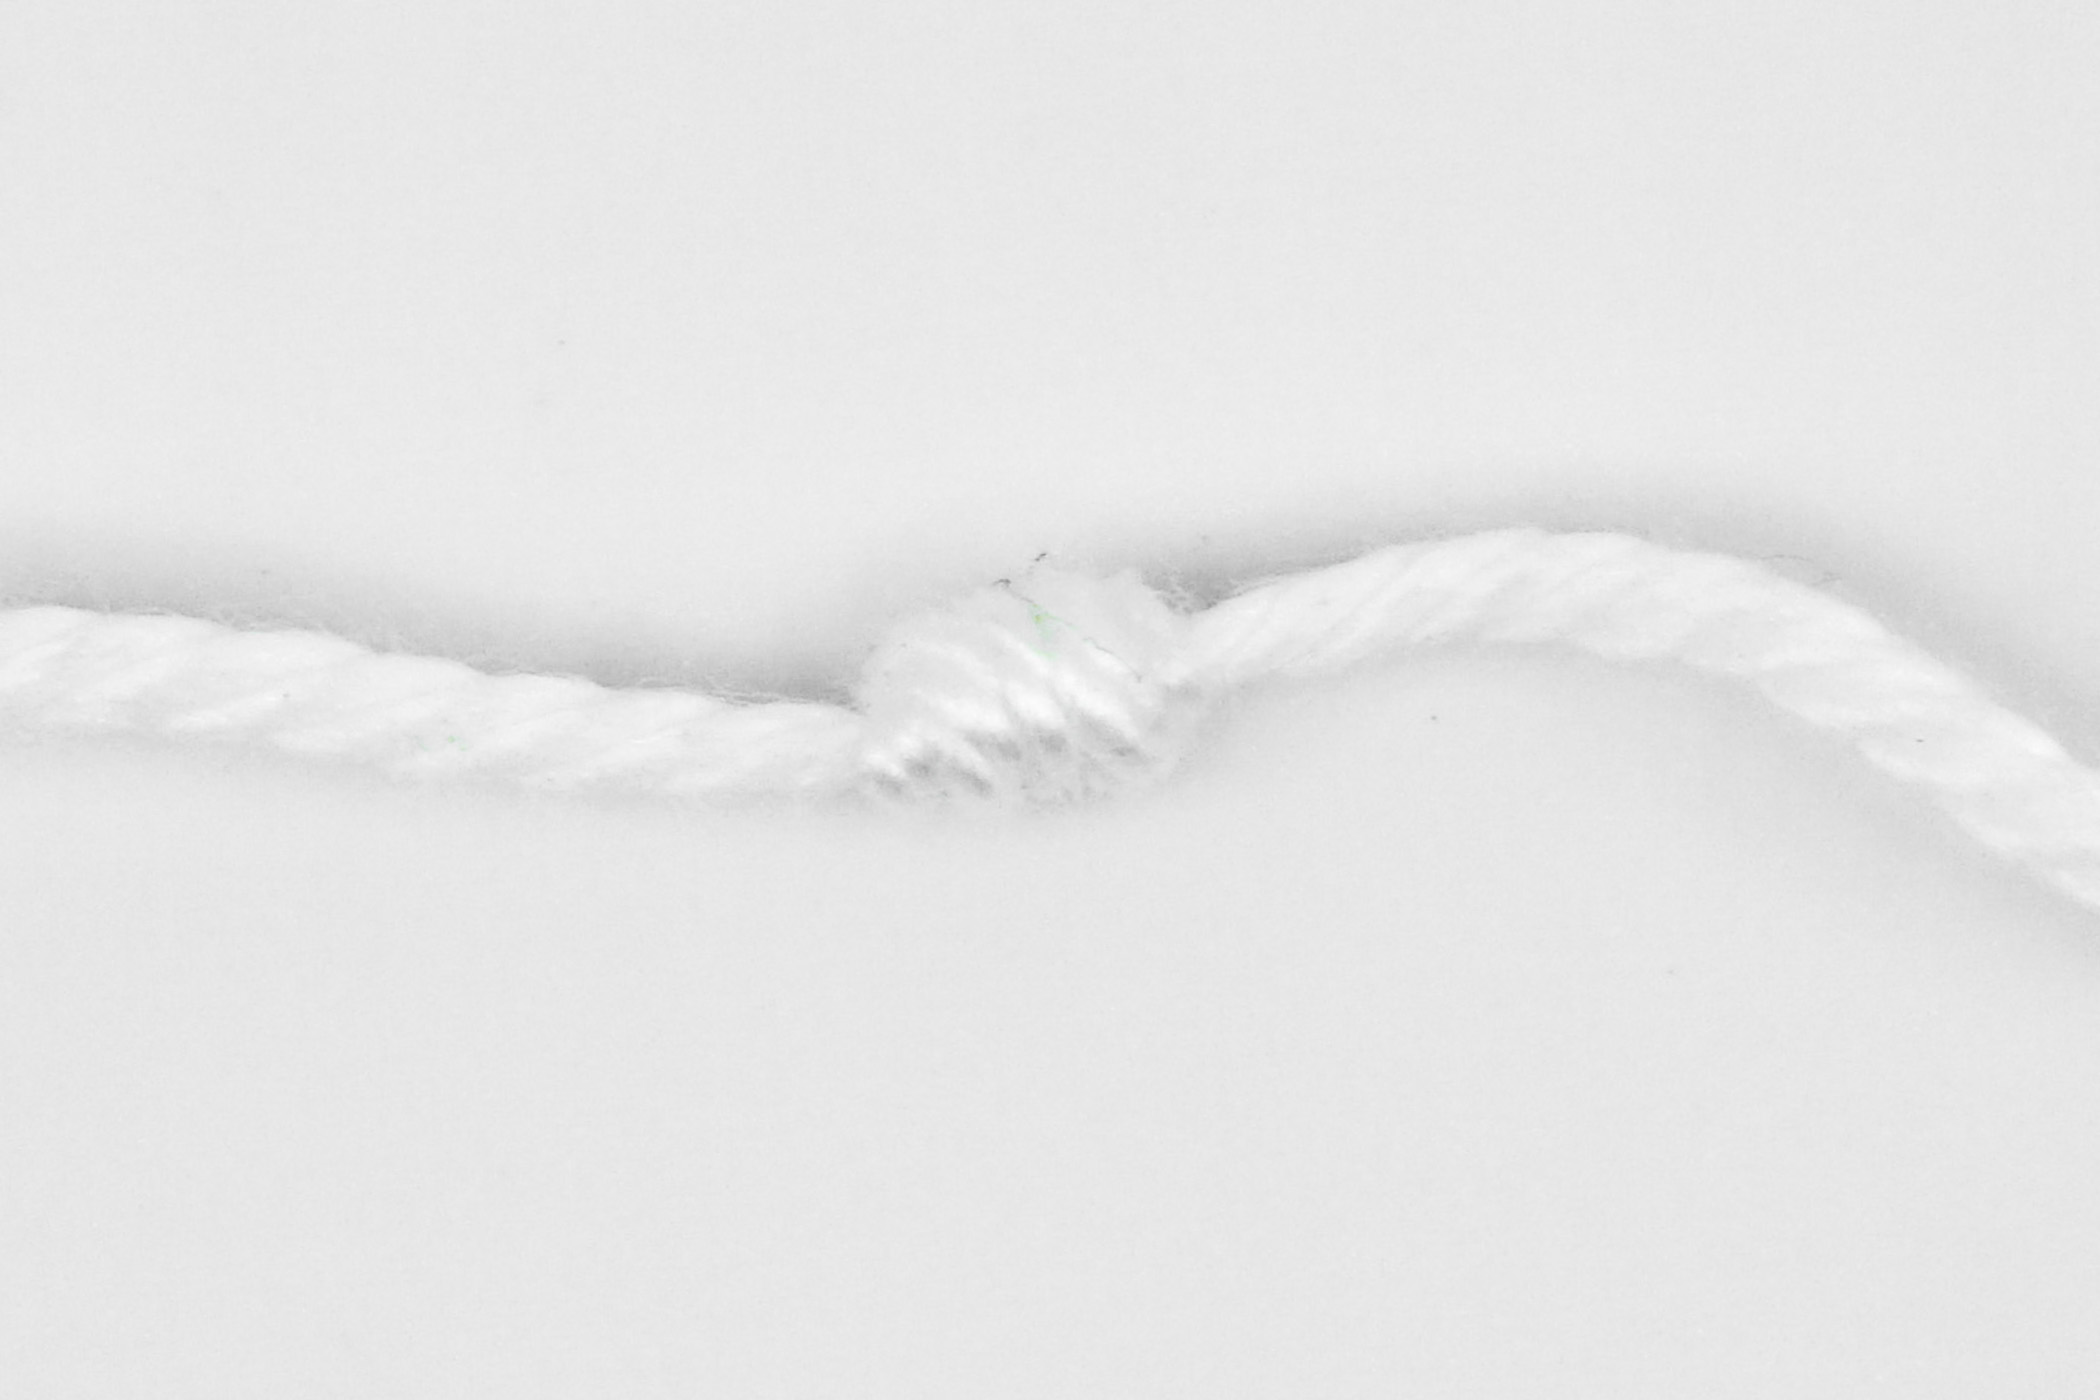
- Finish: Cut the yarn generously and leave a long tail.
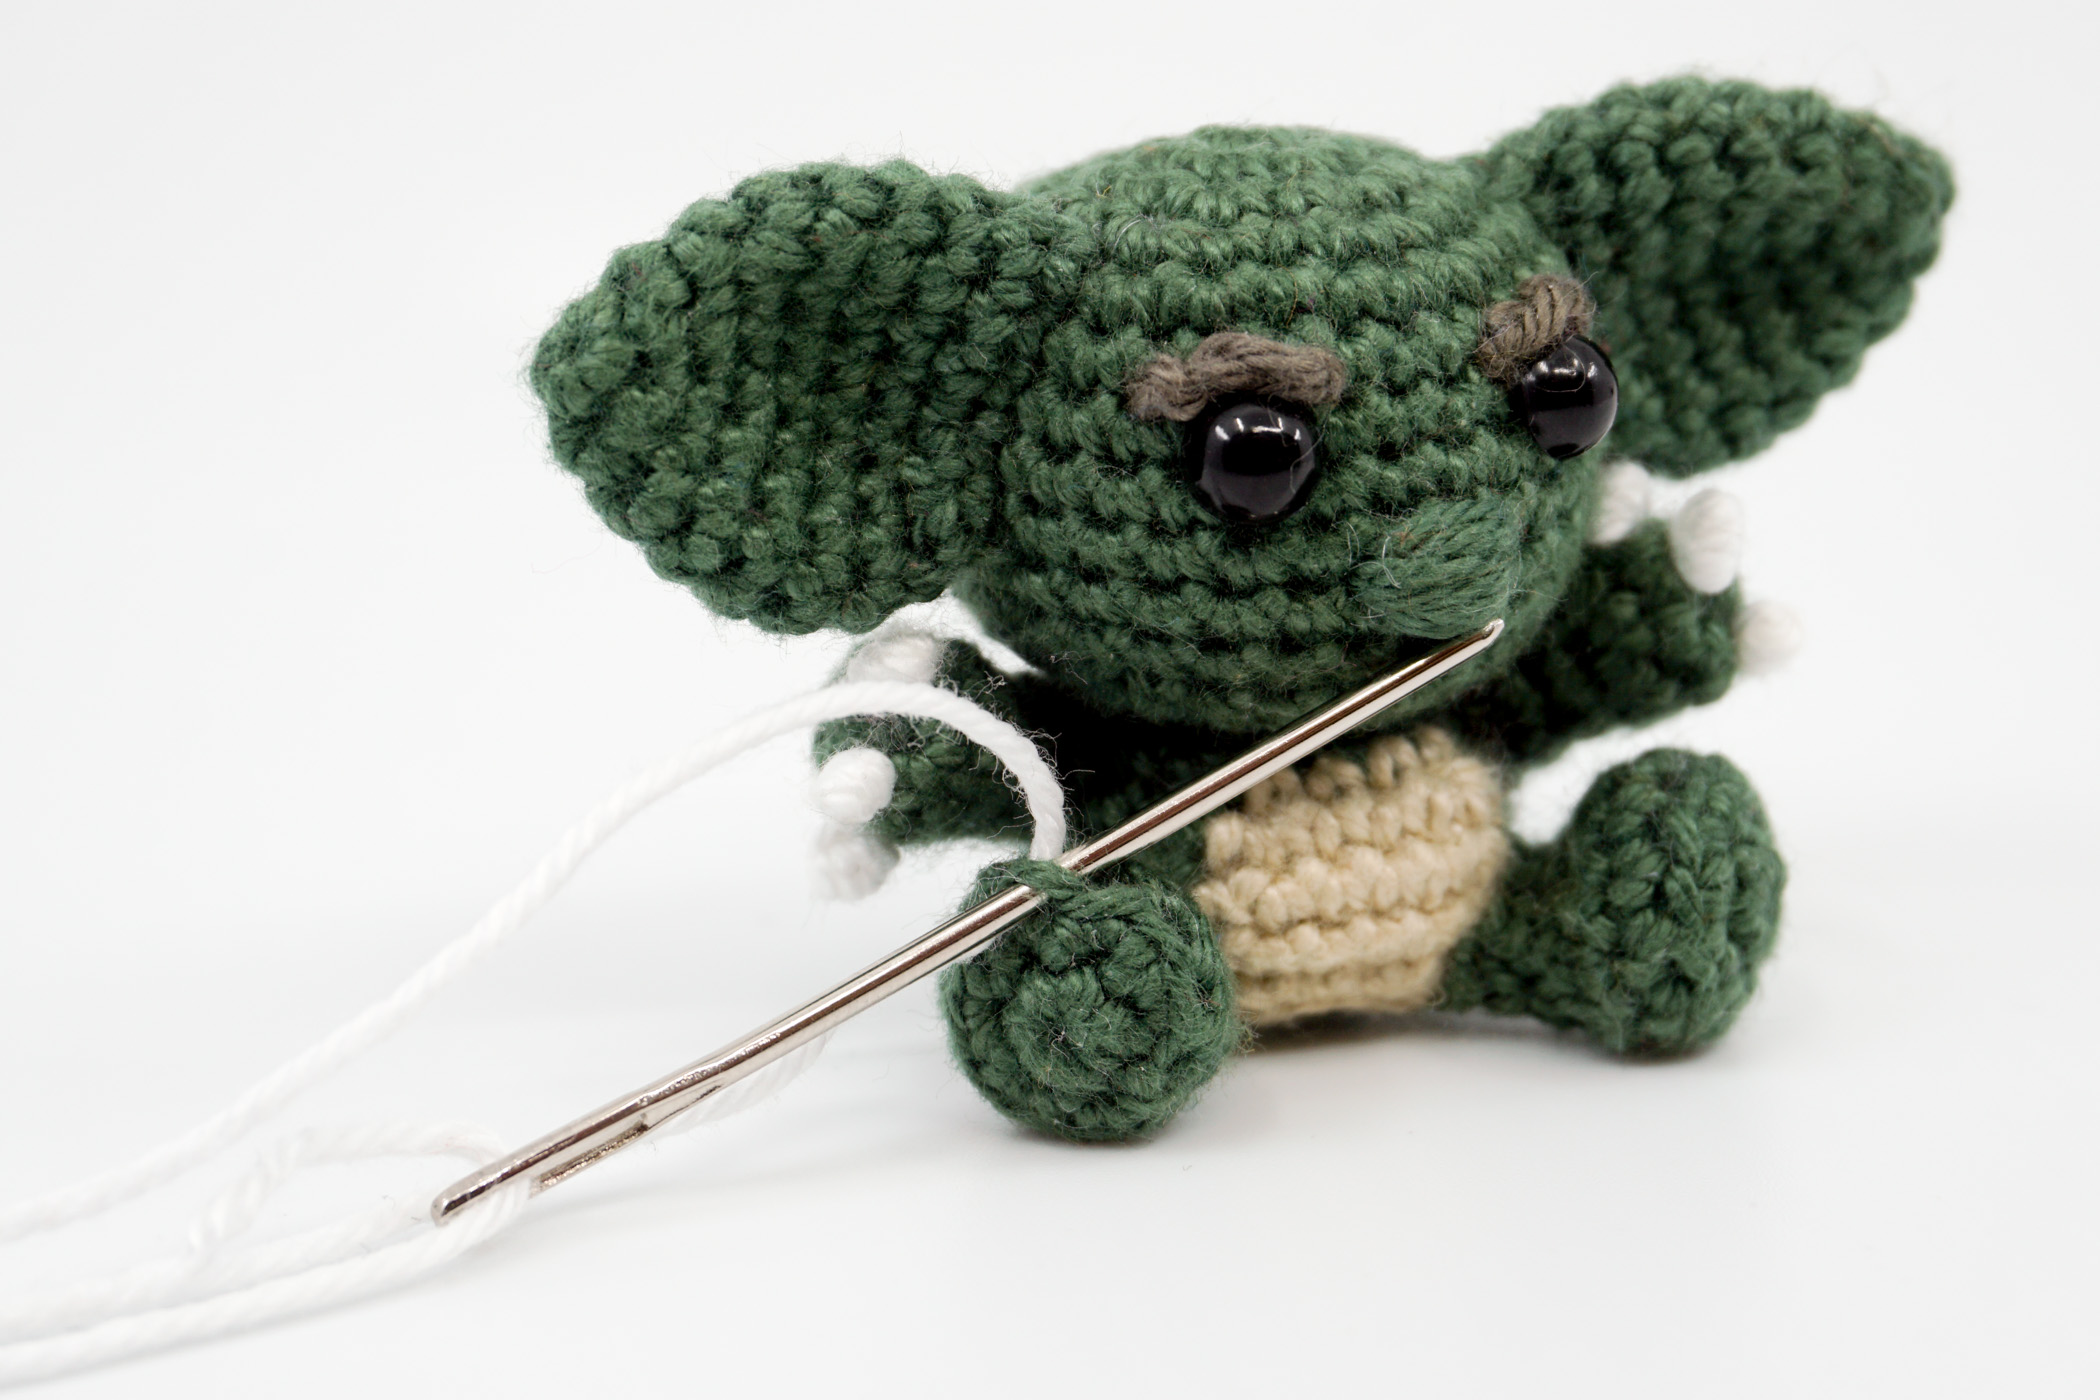
Assembling
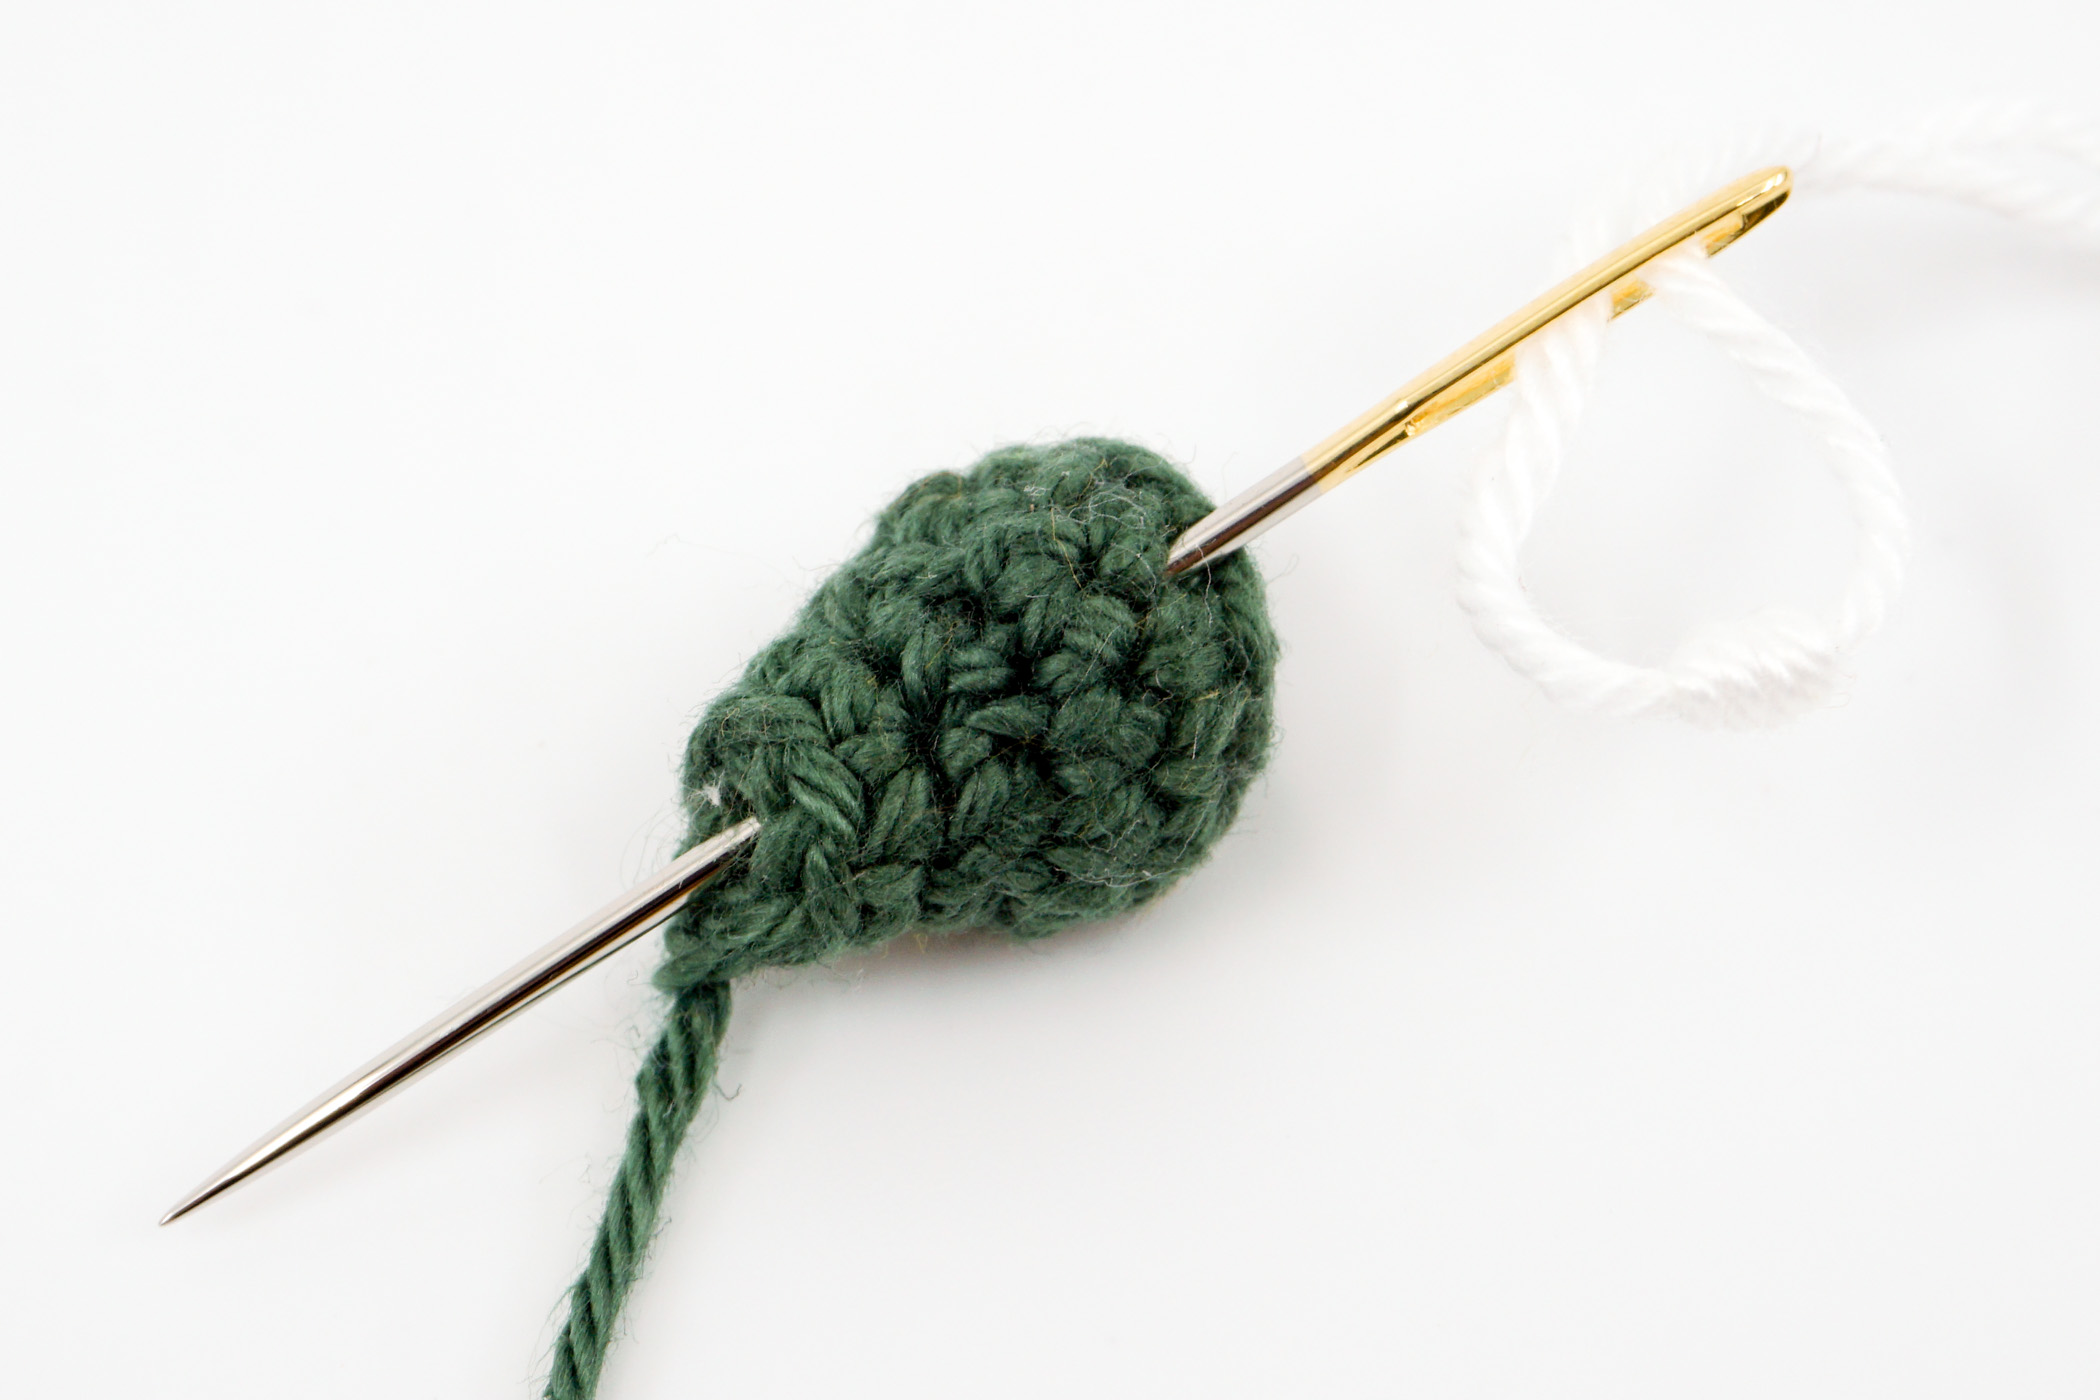
Claws: To attach the claws you can choose between 2 variations. In the 1st variation, the claws are attached BEFORE the legs and arms are sewn on. To do this, pull both threads of the claw through the leg or arm using a tapestry needle. For the leg, place 3 claws next to each other directly behind the stitch edge on the leg. For the arms, place 3 claws next to each other on each arm.

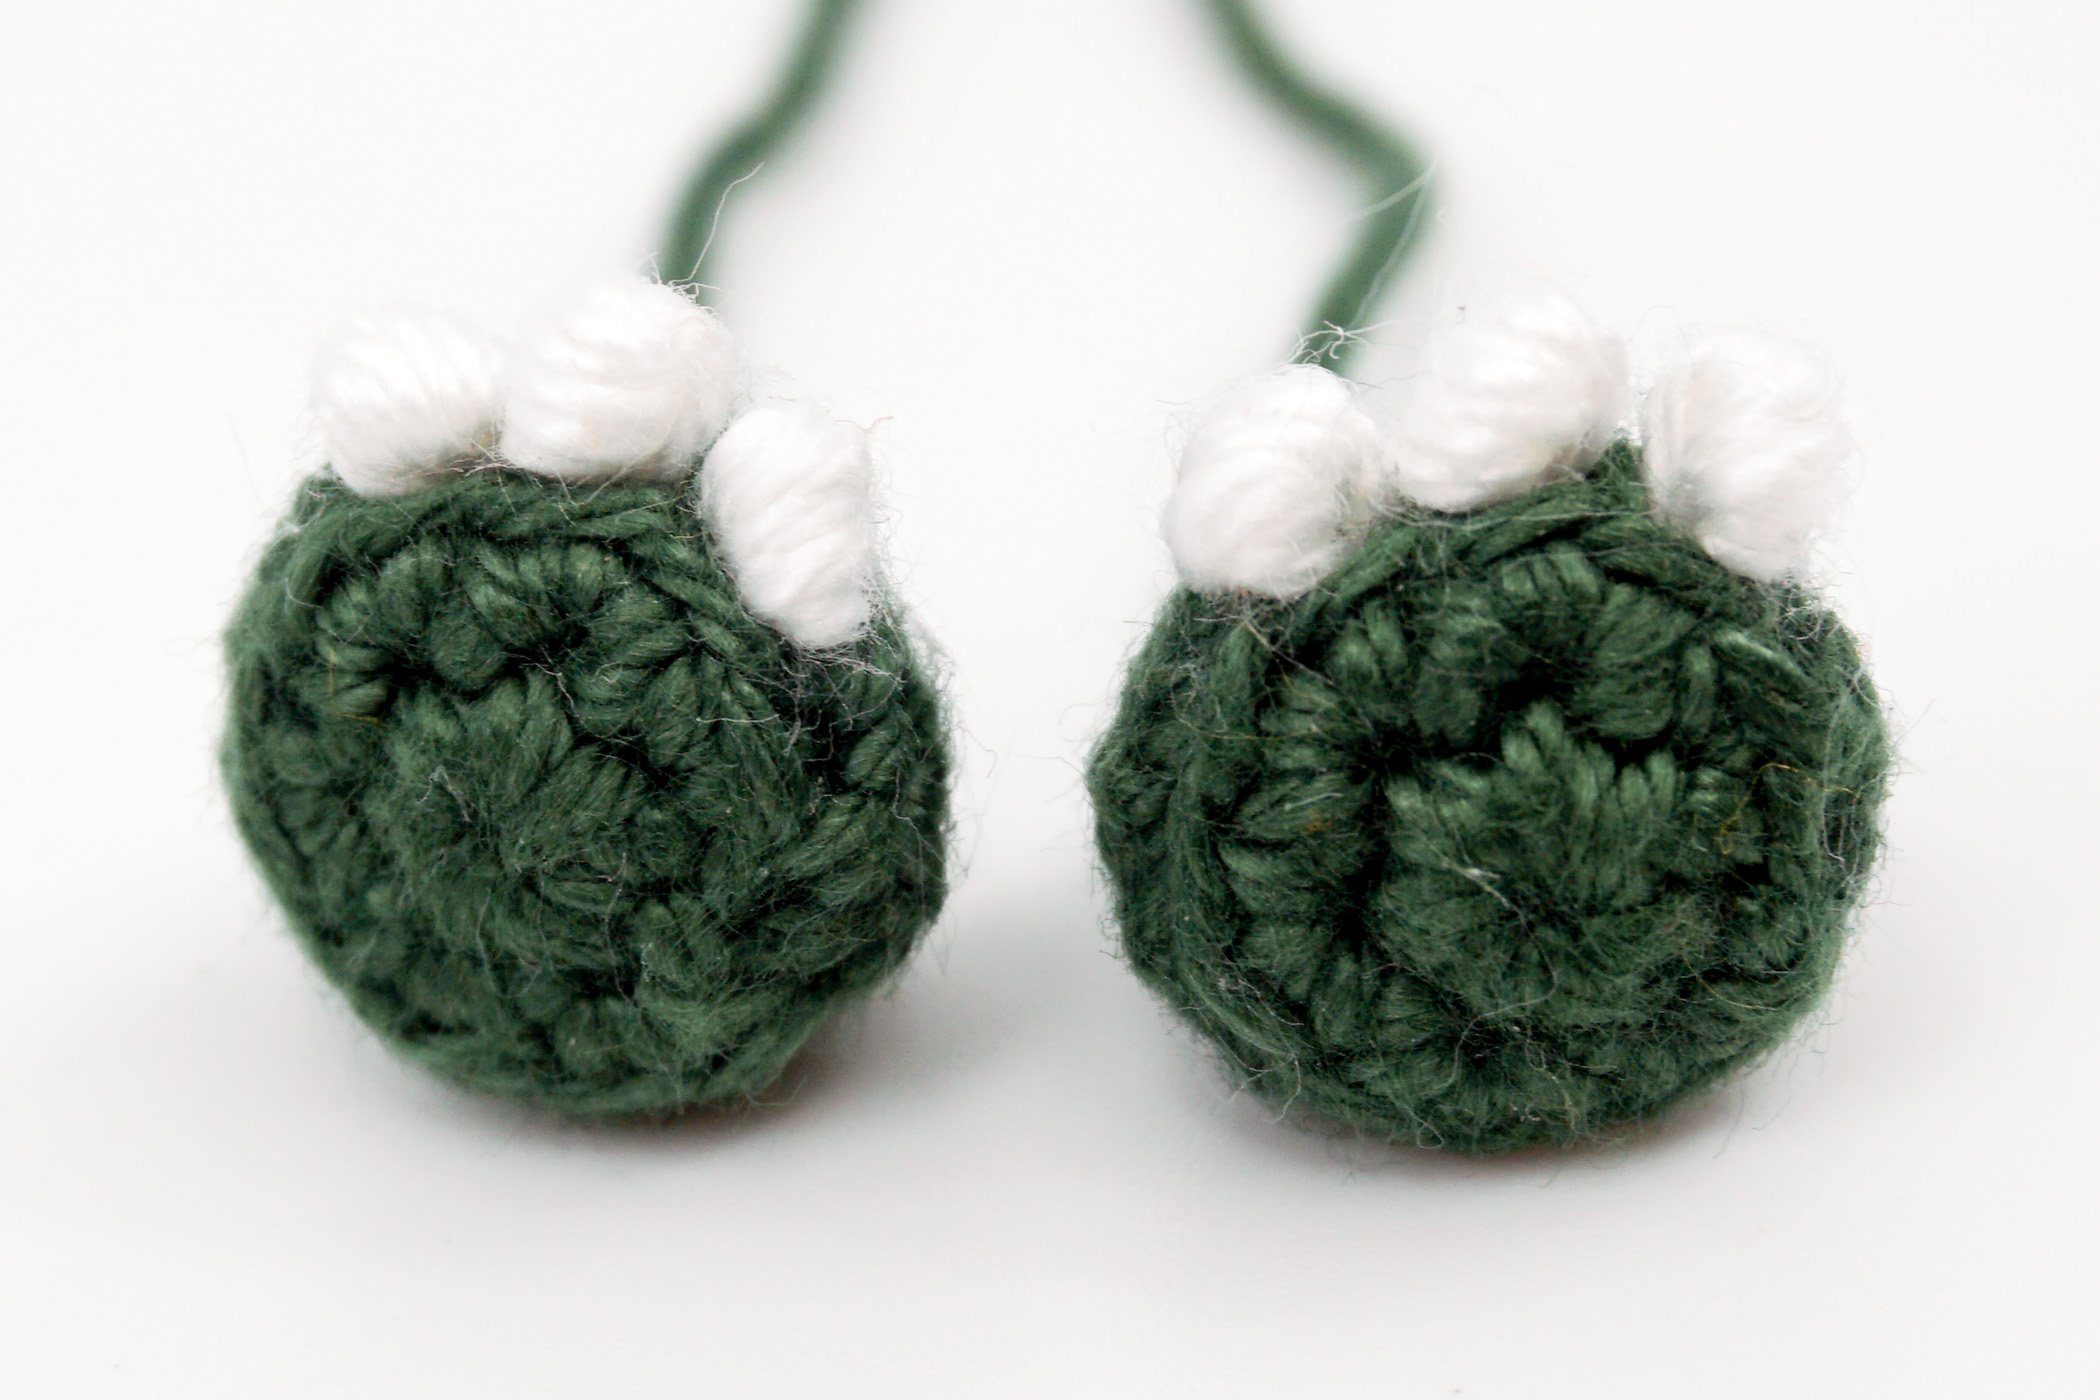
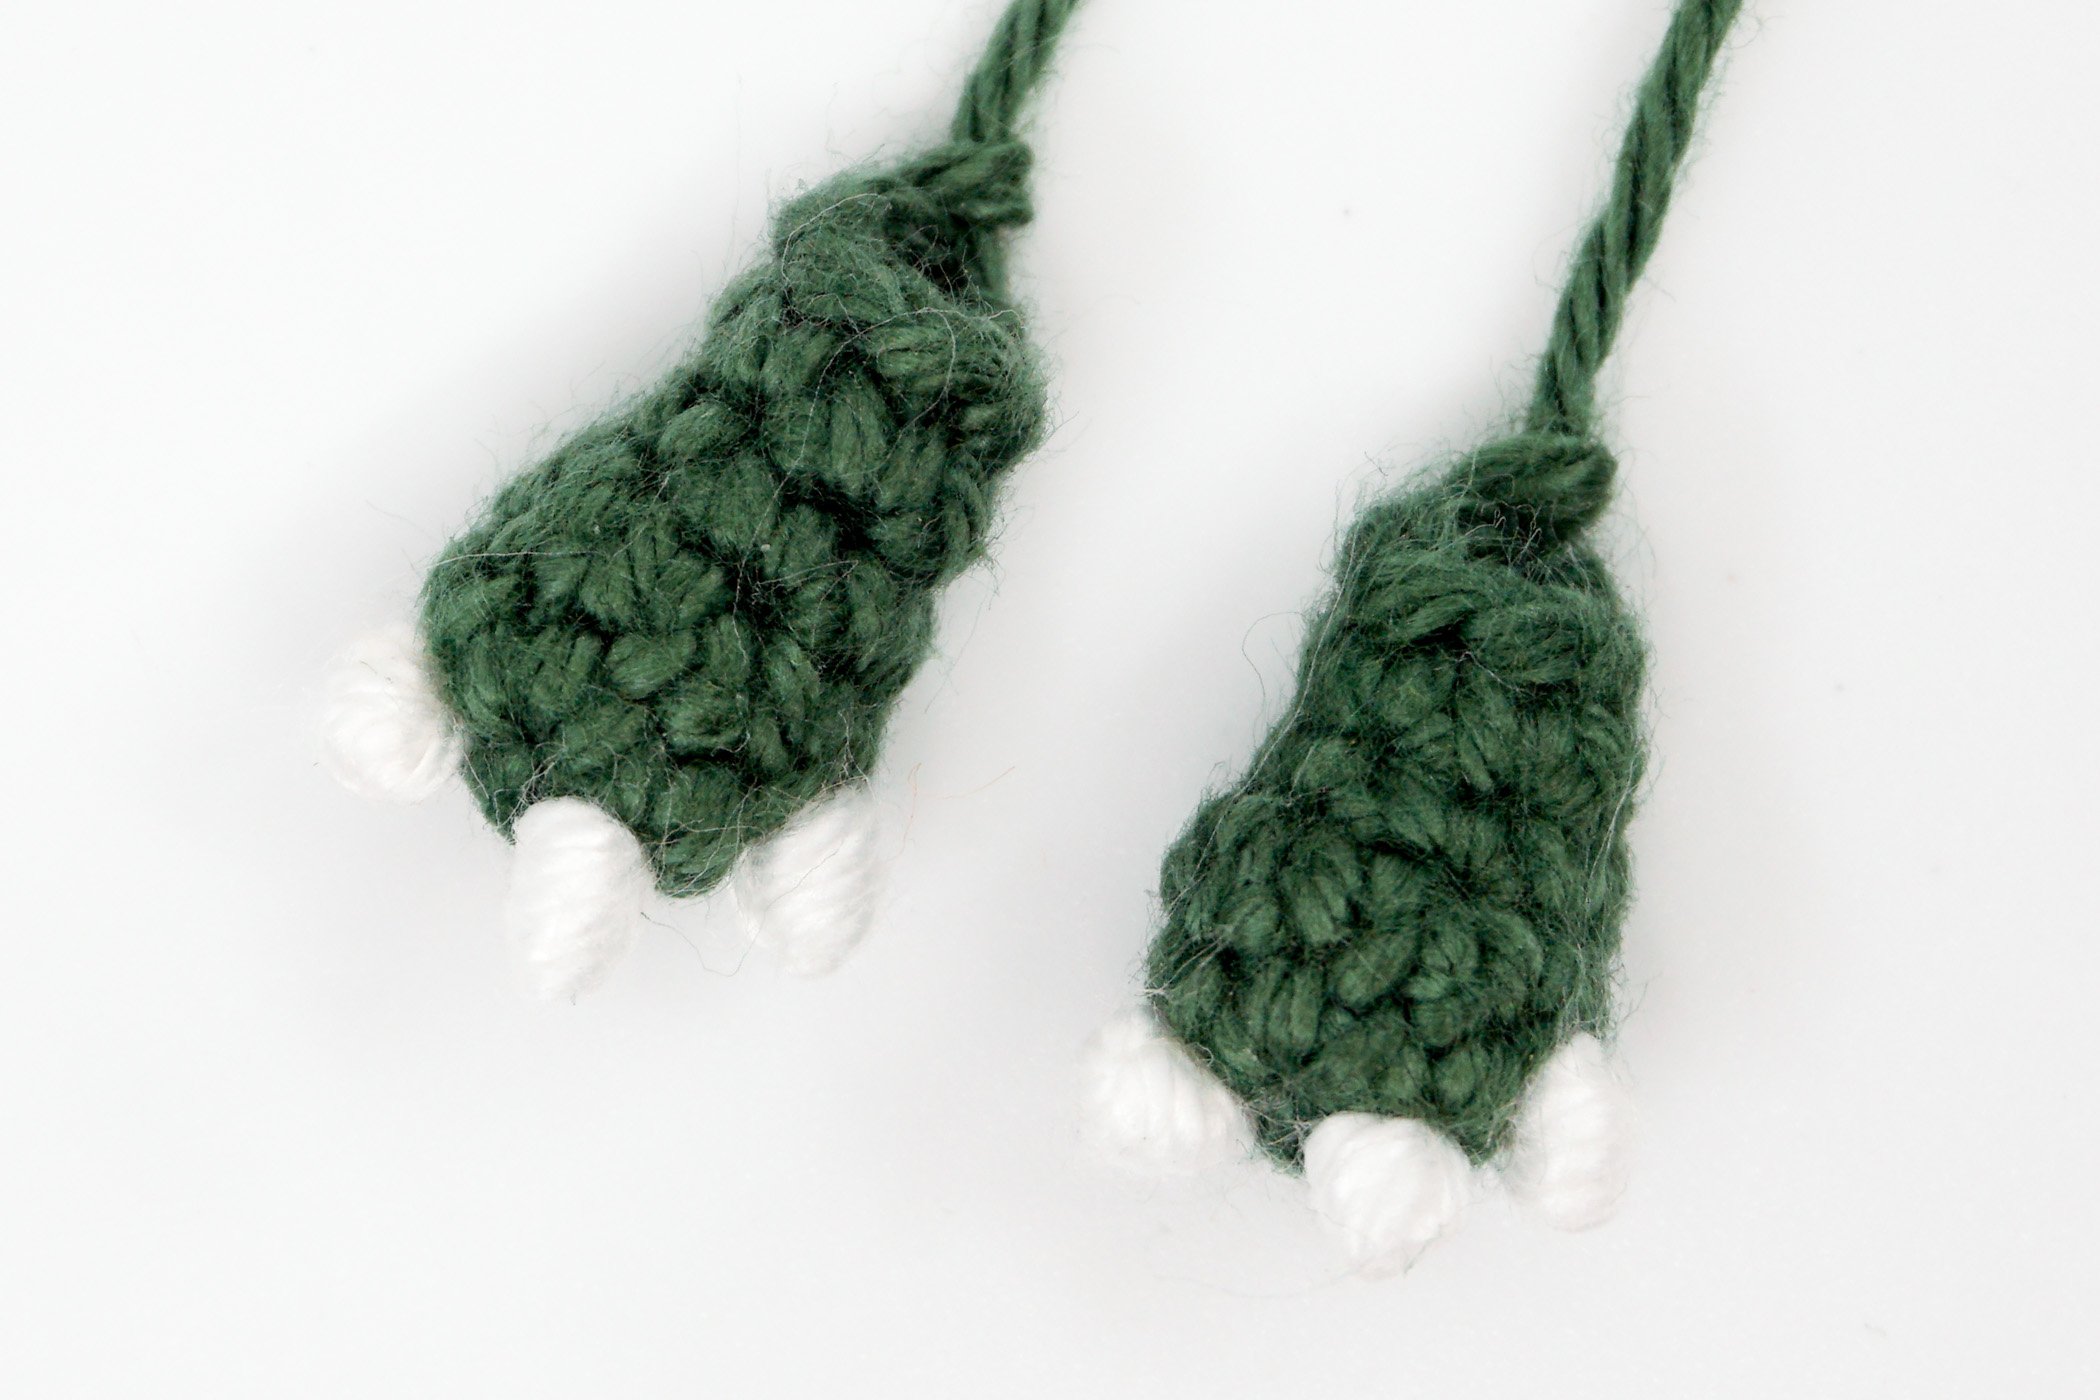
Variation 2 only applies to the legs, the claws for the arms are attached as described in Variant 1. Variation 2 is done AFTER you have sewn the legs onto the body. To do this, wrap a White thread 3 to 4 times around a loop on the leg that was created when crocheting into the back loop. Create 3 claws next to each other on both feet. Hide the remaining thread inside the leg.

Legs: Sew the legs onto the body. Start sewing the first leg onto the body directly over the edge that was created by the round that was crocheted only into the back loop. Sew on the second leg 4 to 5 stitches left or right from the first leg, again just over the edge.


Arms: Sew the arms left and right onto the body, 1 stitch row under the “neck”. Do not sew the arms directly over the legs but slightly behind the legs.


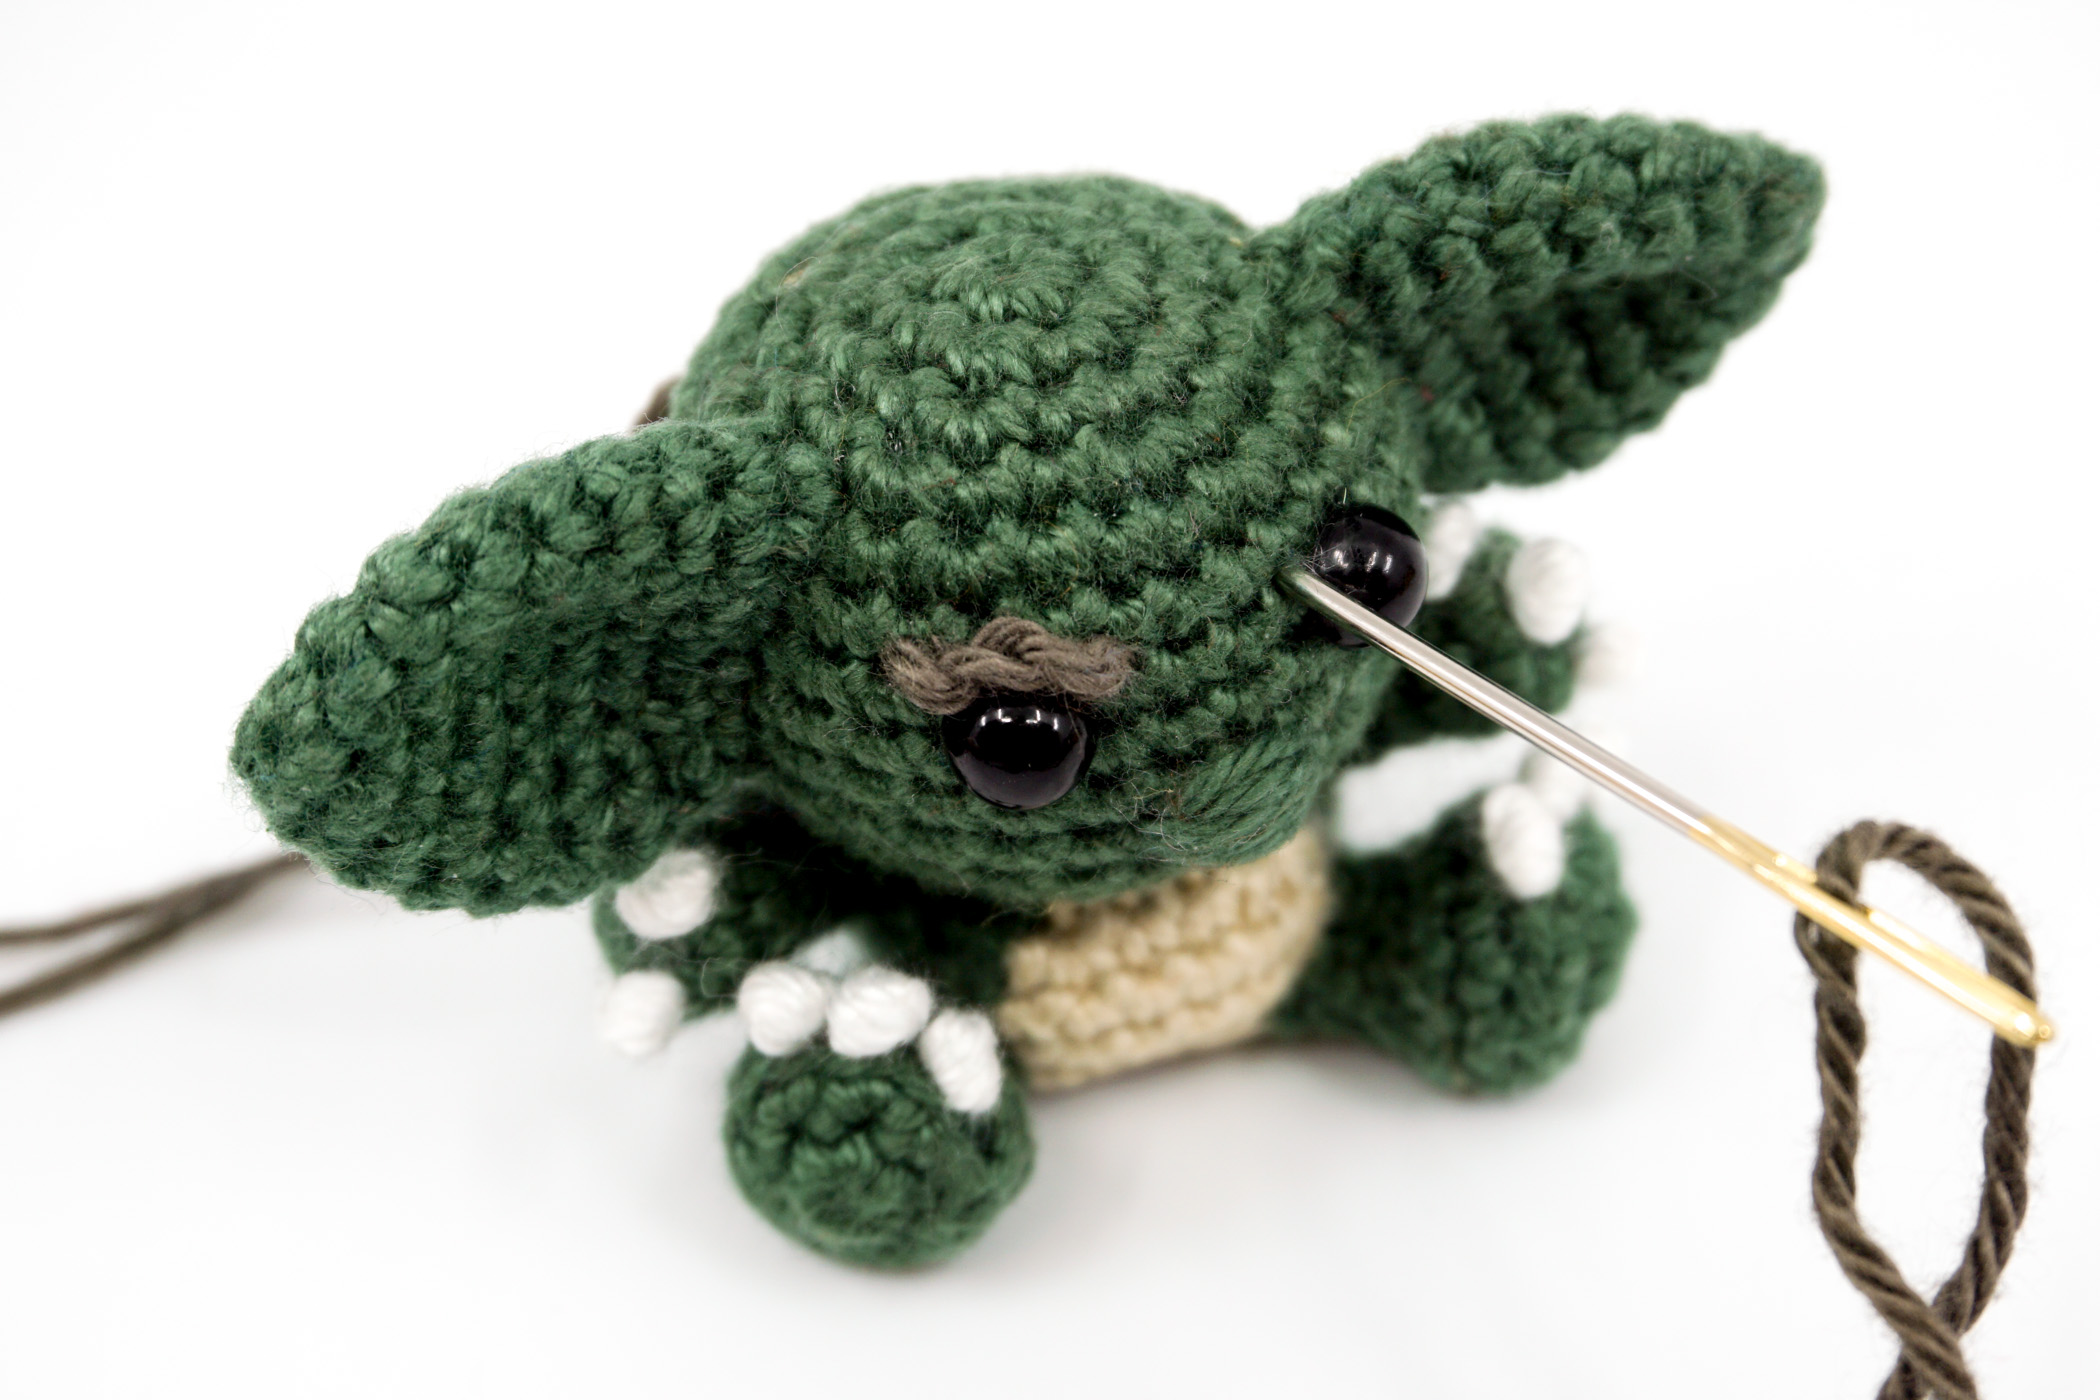
Eyes: Attach the safety eyes after the 7th stitch row counting from the top center of the head. The eyes are 4 stitches apart from each other. Back to the crochet pattern.

Nose: Embroider the nose with a Pine thread. Embroider the nose centered under the eyes. To do this, pull the thread horizontally several times from one stitch through the next, skipping one stitch. Repeat until a thick nose forms.


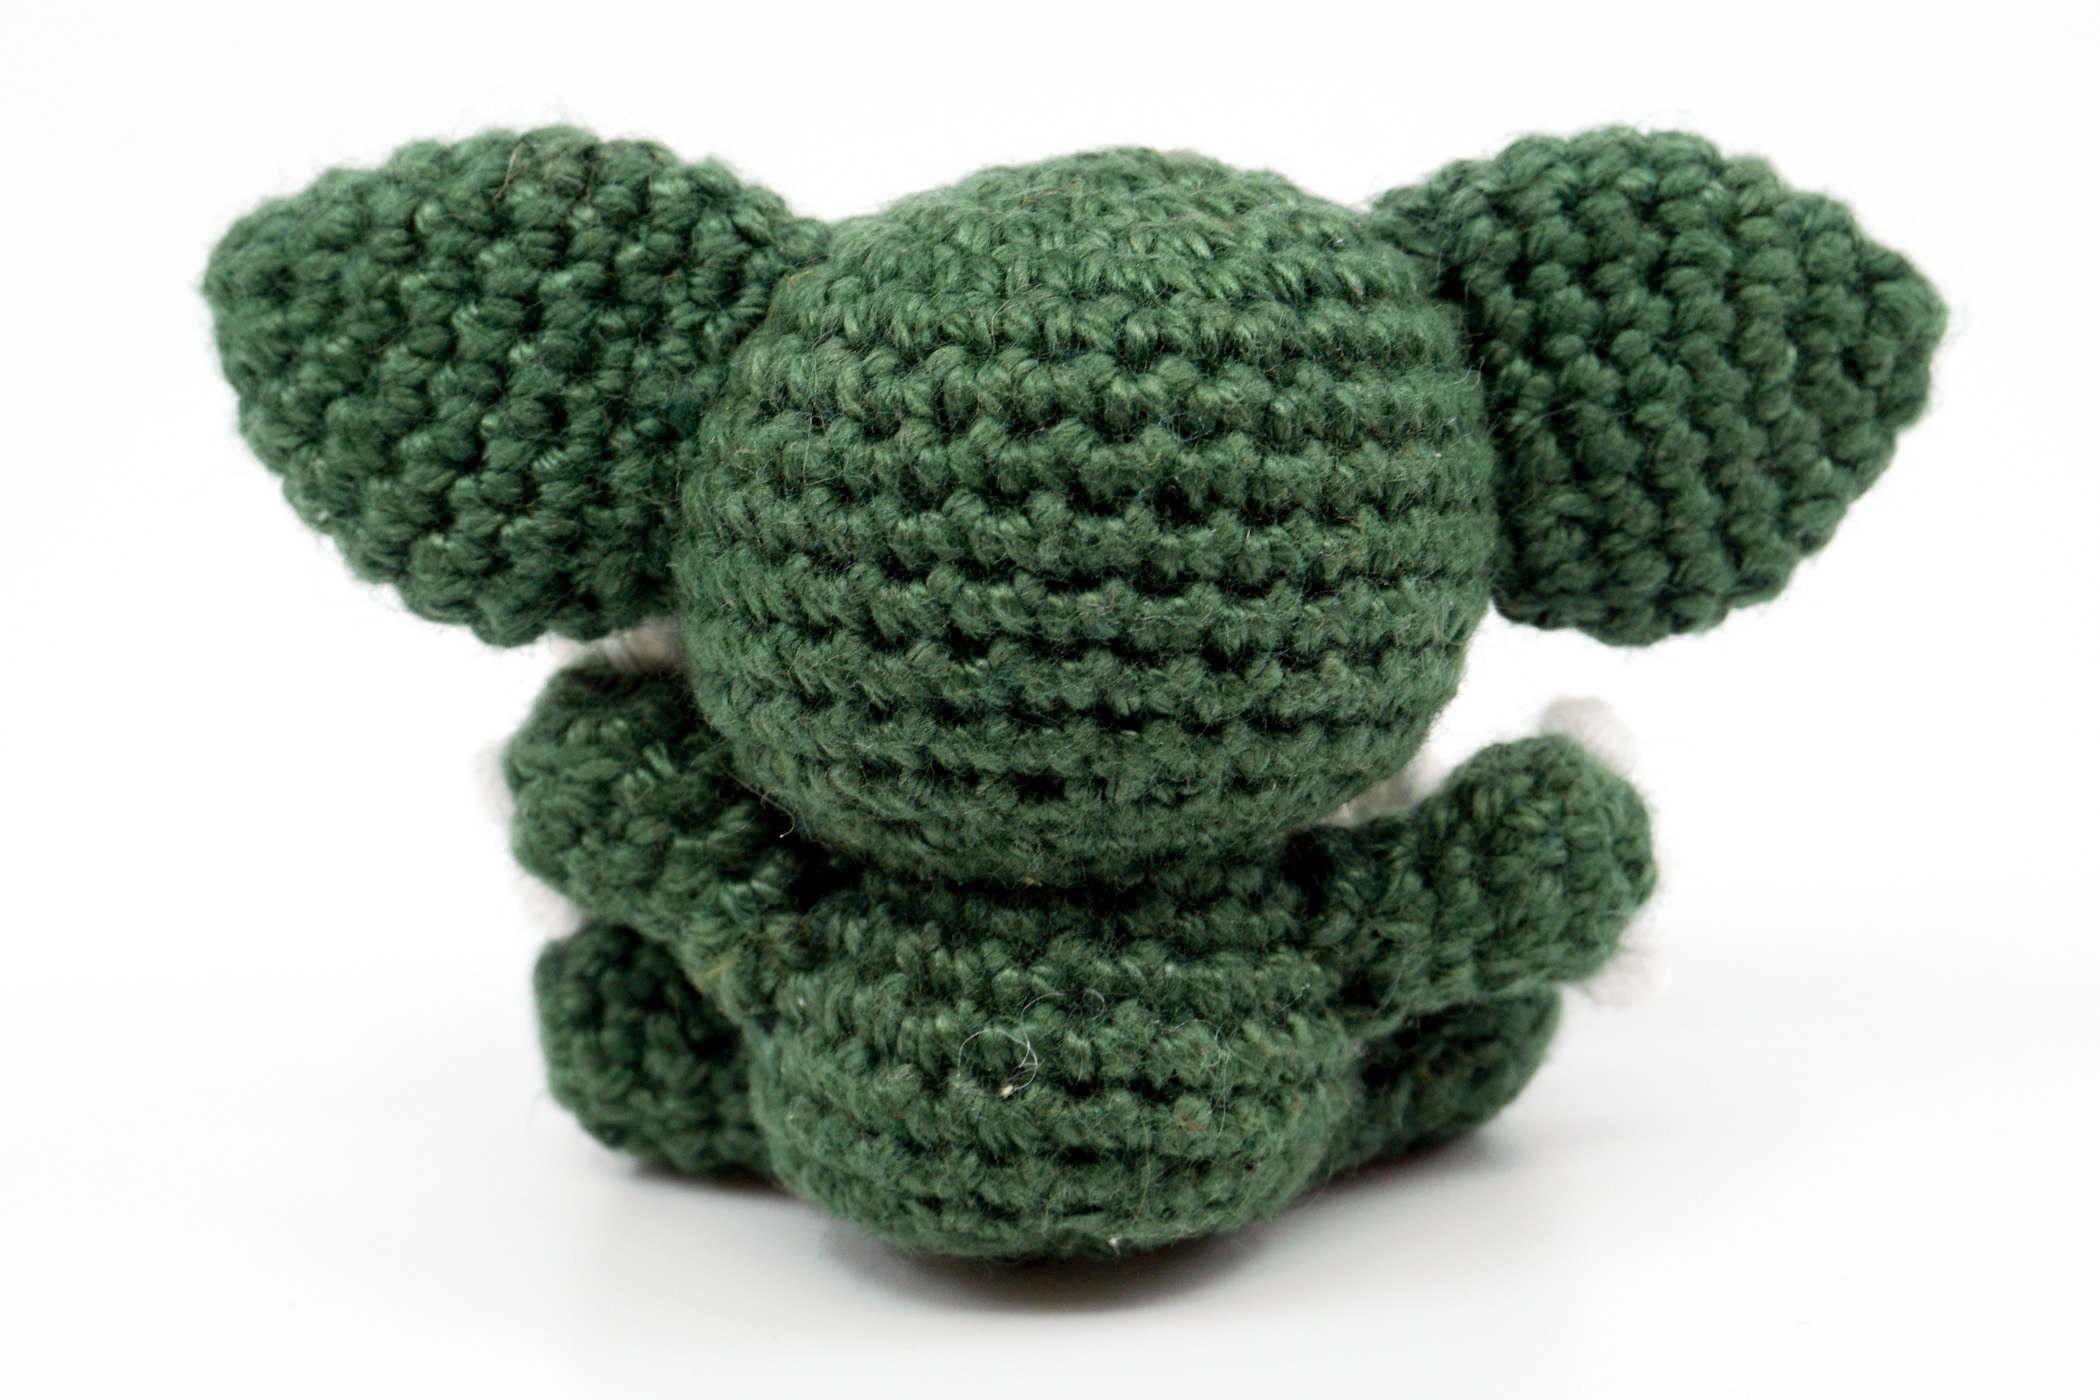
Ears: Sew the ears to the right and left side of the head. Start 4 to 5 stitch rows from the top of the head. The straight side of the ear should be on top and the rounded side on the bottom.


Eyebrows: Sew on the eyebrows directly above the eyes. To do this, pull the threads of both ends of the eyebrows through the head with a tapestry needle. Cut the threads and hide them in the head of the Goblin.


DONE!