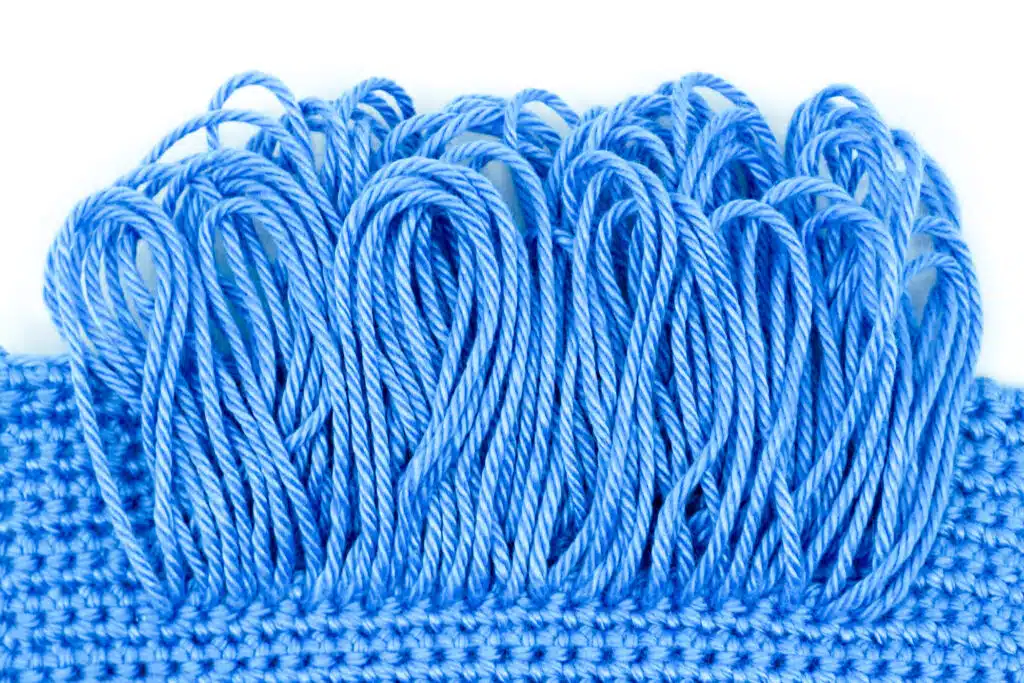
The loop stitch is an easy-to-crochet stitch or rather addition that can be crocheted with single crochet stitches and other basic stitches to create a small or big loop on your crochet piece.
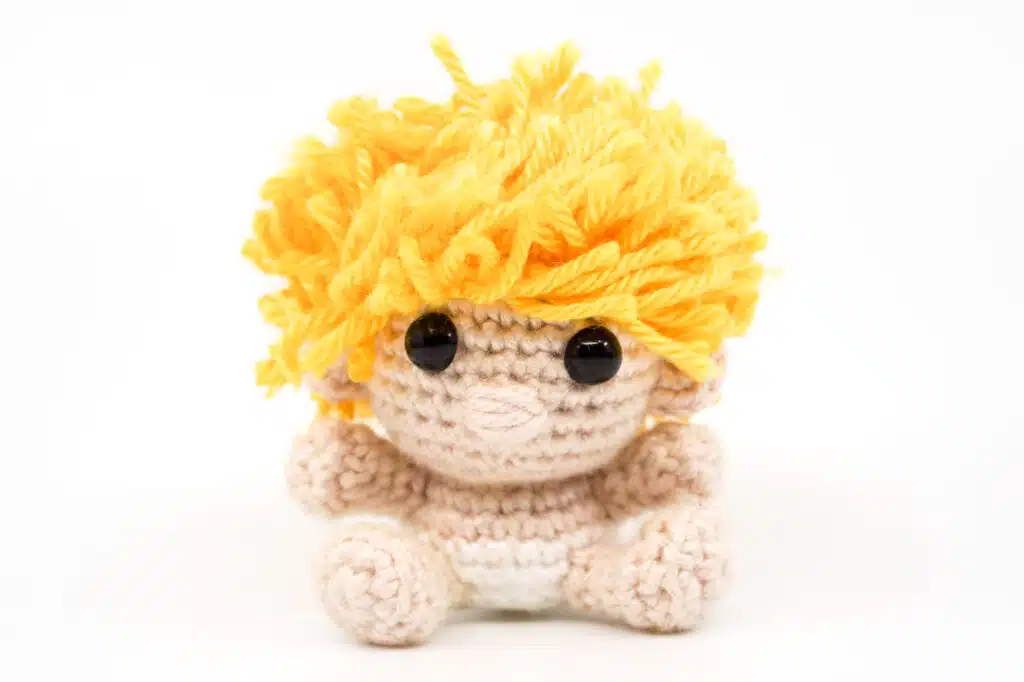
The loop stitch can be used as a decorative element for bags, hats and clothing or as fur and hair when crocheting amigurumi.
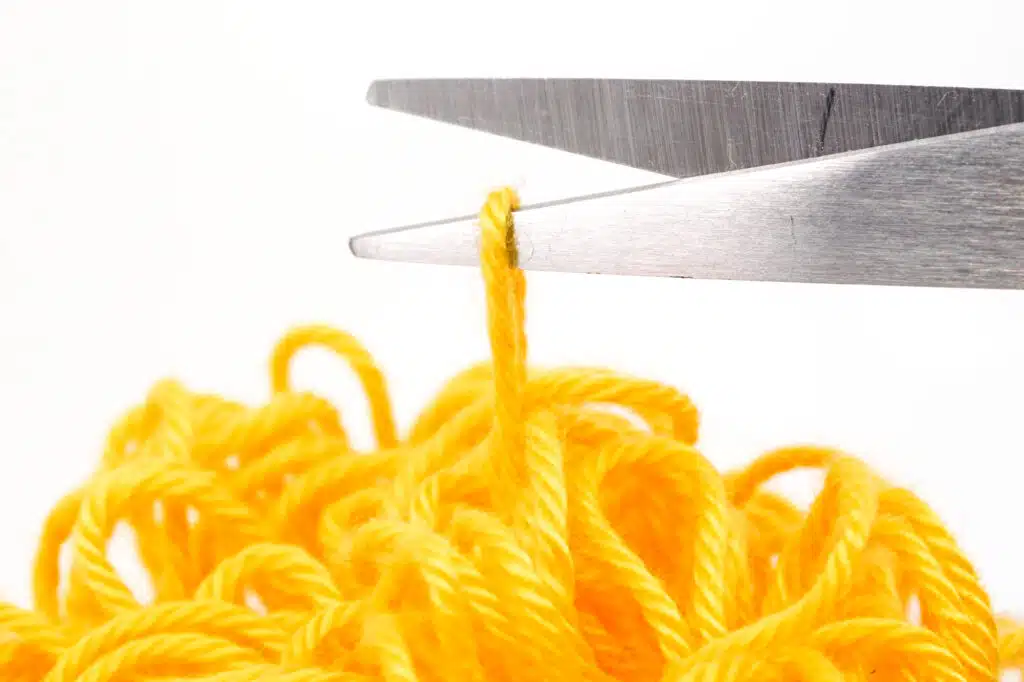
The loops themselves can be cut open after completion without affecting the actual crochet piece.
In this lesson the “Schachenmayr Catania” yarn was used with a 2.5 mm crochet hook.
Loop Stitch
Needed Techniques
Needed Materials and Tools
To order the materials click on the respective link (affiliate link).
- Colors: blue
- This pattern was crocheted using the “Schachenmayr Catania” yarn (100% Cotton, Meterage: 125 m, Yarn Ball Weight: 50 g, Yarn Weight: Sport – 5ply / Fine (2)) in the following colors:
- Capri (Capri (384))
- 2.5 mm Crochet Hook
- Scissors
- Stitch Marker
How to Crochet a Loop Stitch
In this lesson, the loop stitch is crocheted with single crochet stitches in spiral rounds. You can of course also crochet loop stitches in rows and joined rounds.
If you crochet other stitches than single crochet stitches, always first create the loop as described in the first steps and then finish the stitch you want to crochet as usual.
Use the check boxes to mark your finished rounds, rows and steps.
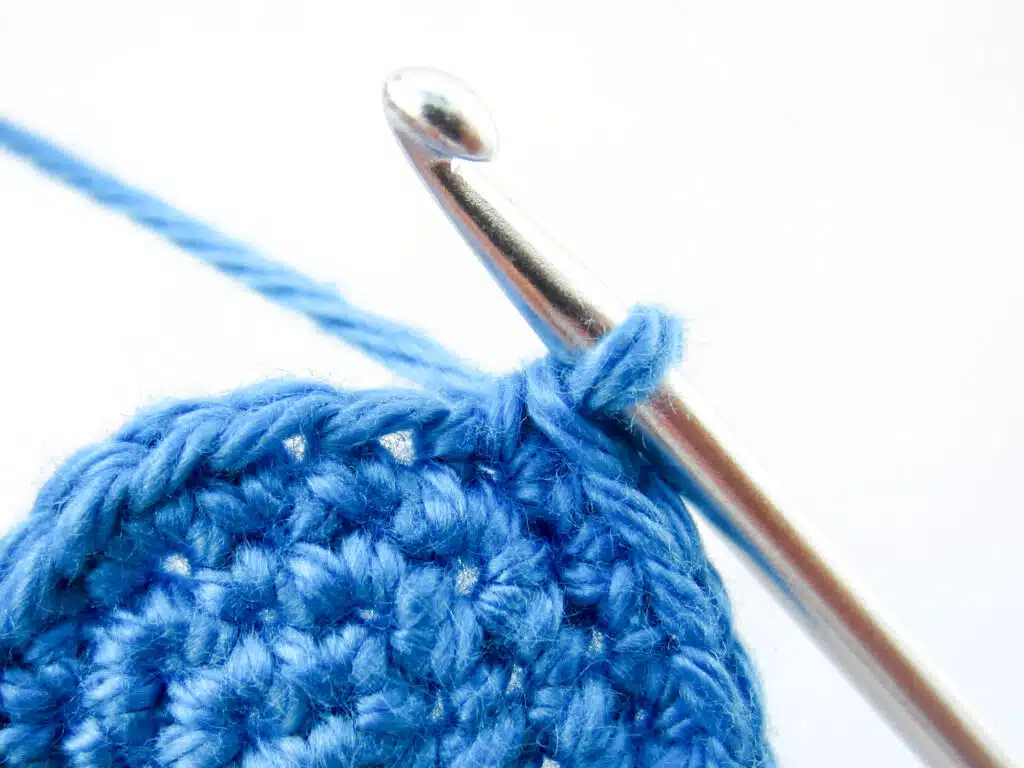
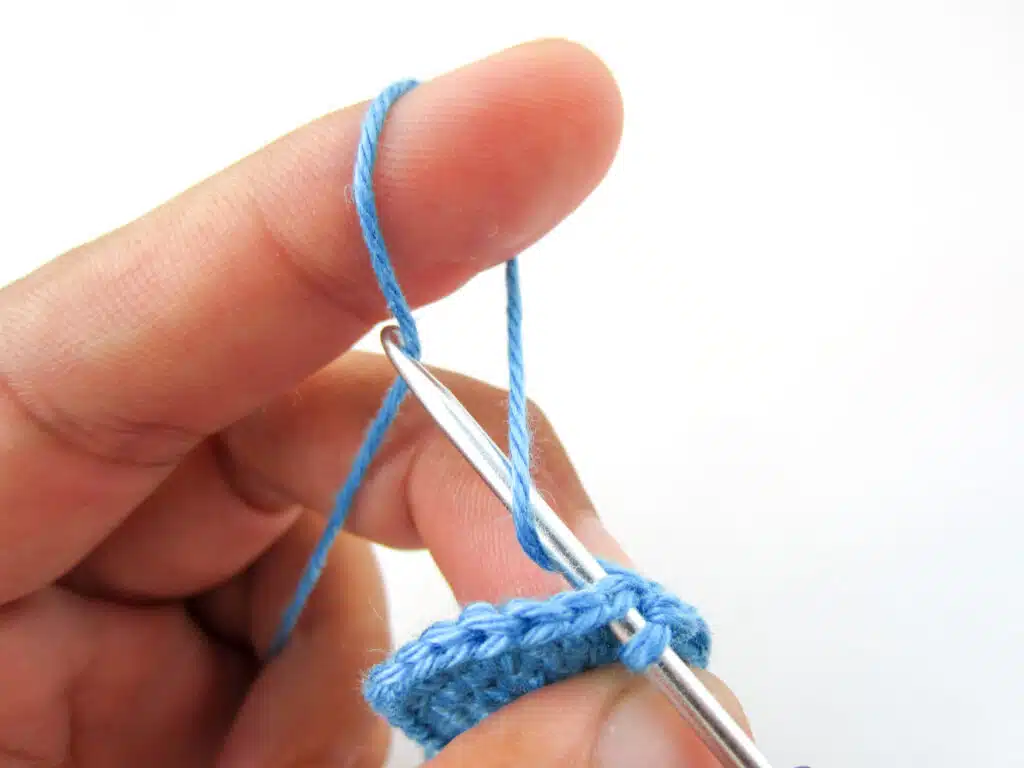
- Step 1: Push the crochet hook through the next stitch and move it from right to left over and then under the right thread.
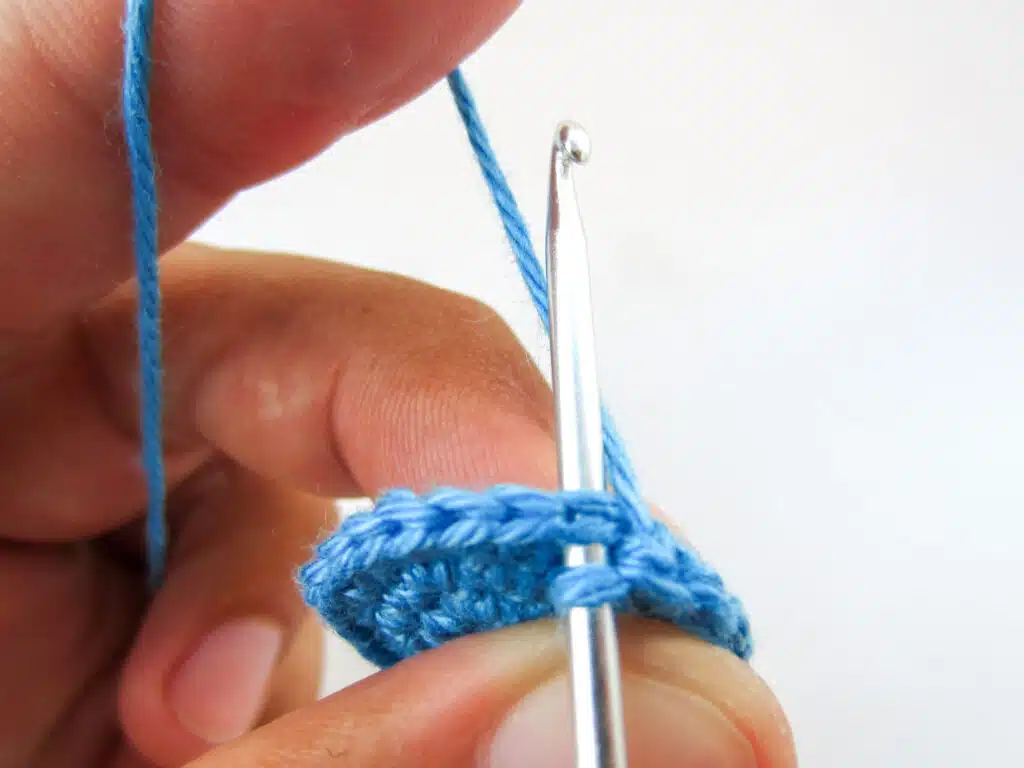
- Step 2: Yarn over the left thread that runs over the index finger. This thread determines how big the loop will be. The longer the thread that runs over the index finger, the larger the loop will be and vice versa.
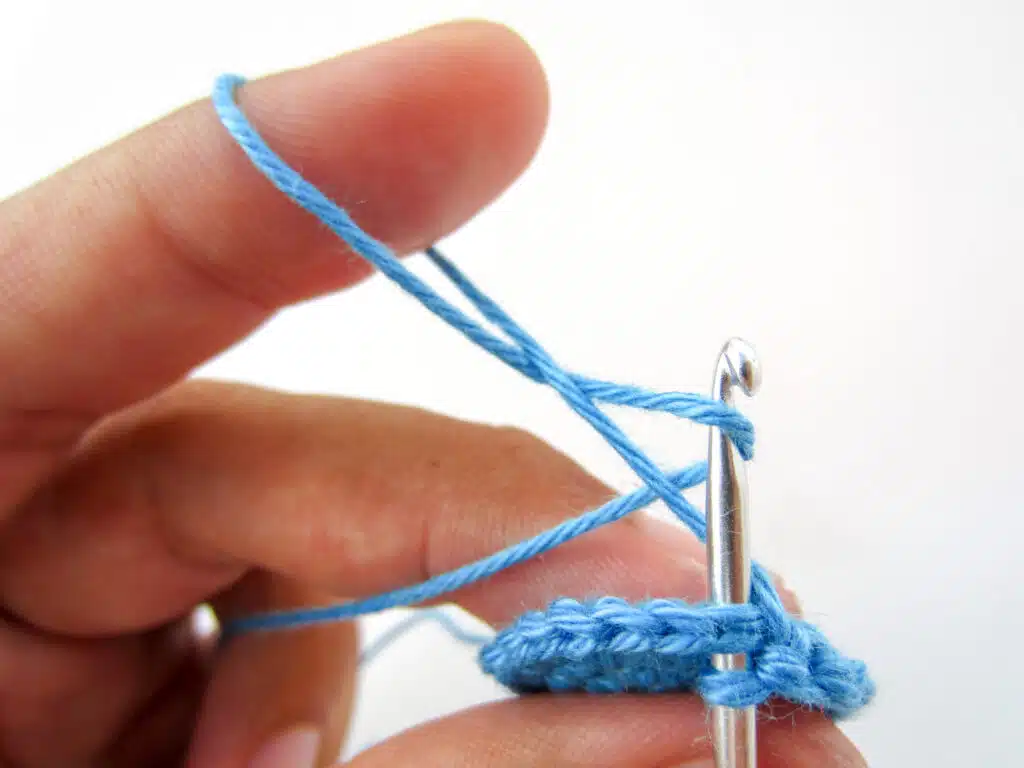
- Step 3: Pull the thread you’ve picked up with the hook forward, passing it behind the right thread.
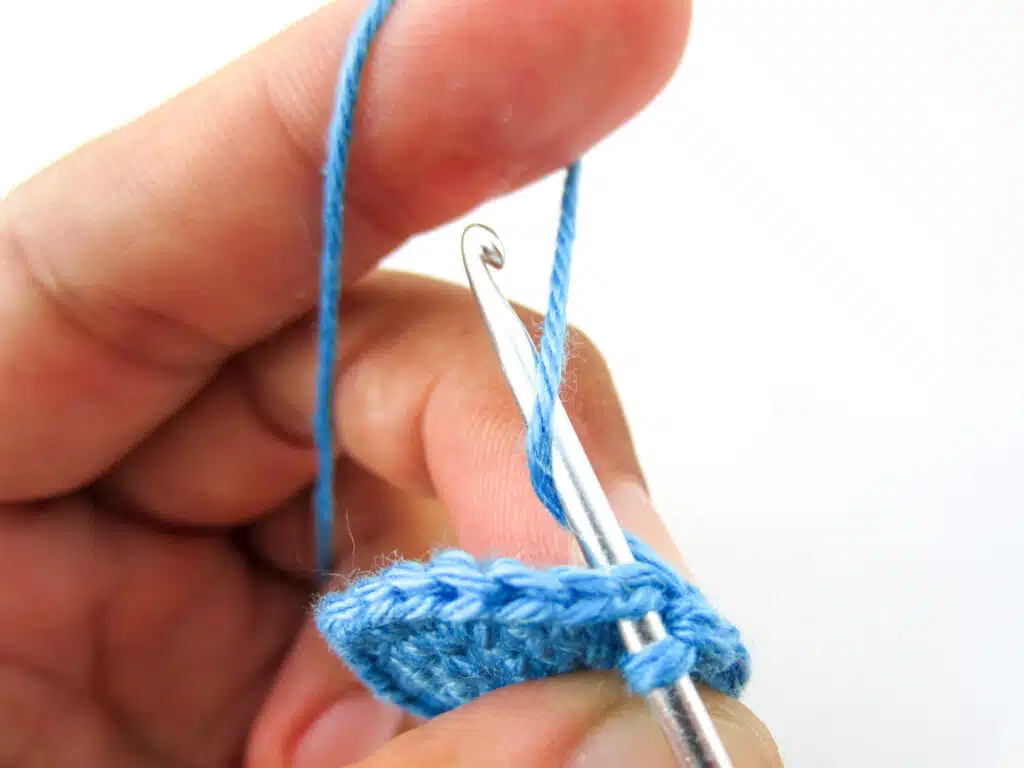
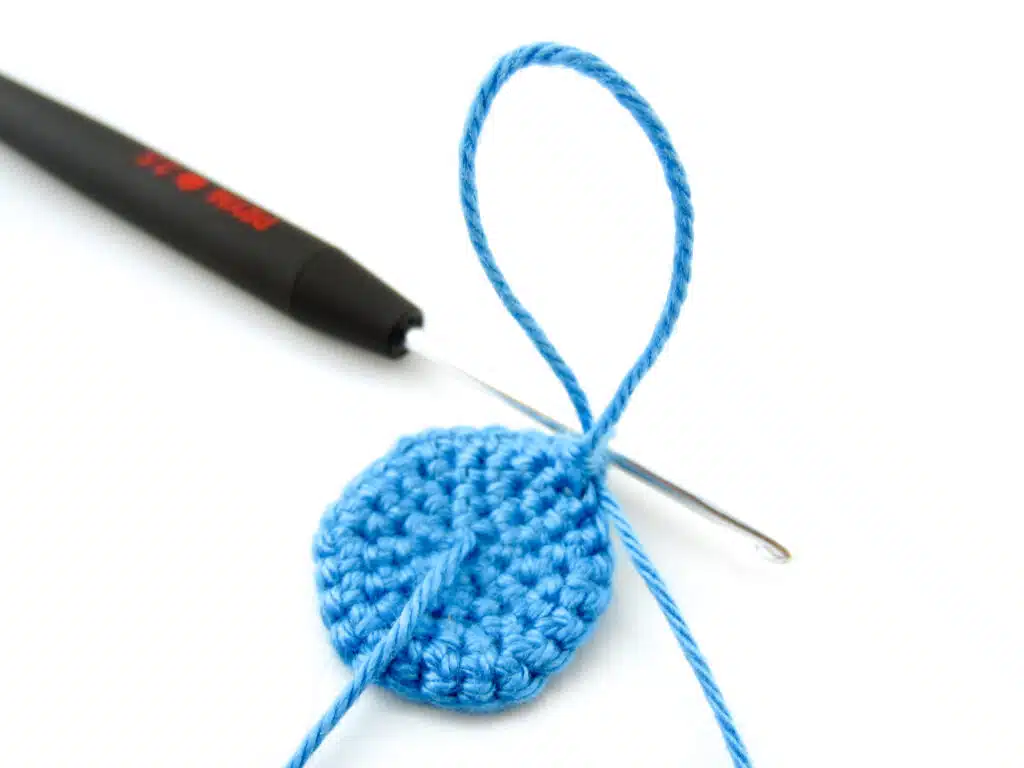
- Step 4: Then pull the thread through the just pushed through stitch. You have 2 loops on your hook. Done is the actual loop of the loop stitch. Now finish the single crochet stitch as usual. If you crochet other stitches, you finish the respective stitch as usual.
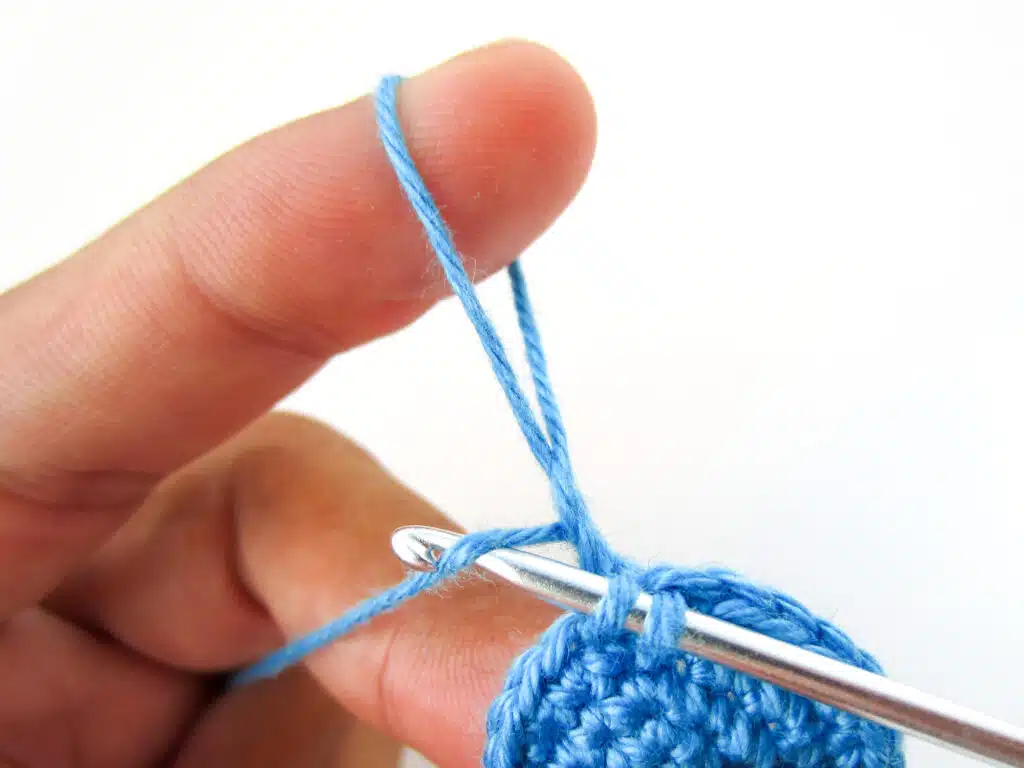
- Step 5: Now yarn over the left thread that is not part of the actual loop (the one which runs to the ball of yarn) and pull it through both loops on the crochet hook.
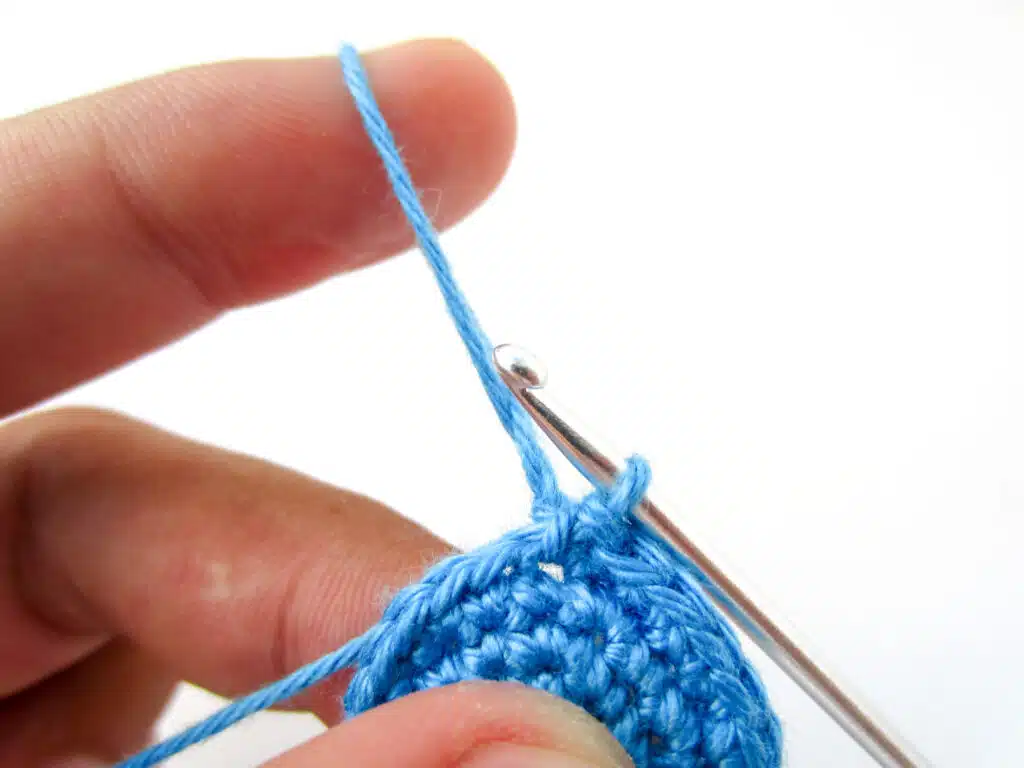
- Step 6: Release the loop over your finger, the loop will be on the “wrong side” of the crochet piece.
Differences when Crocheting in Rounds and Rows
The loop stitch or the actual loop is always created the same whether you crochet in rows or rounds. The only difference to note is the fact that the loop stitch is always created on the “wrong side” of the crochet piece.
If you crochet in rows and you want to create loop stitches on one side only, then you always have to crochet one row without loop stitches and the next one with, otherwise they will appear on both sides of your project.
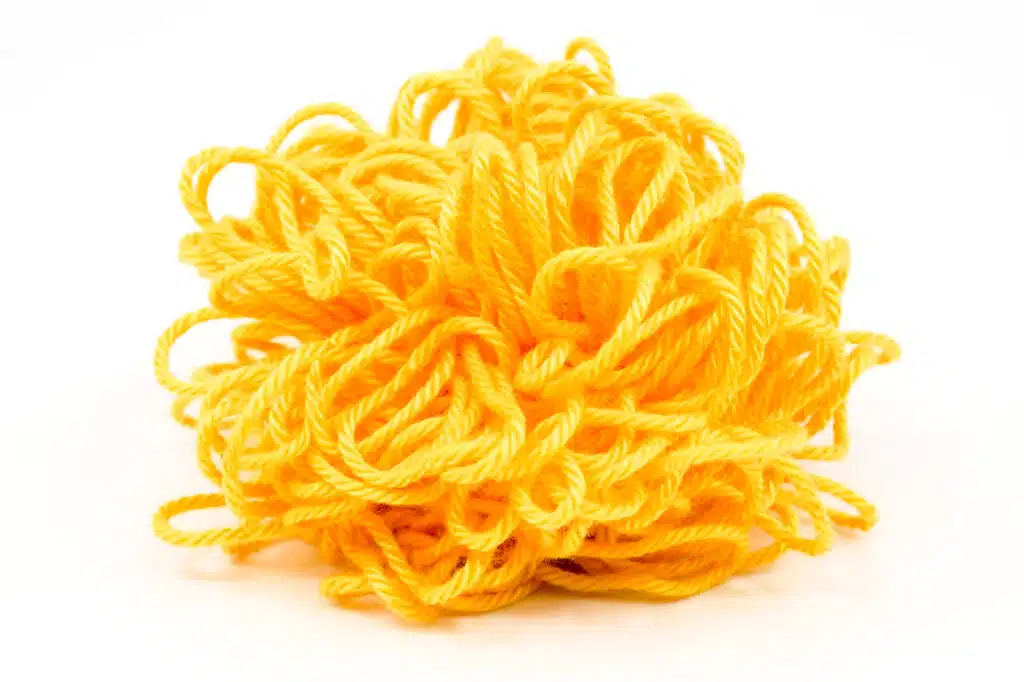
However, since you never turn your work around when crocheting in rounds, you can crochet each round with loops as you always stay on the same side.
Cut open the Loops
The finished loops can be cut open without affecting the crochet piece. The cut loops can then be used as hair and fur for your amigurumi creations.


