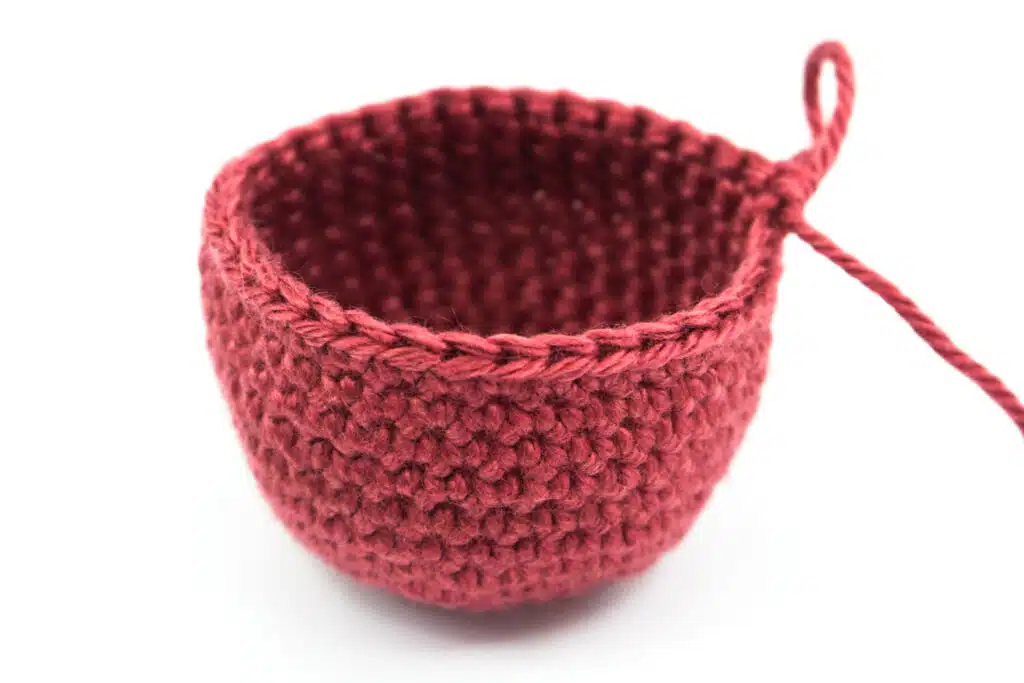
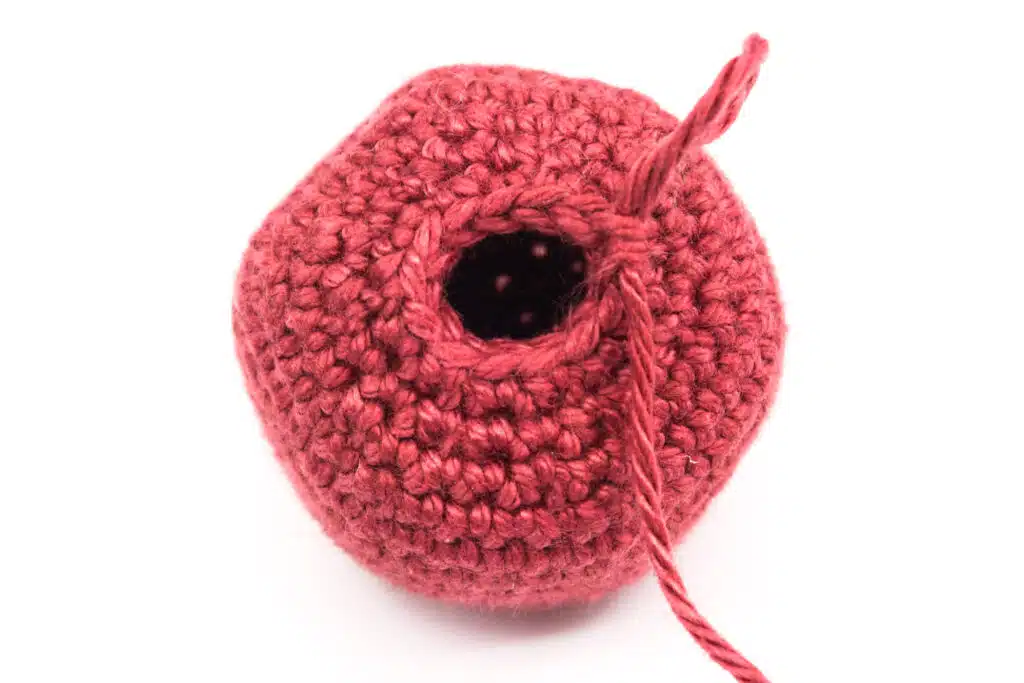
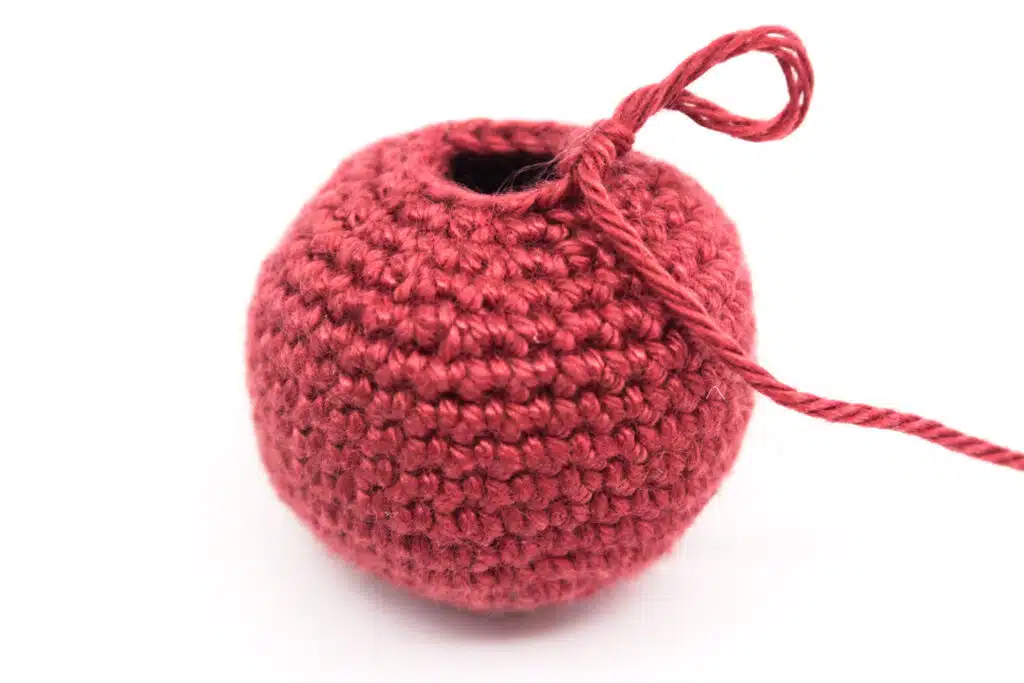
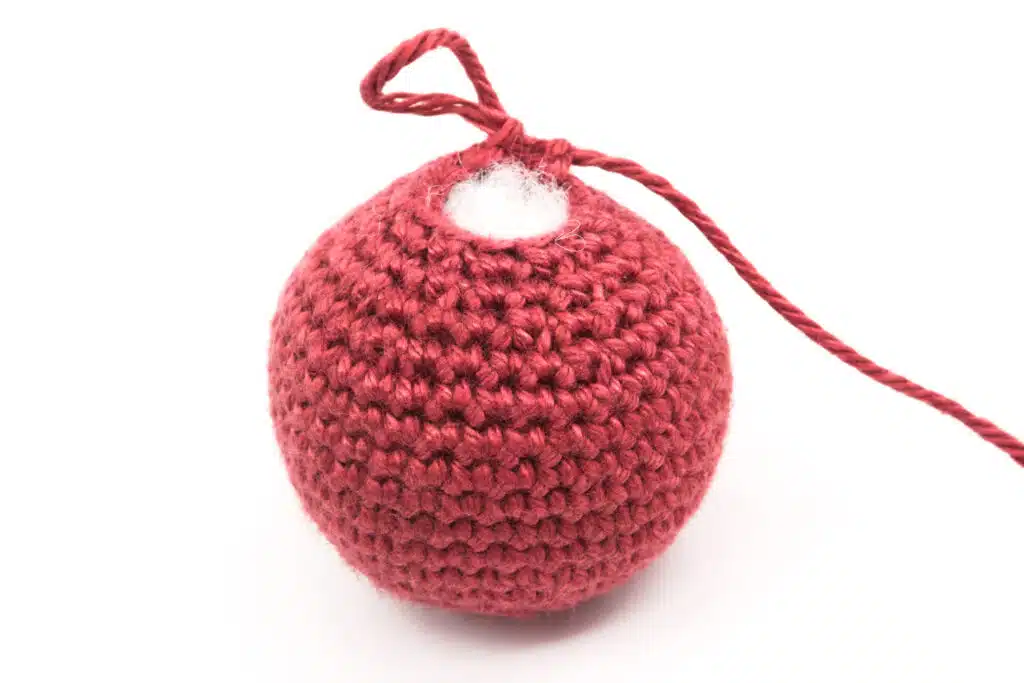
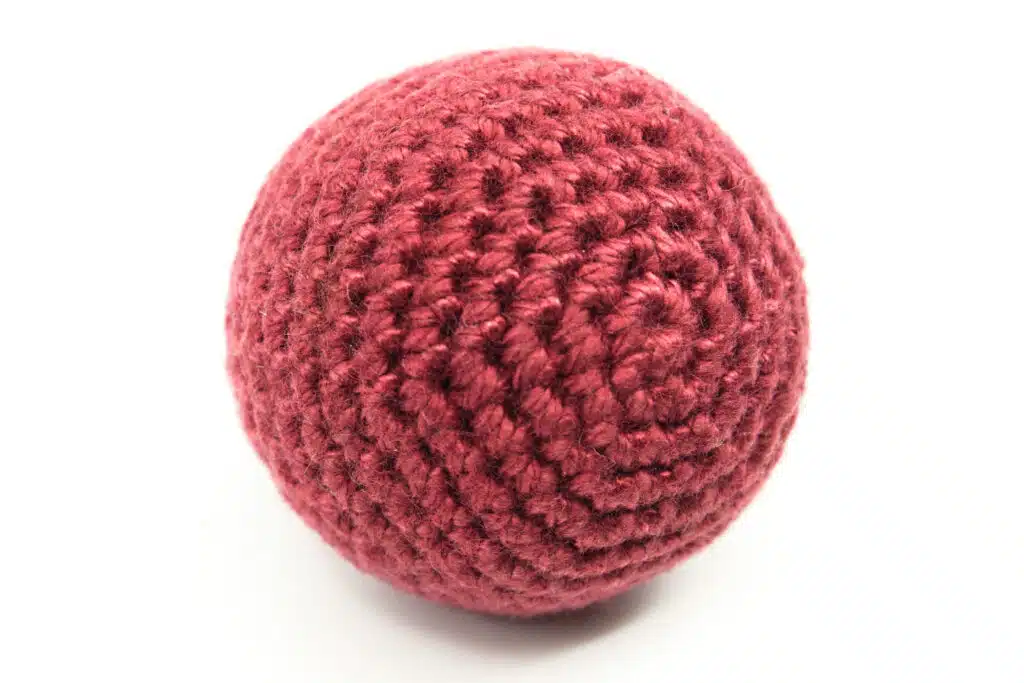
The ball, sphere and its variations is one of the most frequently used forms in crocheting amigurumi. Be it for heads, bodies or other limbs and elements, the crocheted ball is indispensable and essential for all amigurumi and creations.
As clear and simple as a crocheted ball may appear, there are 2 different ways to crochet it. One variation creates a clearly “rounder” looking ball while the second variation creates a more “angular” appearance.
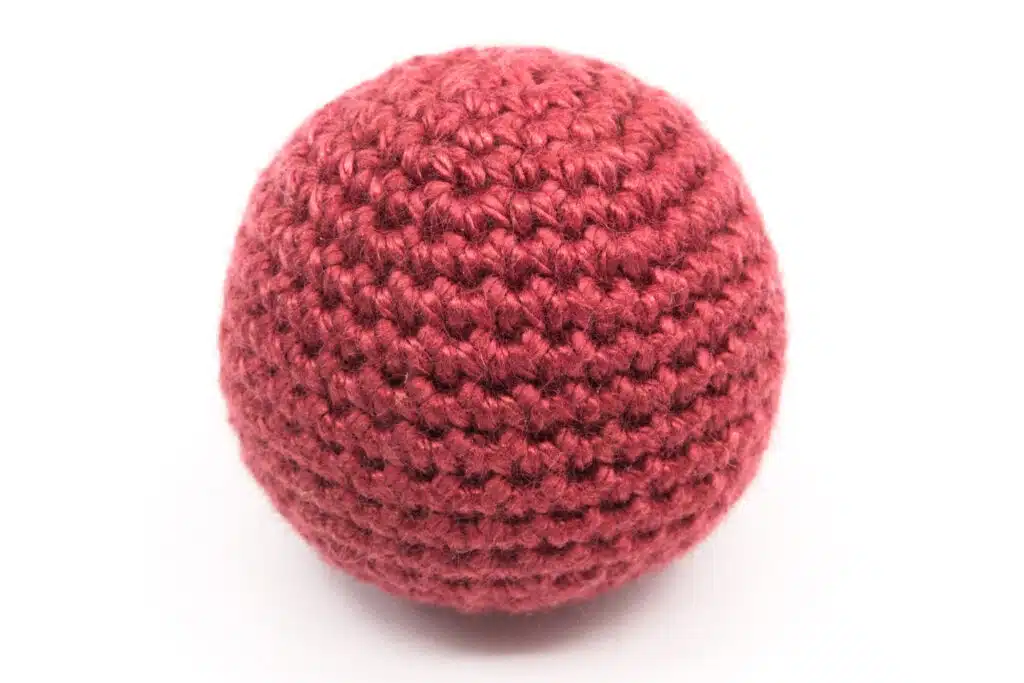
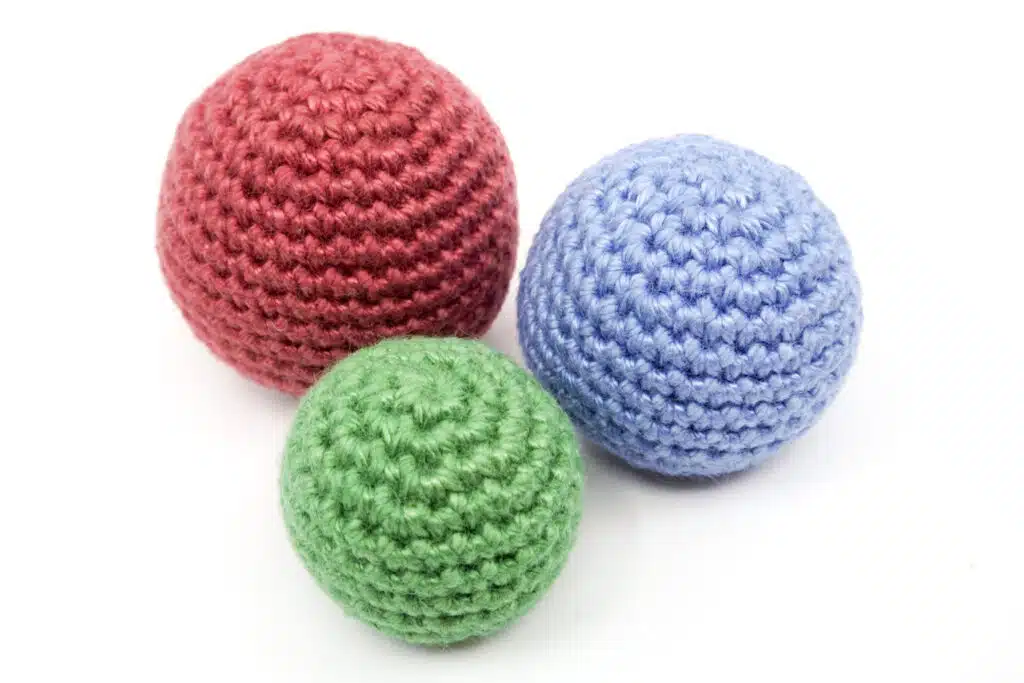
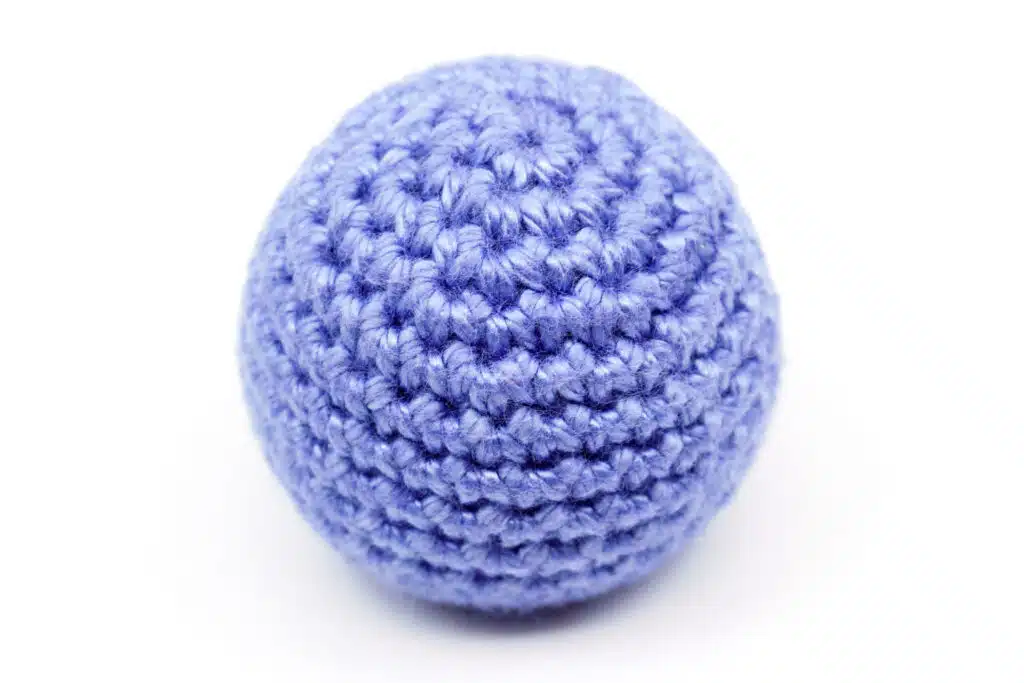
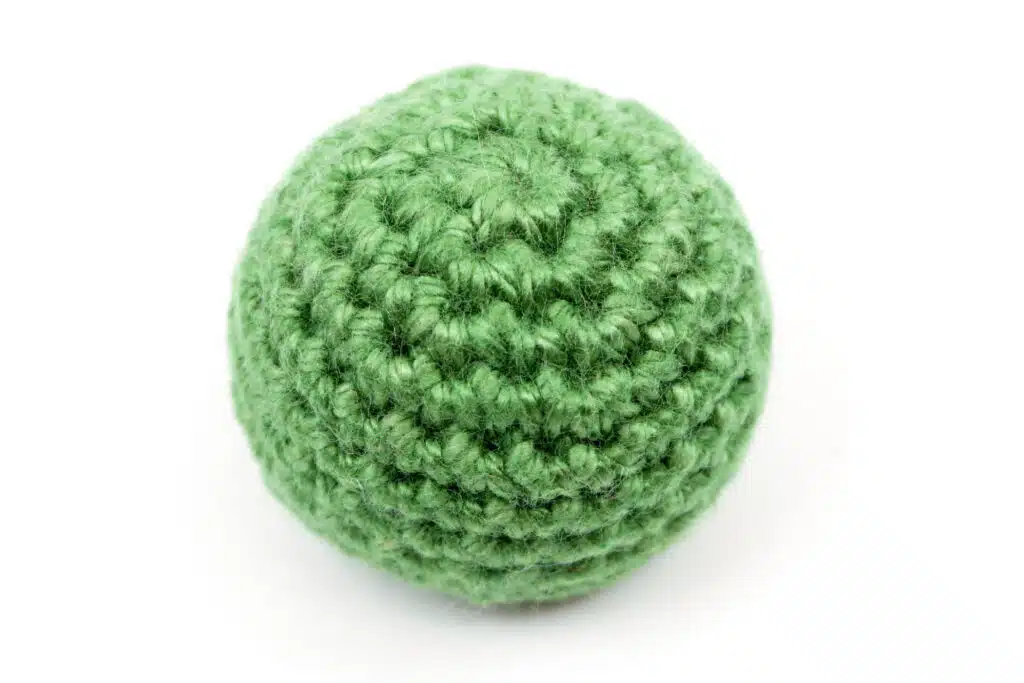
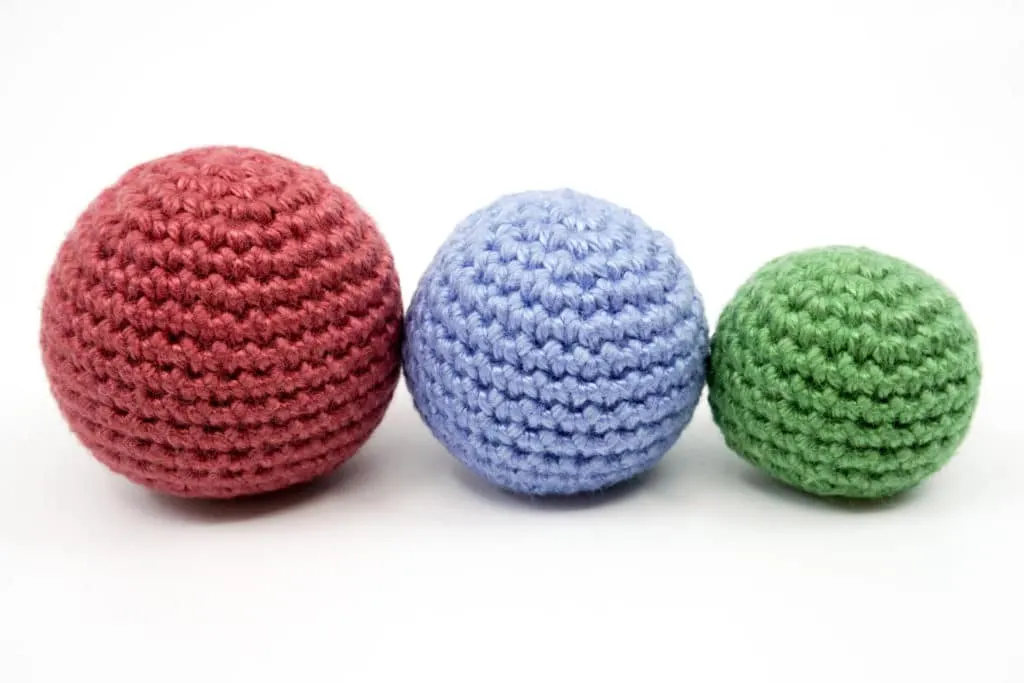
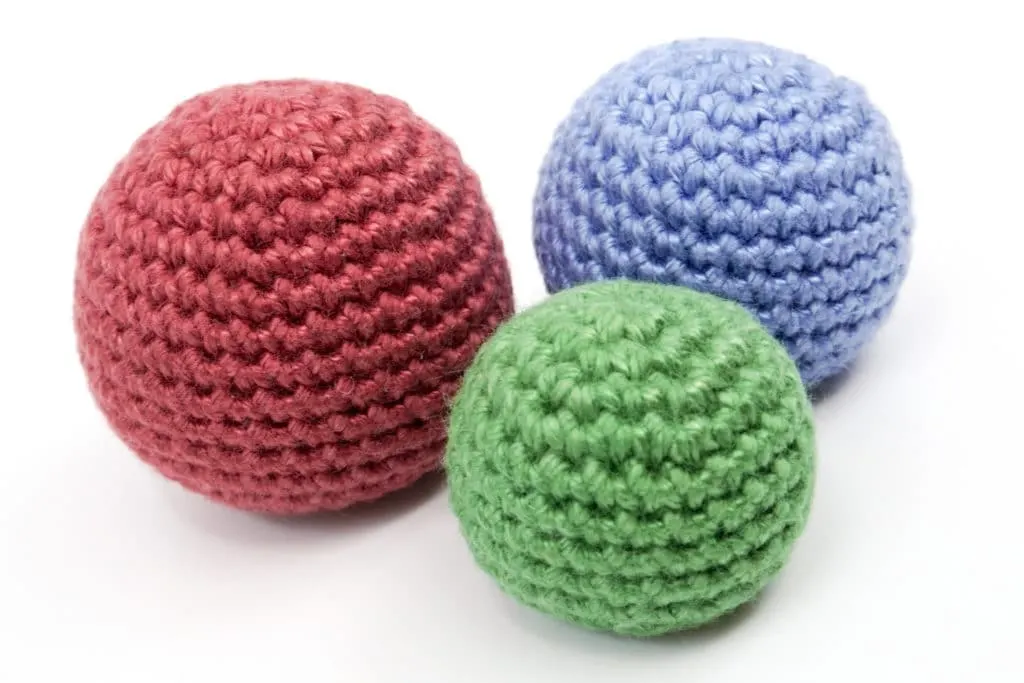
The depicted crochet balls and spheres have been crocheted with the “Schachenmayr Catania” yarn with a 2.5 mm crochet hook. The balls are crocheted with single crochet stitches in spiral rounds.
Free Ball Crochet Pattern
Needed Techniques
Needed Materials and Tools
To order the materials click on the respective link (affiliate link).
- Colors: red, blue, green
- This pattern was crocheted using the “Schachenmayr Catania” yarn (100% Cotton, Meterage: 125 m, Yarn Ball Weight: 50 g, Yarn Weight: Sport – 5ply / Fine (2)) in the following colors:
- Marsala Red (Marsalarot (396)), Capri (Capri (384)), Moss (Moos (412))
- 2.5 mm Crochet Hook
- Polyfill
- Scissors
- Tapestry Needle
- Stitch Marker
The “Round” Variation
Each sphere is almost always created in the same way. You start with a magic ring, increase the stitches in a certain ratio, then crochet several rounds without increasing or decreasing and from a certain round on you decrease stitches in the same ratio as at the beginning.
The difference between the two variations lies in the distribution and ratio of these increases and decreases.
This variation should be the usual way of how to crochet balls and spheres for every would-be amigurumi designer.
The reason why the following variation results in a more beautiful, rounder appearing ball lies in the fact that with round 4 and afterwards in every 2nd following round, the increases are crocheted offset to the previous round.
Therefore not all increases and later decreases of all rounds lie on top of each other which would result in “corners”. Instead you get a more “round” appearance.
Use the check boxes to mark your finished rounds, rows and steps.
- Crochet the “round” ball in spiral rounds in Marsala Red.
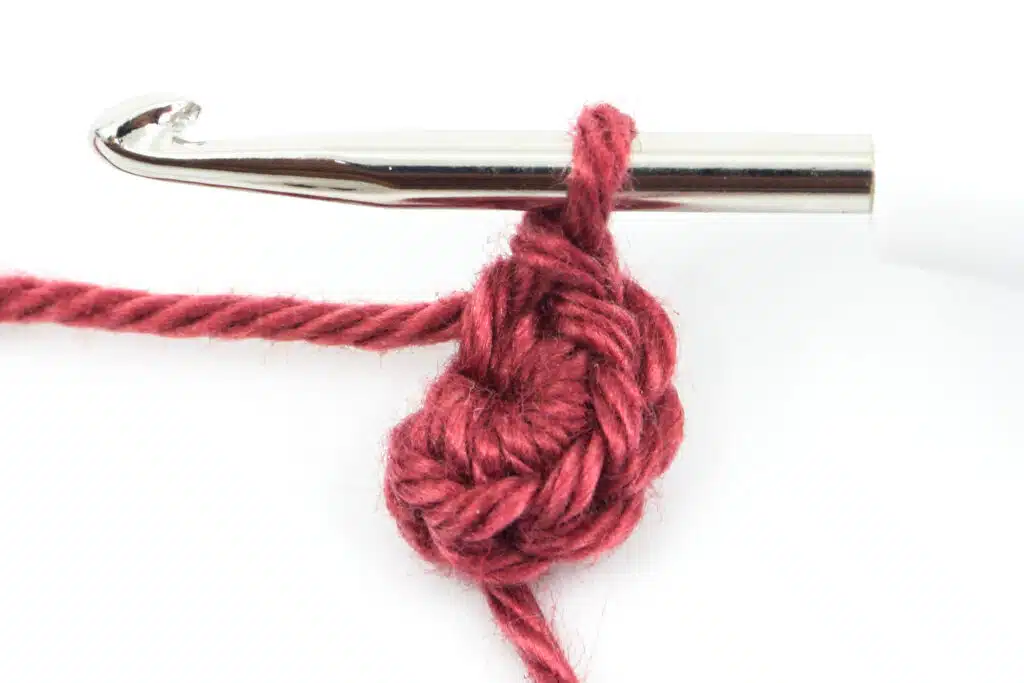
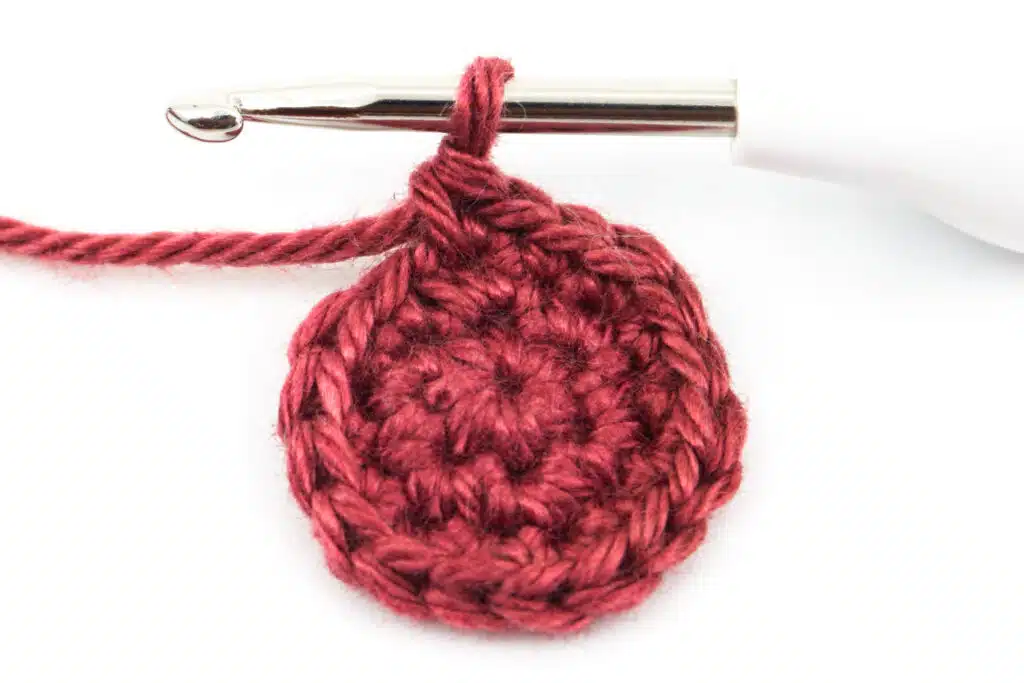
- Round 1: 6 sc into the Magic Ring (6 stitches).
- Round 2: [1 increase] repeat till end of the round (12 stitches).
- Round 3: [1 sc, 1 increase] repeat till end of the round (18 stitches).
- Round 4: 1 sc, 1 increase, [2 sc, 1 increase] repeat 5 times, 1 sc (24 stitches).
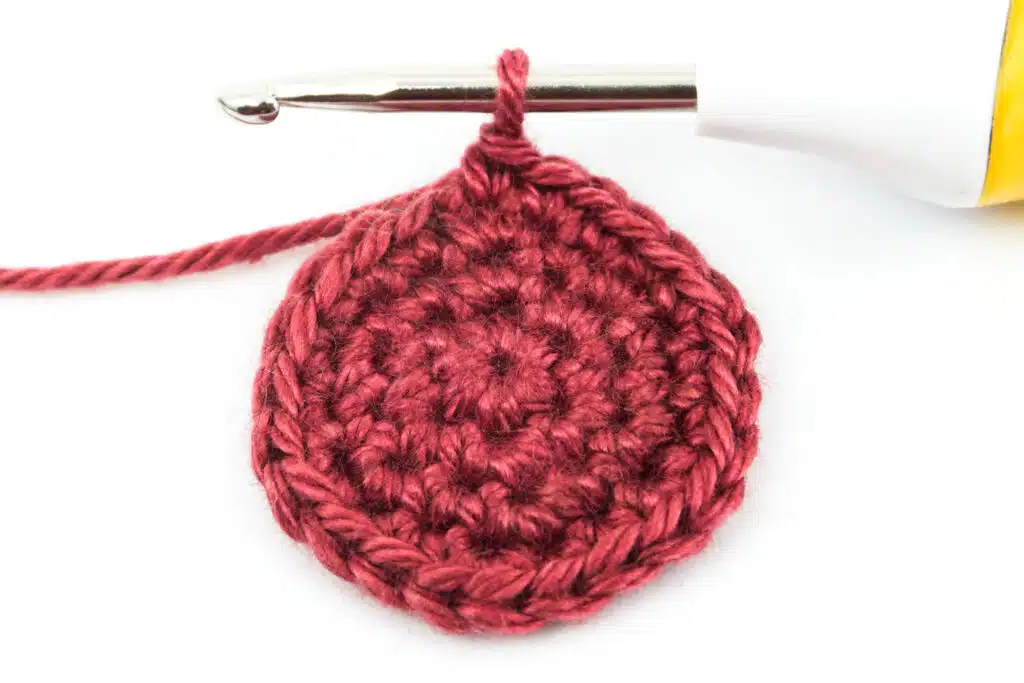
- Round 5: [3 sc, 1 increase] repeat till the end of the round (30 stitches).
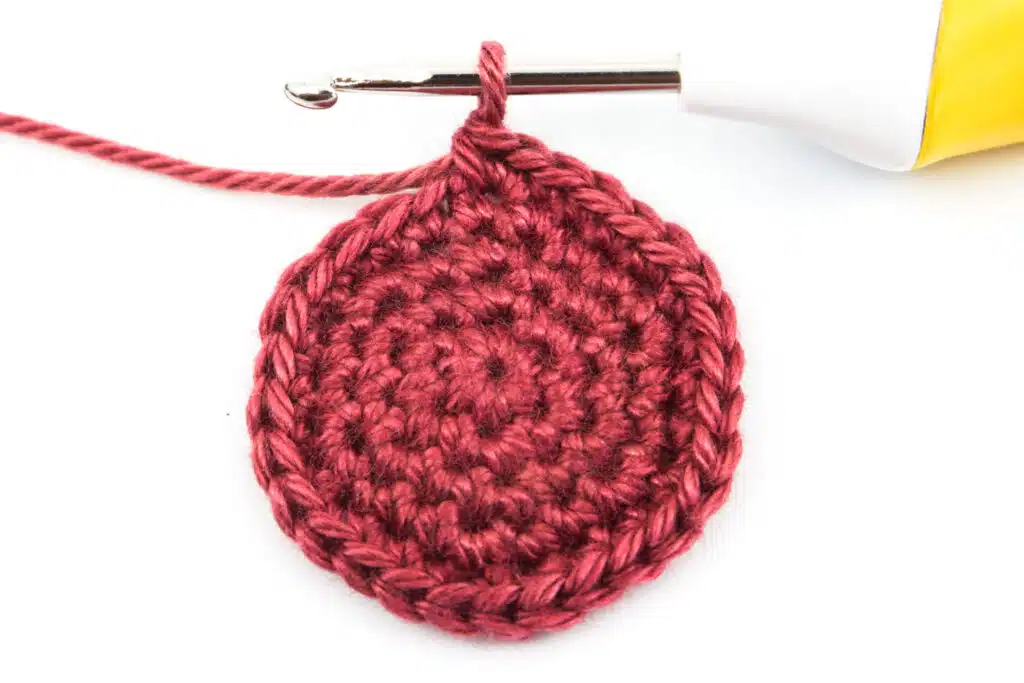
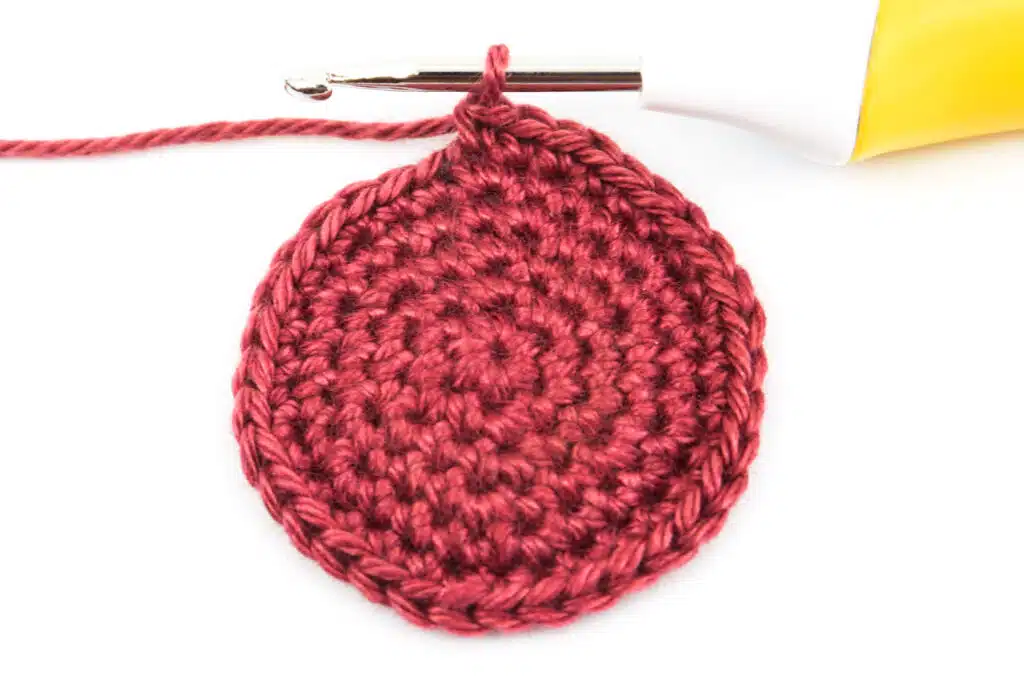
- Round 6: 2 sc, 1 increase, [4 sc, 1 increase] repeat 5 times, 2 sc (36 stitches).
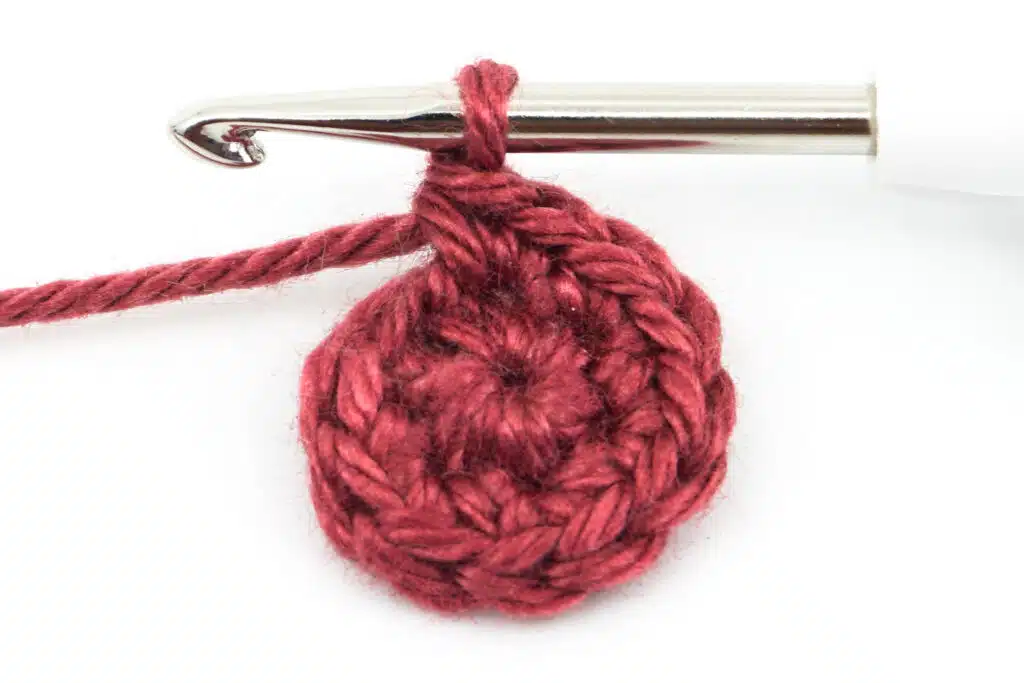
You should now get a reasonably round circle. As you can see, the increases in round 4 and 6 were crocheted offset to the previous rounds.
If you crochet a bigger ball, you continue crocheting all increases every 2nd round after the 4th round offset. You will learn more about this further below under “Crochet Spheres in any Size”.
Now comes the middle part. For the middle part, crochet as many rounds without increases or decreases as you crocheted rounds for the just finished circle plus 1. For this example, we crocheted 6 rounds in total plus 1, so 7 rounds.
You can also use this calculation as a rough rule of thumb for bigger and smaller balls, i.e. rounds crocheted for the circle plus 1 more round to get a suitable middle part.
- Round 7-13: 7 rounds, each round 36 sc (36 stitches).
Finally, crochet rounds with decreases and eventually close the ball. When crocheting amigurumi, I recommend using the “invisible decrease” as the default for crocheting stitches together, since this creates a cleaner and nicer result than the “normal decrease”.
- Round 14: 2 sc, 1 decrease, [4 sc, 1 decrease] repeat 5 times, 2 sc (30 stitches).
- Round 15: [3 sc, 1 decrease] repeat till end of the round (24 stitches).
- Round 16: 1 sc, 1 decrease, [2 sc, 1 decrease] repeat 5 times, 1 sc (18 stitches).
- Round 17: [1 sc, 1 decrease] repeat till end of the round (12 stitches).
- Round 18: Fill the ball with polyfill. [1 decrease] repeat till end of the round (6 stitches).
- Finish: Cut the yarn, close the opening and weave in.
The “Angular” Variation
The following variation should be avoided from the beginning on, as it produces a much more “angular” looking ball. The following instructions only serve to illustrate why this variant should normally not be used.
The resulting “corners” are especially noticeable with larger balls, which is especially unpleasant when they are used as a head, body or other element of an amigurumi that is supposed to look “organic” and round (except maybe you want to crochet a robot).
The procedure is almost the same as for the “round” variation, but instead of crocheting in some rounds the increases offset, you crochet all increases on top of the increases of the previous round. See for yourself.
- Crochet the “angular” ball in spiral rounds in Marsala Red.
- Round 1: 6 sc into the Magic Ring (6 stitches).
- Round 2: [1 increase] repeat till end of the round (12 stitches).
- Round 3: [1 sc, 1 increase] repeat till end of the round (18 stitches).
- Round 4: [2 sc, 1 increase] repeat till end of the round (24 stitches).
- Round 5: [3 sc, 1 increase] repeat till end of the round (30 stitches).
- Round 6: [4 sc, 1 increase] repeat till end of the round (36 stitches).
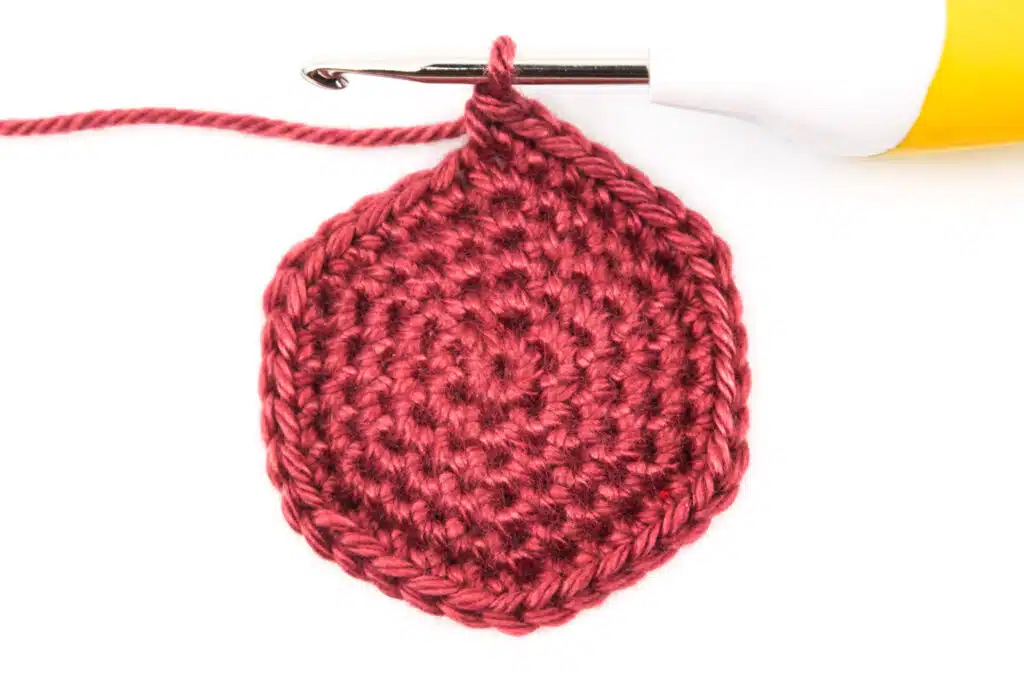
Here you can already see the difference. Since all increases are always on top of the increases of the previous round, instead of a circle a hexagon is crocheted. This is also the reason why you should avoid this crochet method from the beginning on, even if it is a little easier to remember.
After all, you want to achieve the best possible result when you create your own amigurumi and your potential rabbit should look round and fluffy and not square and angular.
Continue regularly with the middle part and then the ball is closed with decreases in the same proportion as the first 6 rounds.
- Round 7-13: 7 rounds, each round 36 sc (36 stitches).
- Round 14: [4 sc, 1 decrease] repeat till end of the round (30 stitches).
- Round 15: [3 sc, 1 decrease] repeat till end of the round (24 stitches).
- Round 16: [2 sc, 1 decrease] repeat till end of the round (18 stitches).
- Round 17: [1 sc, 1 decrease] repeat till end of the round (12 stitches).
- Round 18: Fill the ball with polyfill. [1 decrease] repeat till end of the round (6 stitches).
- Finish: Cut the yarn, close the opening and weave in.
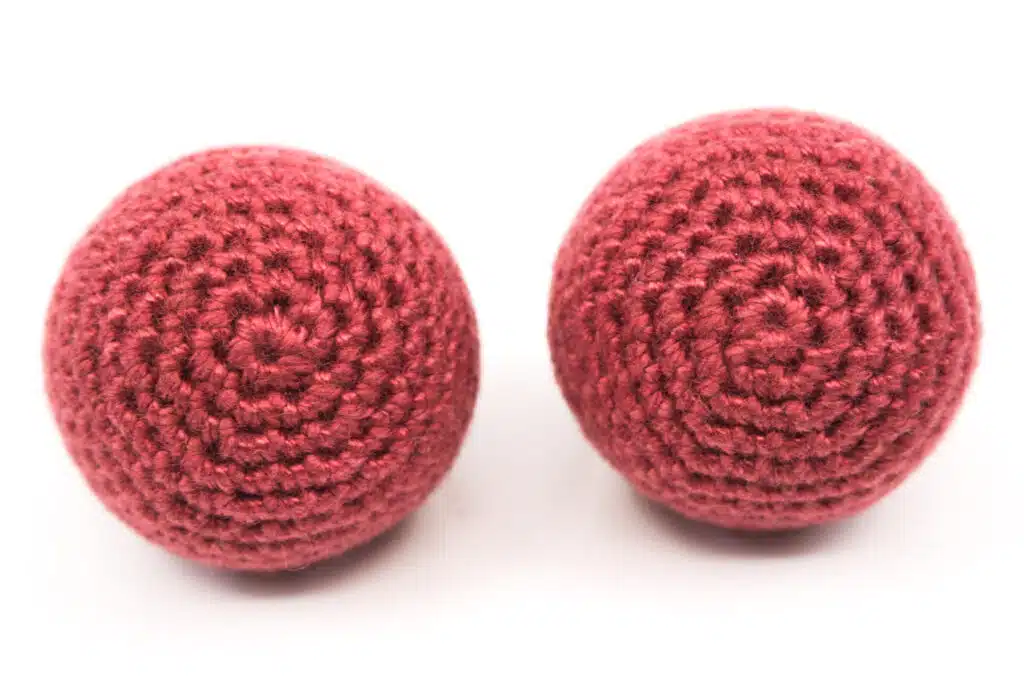
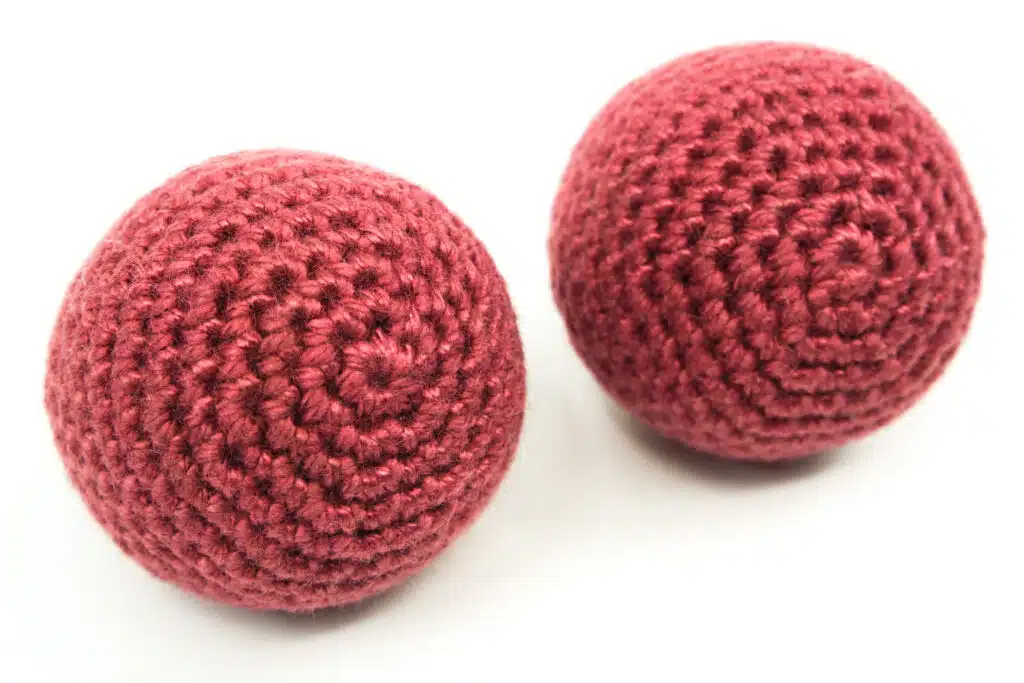
Here now both balls in comparison. Even if there might be no big differences at first sight, the differences becomes more and more visible the larger the ball is crocheted.
Crochet Spheres in any Size
The following guideline let you crochet balls and spheres of any size:
- Crochet a circle with single crochet stitches with 6 increases per round until you have reached the desired size that your ball approximately should have.
- Then crochet as many rounds as you needed for the circle plus 1 more round. Crochet as many stitches as you needed in the last round of the circle, no increases or decreases.
- Finally crochet 6 decreases per round until there are only 6 stitches left and close the ball.
Below are the instructions for a medium and a small ball comparison to the first crocheted ball.
Crochet a Medium Sized Ball
The middle sized Ball is crocheted in Capri in spiral rounds with single crochet stitches.
- Crochet the middle sized ball in spiral rounds in Capri.
- Round 1: 6 sc into the Magic Ring (6 stitches).
- Round 2: [1 increase] repeat till end of the round (12 stitches).
- Round 3: [1 sc, 1 increase] repeat till end of the round (18 stitches).
- Round 4: 1 sc, 1 increase, [2 sc, 1 increase] repeat 5 times, 1 sc (24 stitches).
- Round 5: [3 sc, 1 increase] repeat till end of the round (30 stitches).
- Round 6-11: 6 rounds, each round 30 sc (30 stitches).
- Round 12: [3 sc, 1 decrease] repeat till end of the round (24 stitches).
- Round 13: 1 sc, 1 decrease, [2 sc, 1 decrease] repeat 5 times, 1 sc (18 stitches).
- Round 14: [1 sc, 1 decrease] repeat till end of the round (12 stitches).
- Round 15: Fill the ball with polyfill. [1 decrease] repeat till end of the round (6 stitches).
- Finish: Cut the yarn, close the opening and weave in.
Crochet a Small Sized Ball
The small sized Ball is crocheted in Moss in spiral rounds with single crochet stitches.
- Crochet the small sized ball in spiral rounds in Moss.
- Round 1: 6 sc into the Magic Ring (6 stitches).
- Round 2: [1 increase] repeat till end of the round (12 stitches).
- Round 3: [1 sc, 1 increase] repeat till end of the round (18 stitches).
- Round 4: 1 sc, 1 increase, [2 sc, 1 increase] repeat 5 times, 1 sc (24 stitches).
- Round 5-9: 5 rounds, each round 24 sc (24 stitches).
- Round 10: 1 sc, 1 decrease, [2 sc, 1 decrease] repeat 5 times, 1 sc (18 stitches).
- Round 11: [1 sc, 1 decrease] repeat till end of the round (12 stitches).
- Round 12: Fill the ball with polyfill. [1 decrease] repeat till end of the round (6 stitches).
- Finish: Cut the yarn, close the opening and weave in.
Crochet Balls in Comparison
At last a comparison of the different ball/sphere sizes.
