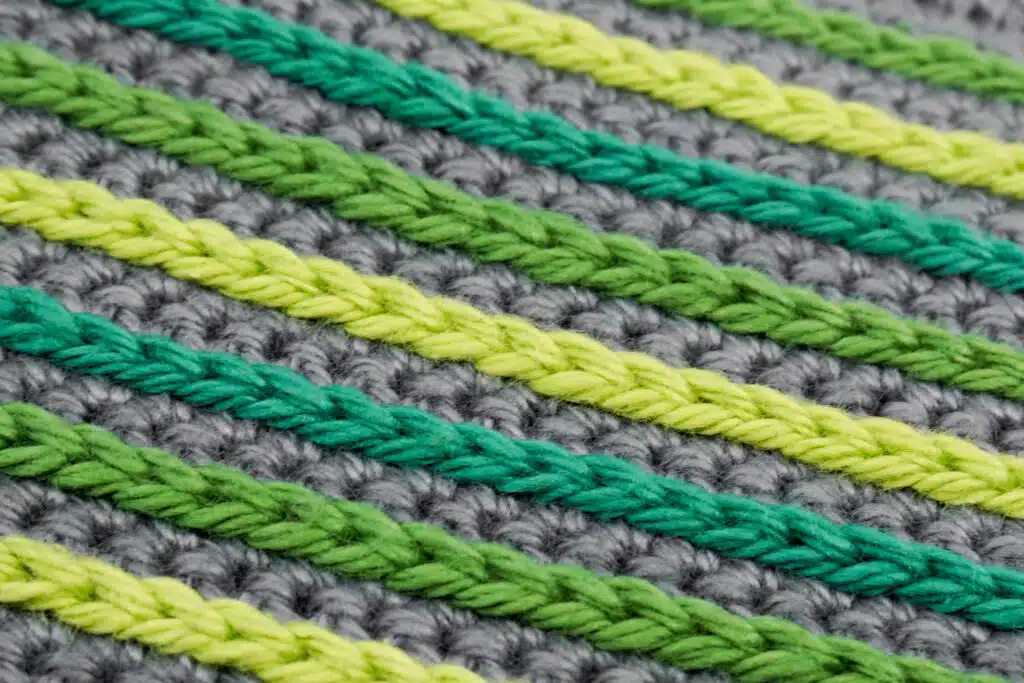
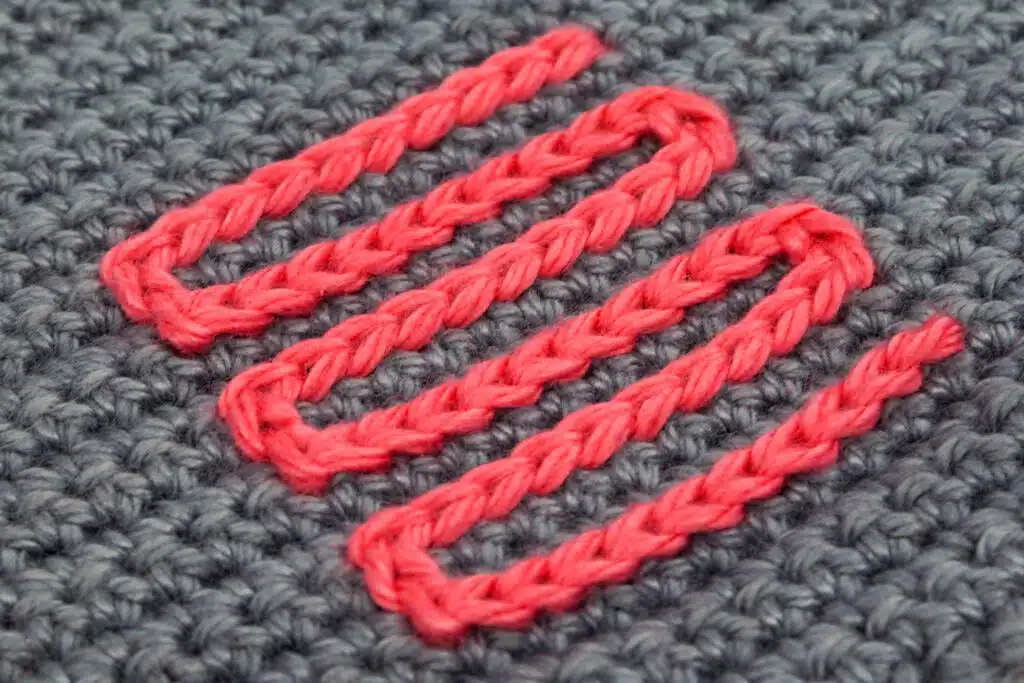
Crocheting surface slip stitches is a simple method with which you can upgrade almost every crochet piece by crocheting slip stitches, as the name implies, on the surface of a crochet project.
It is up to you whether you form lines, zigzags or other patterns with the crocheted surface slip stitches. Likewise, it does not matter whether the crochet piece has been crocheted in joined rounds, spiral rounds or rows.
Click here if you want to learn how to crochet surface single crochet stitch and other surface stitches.
Crochet Surface Slip Stitches
Needed Techniques
Needed Materials and Tools
To order the materials click on the respective link (affiliate link).
- Colors: gray, rose
- This pattern was crocheted using the “Schachenmayr Catania” yarn (100% Cotton, Meterage: 125 m, Yarn Ball Weight: 50 g, Yarn Weight: Sport – 5ply / Fine (2)) in the following colors:
- Stone (Stein (242)), Raspberry (Himbeere (256))
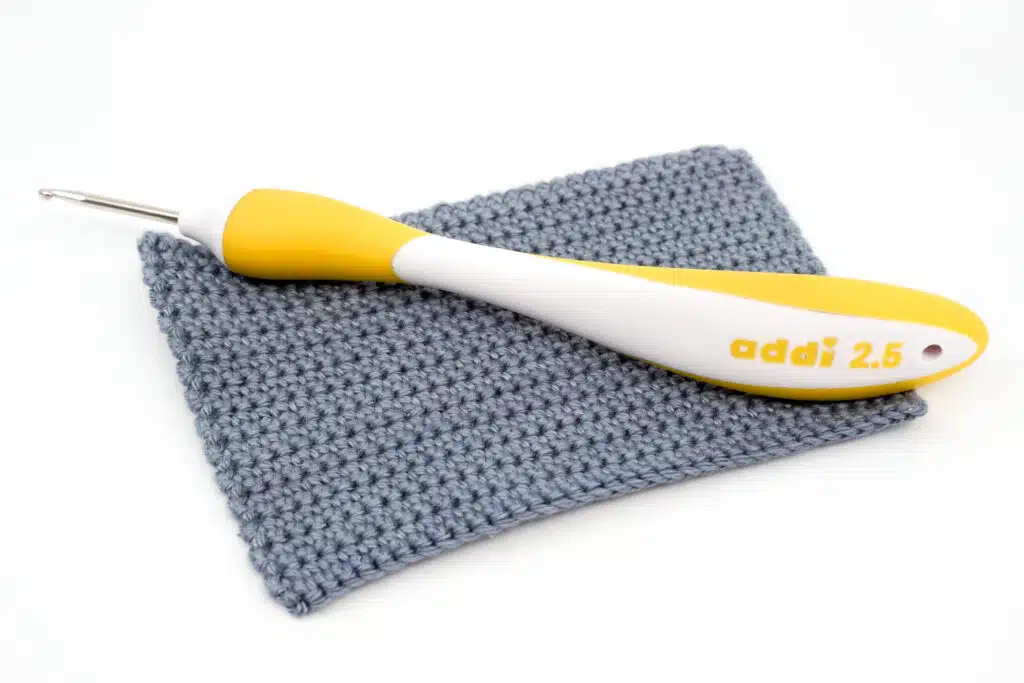
- 2.5 mm Crochet Hook
Things to Keep in Mind
When crocheting surface slip stitches always keep in mind the following rules to get the best result:
- Always use the same crochet hook size for crocheting the slip stitches as was used for the actual crochet piece, or bigger.
- Do not crochet the slip stitches too tight but “loosely” on the crochet piece, otherwise the crochet piece will curl up with too tight/short crochet stitches.
Of course you can also use smaller crochet hooks, but then you have to take care all the more that you crochet the slip stitches loosely onto the crochet piece.
Crochet Basic Surface Slip Stitches
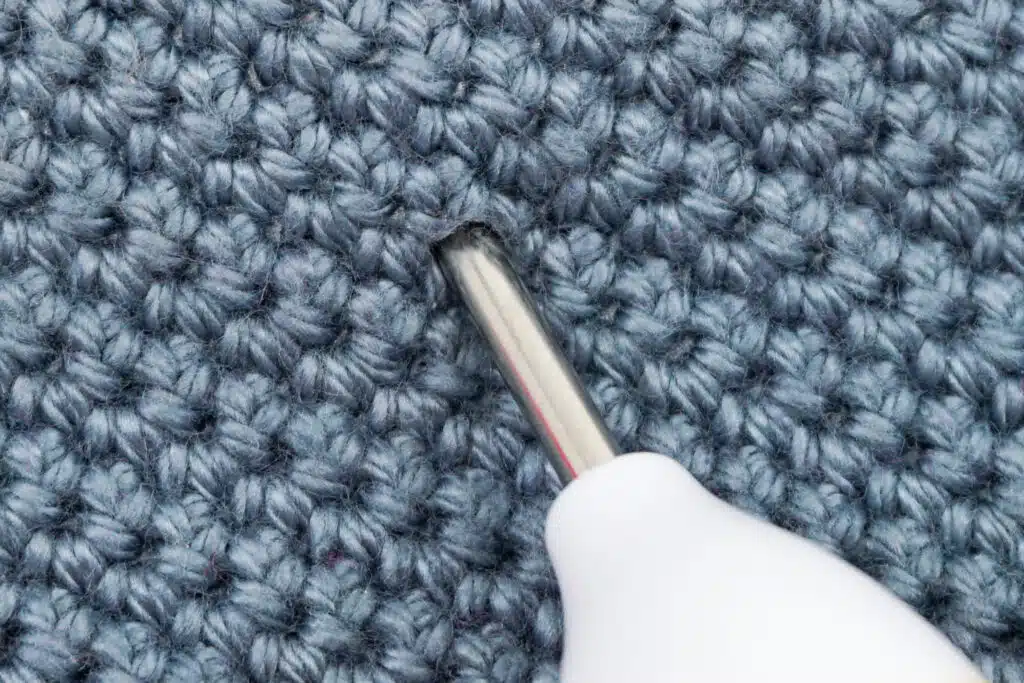
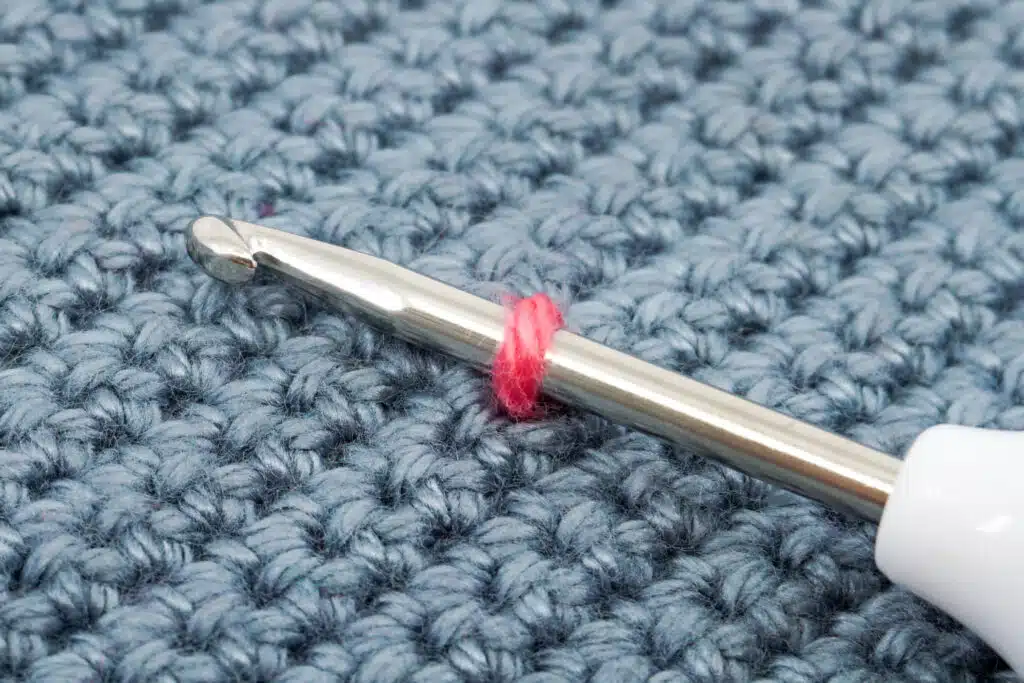
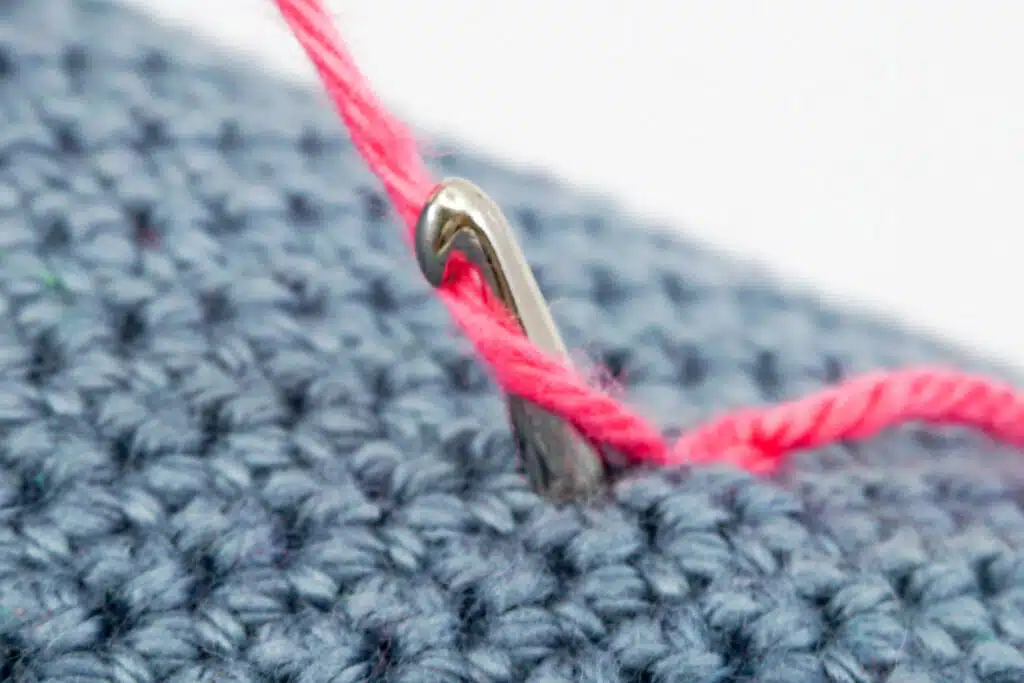
- Take your crochet piece and a matching crochet hook and push through any stitch.
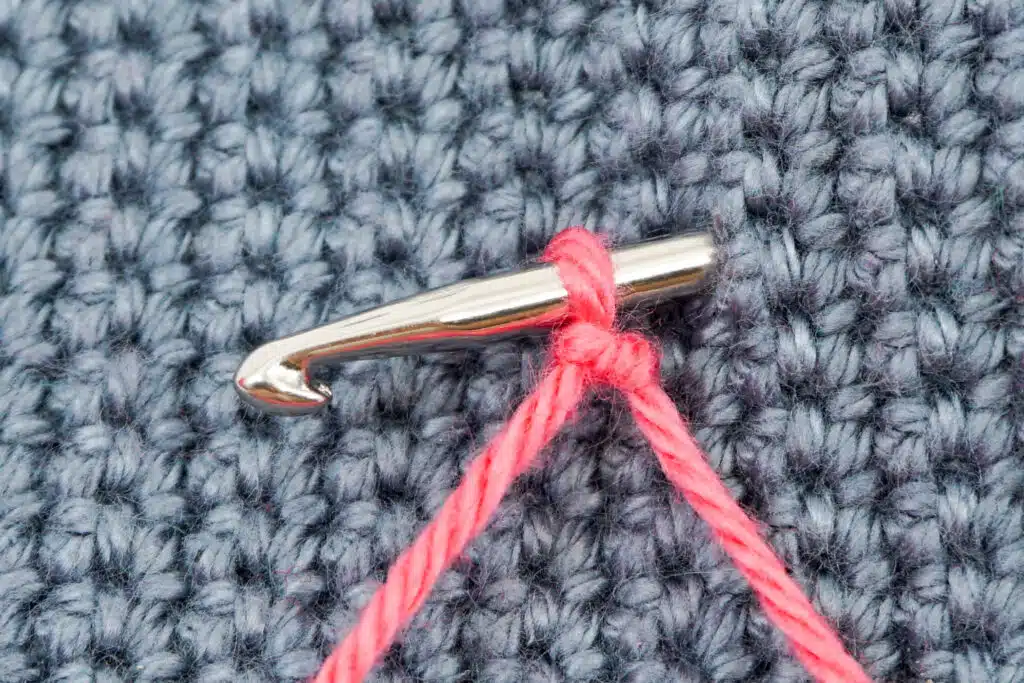
- Now make a slip knot on the crochet hook on the back of the crochet piece with the yarn with which you want to crochet the slip stitches.
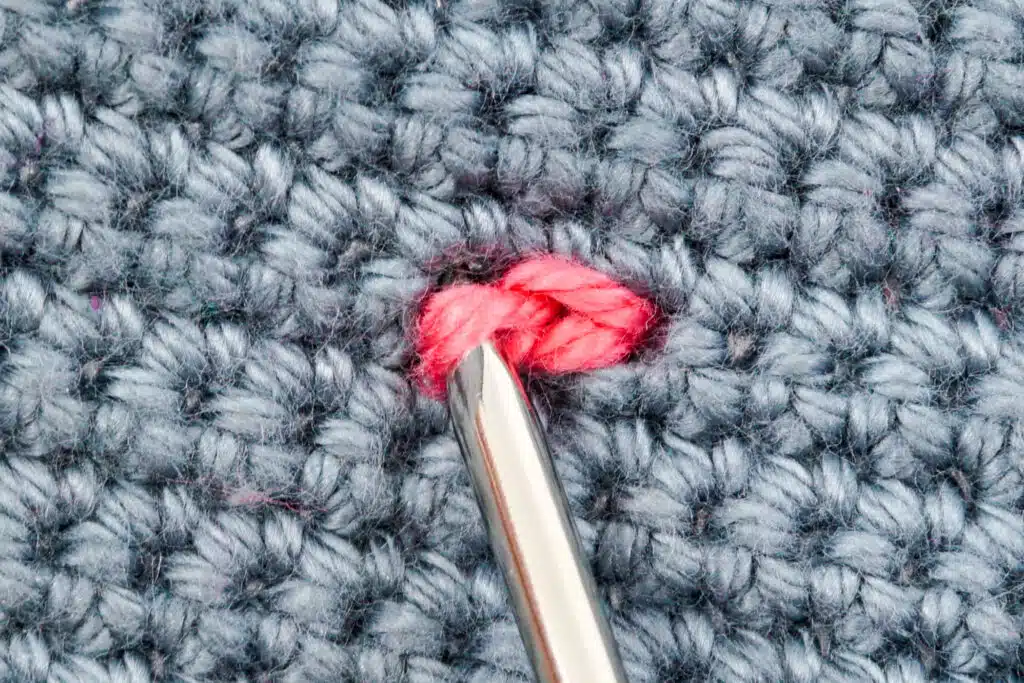
- Now pull the crochet hook together with the slip knot back through the stitch. Pull on the two threads that are attached to the slip knot so that it remains on the back side (this can always be done later).
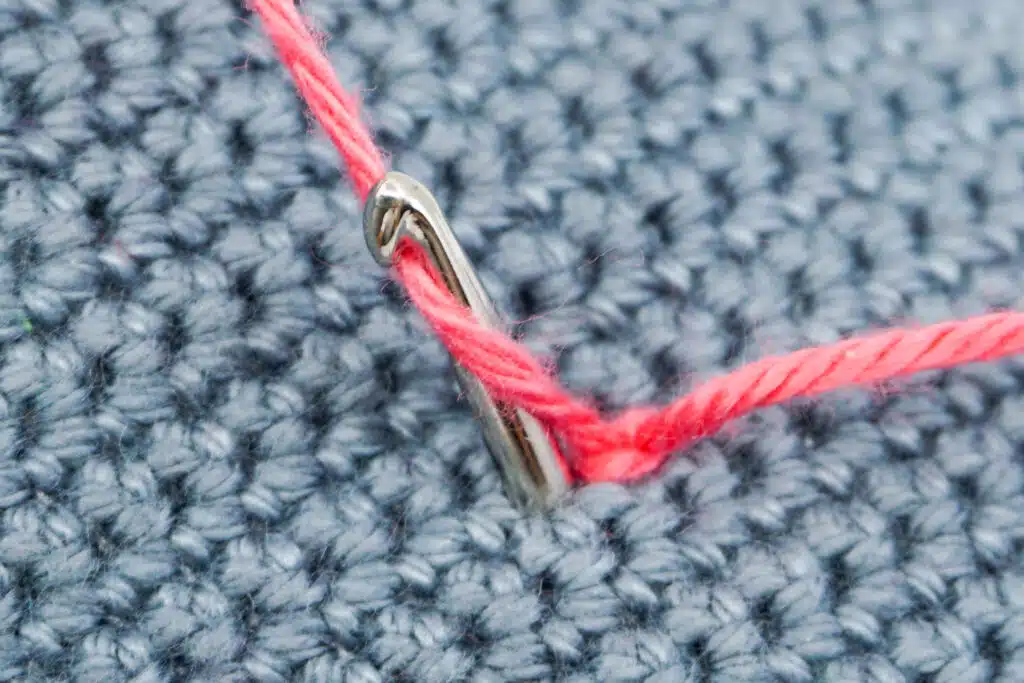
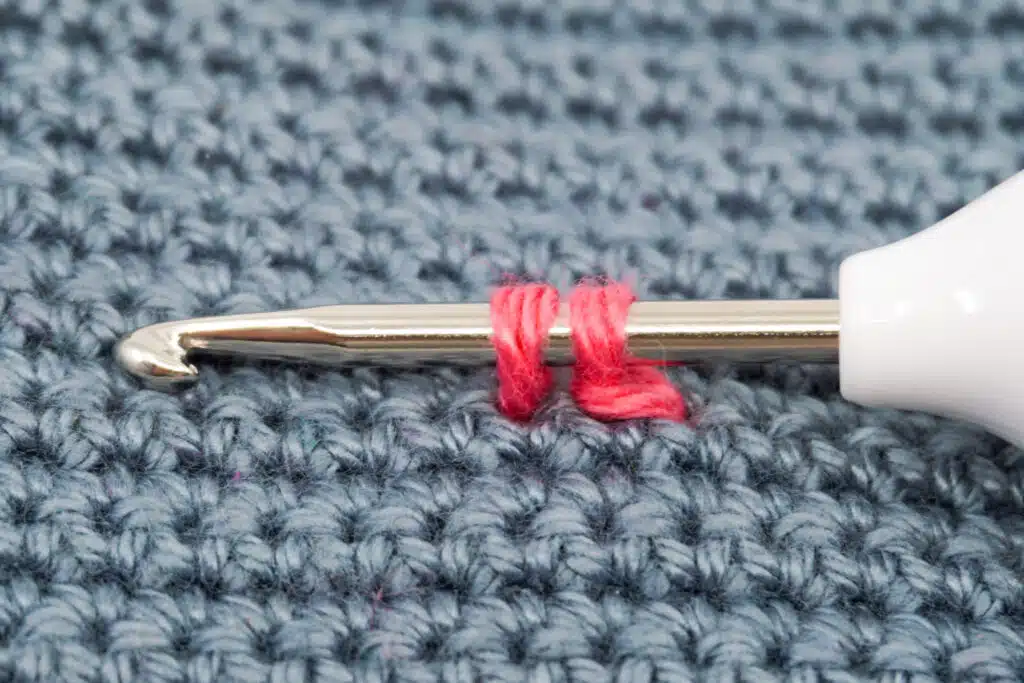
- Push with the crochet hook through any adjacent stitch. It does not matter whether this stitch is diagonal or straight from the first stitch pushed through.
- Now yarn over the thread on the back and pull it through the stitch and through the loop on the crochet hook. You have crocheted your first surface slip stitch.
- Take care not to crochet the slip stitches too tightly, otherwise the crochet piece can distort.
- Now repeat the previous steps as often as you want until you have crocheted your desired pattern.
- The back of the crocheted slip stitches also creates a neat pattern that can be used for your projects.
Crochet Surface Slip Stitches on the Edge
Surface slip stitches starting on the edge are despite the beginning crocheted in the same way as if you would crochet them in the middle of your crochet piece.
Same as before, keep in mind to not crochet the slip stitches too tightly.
- Start by making a slip knot on the crochet hook.
- Push through the desired stitch in which you want to crochet the surface slip stitch.
- Then yarn over the thread on the backside, pull it through the stitch you just pushed through and the loop on your crochet hook and you have crocheted the 1st surface slip stitch.
- Then continue crocheting further surface slip stitches as usual.
Crochet Long Surface Slip Stitches
You crochet long surface slip stitches the same way as in the previous examples. However, especially with long surface slip stitches, you must be careful not to crochet the slip stitches too tight, otherwise your crochet piece will definitely curl up.
- Push through any stitch on which you want to crochet a surface slip stitch. In contrast to the previous examples, however, you do not make a slip knot but yarn over the thread and leave a loose loop on the crochet hook, so that you can adjust the length of the surface slip stitch as you wish.
- Then push through a stitch as far as you like, yarn over and pull it through the pushed through stitch and the loop on the crochet hook. Always take care not to crochet the stitches too tight.
