When you crochet something, no matter what stitches you use or what you crochet, you usually crochet in one of three common ways: in rows, in spiral rounds, or joined rounds.
The differences here are not the actual crocheting, but rather in the way rounds or rows are started, finished, and counted.
In addition, each different approach is better suited to crochet different shapes and figures.
Crochet in Rows
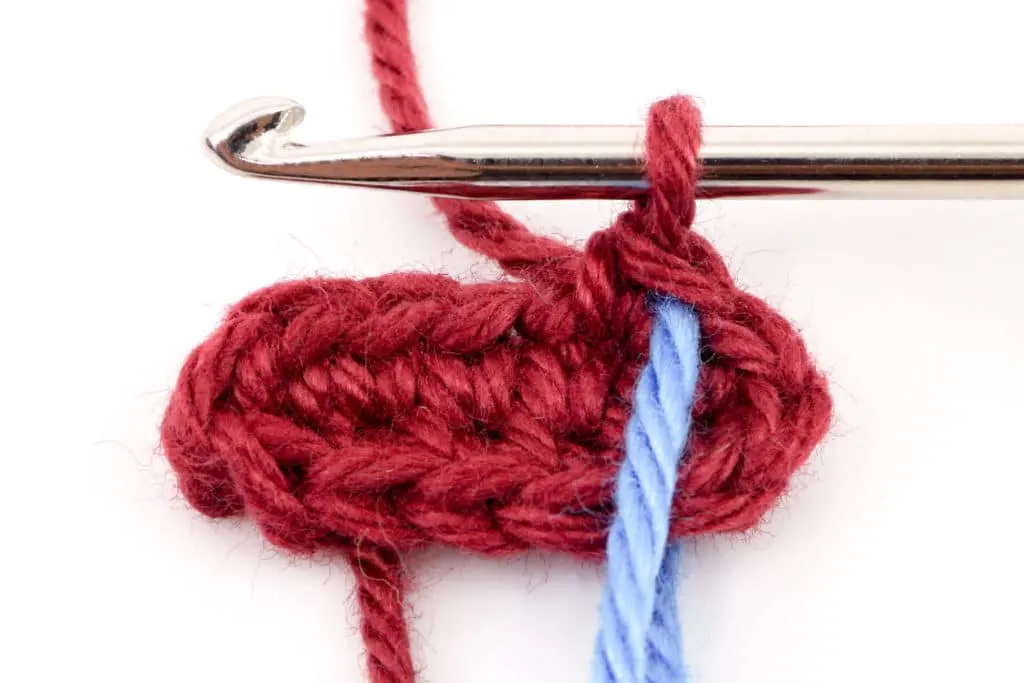
This is usually the first type of crocheting you will learn. When crocheting in rows, you basically always work one row on top of the previously crocheted row.
You start crocheting in rows by making a slip knot, which you use to connect the yarn and the crochet hook.
You usually start with a chain made out of chain stitches, which represents the first row for your crochet project. When it reaches the desired length, turn the chain so that you crochet from right to left again. You now crochet your selected crochet stitch for your project into the chain. This will be your second row.
This is then repeated as many times as you like, or as indicated in the respective crochet pattern.
Before turning, you usually crochet a certain number of additional chain stitches, which in this case are also called turning chain. This ensures that the next row is at the same height as the currently used stitch, otherwise the crochet piece will be compressed at the ends and thus becomes uneven.
| Sitch | Number of Turning Chains |
| single crochet stich | 1 turning chain |
| half double crochet stitch | 2 turning chains |
| double crochet stitch | 3 turning chains |
| treble crochet stitch | 4 turning chains |
| double treble crochet stitch | 5 turning chains |
Since you crochet row on row, it is very easy to make square and rectangular crochet pieces with this approach.
With increases and decreases, you can also crochet with ease many other shapes and forms in rows.
By simply crocheting in rows, it is very easy to crochet scarves and shawls.
Crochet in Spiral Rounds
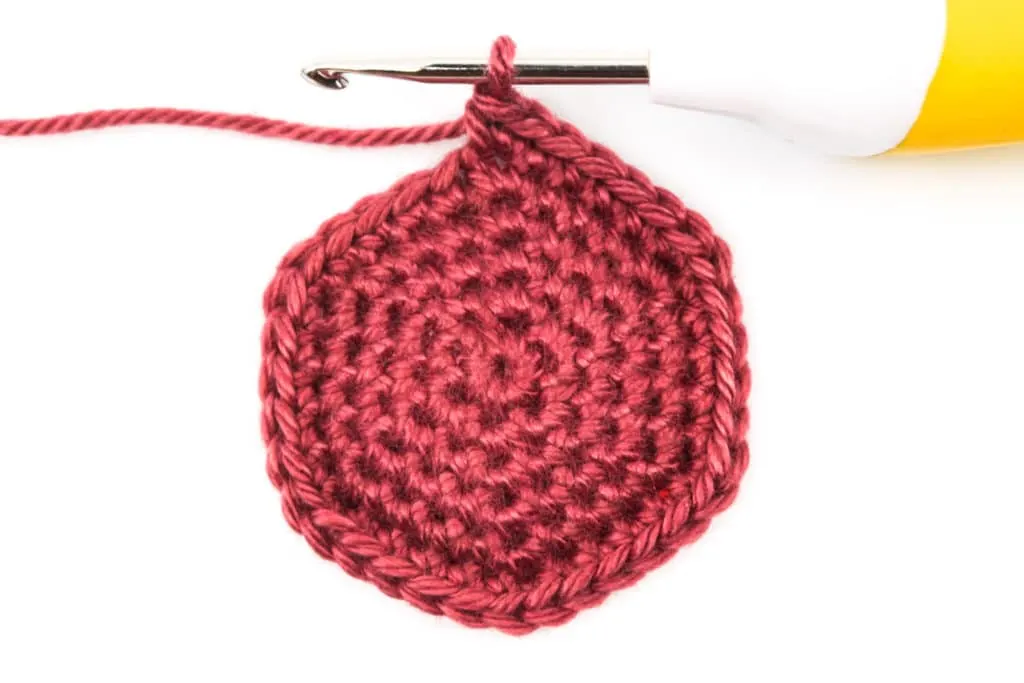
When crocheting in spiral rounds, you crochet, as the name suggests, in rounds. Each new round is crocheted on top of the previous round without interruption.
You start crocheting in spiral rounds by making a slip knot. With this you connect the yarn to the crochet hook and then make a so-called magic ring. This represents the initial round onto which the next round is crocheted.
You then crochet without interruption, continuously round on round.
Due to the continuous crocheting from round on round, the crochet piece gets a spiral pattern, because none of the rounds has an end. Therefore the name spiral round.
Since you crochet on and on when crocheting in spiral rounds, there is no obvious beginning or end to it. For this reason, when crocheting in spiral rounds, it is recommended to mark the 1st newly crocheted stitch of the new round. This makes it very easy to see where a round starts or ends.
You can do this by simply crocheting a thread into the first stitch of a new round. To do this, simply place the thread on the crochet piece and then crochet around it when you crochet the next stitch. Or you can mark the beginning or end with stitch markers made specifically for this purpose.
In spiral rounds you can very easily crochet circular crochet pieces or balls and different variations of them. For this reason, crocheting in spiral rounds is used especially often when crocheting amigurumi, but also hats, such as beanies and the like, are very easy to crochet with spiral rounds.
Crochet in Joined Rounds
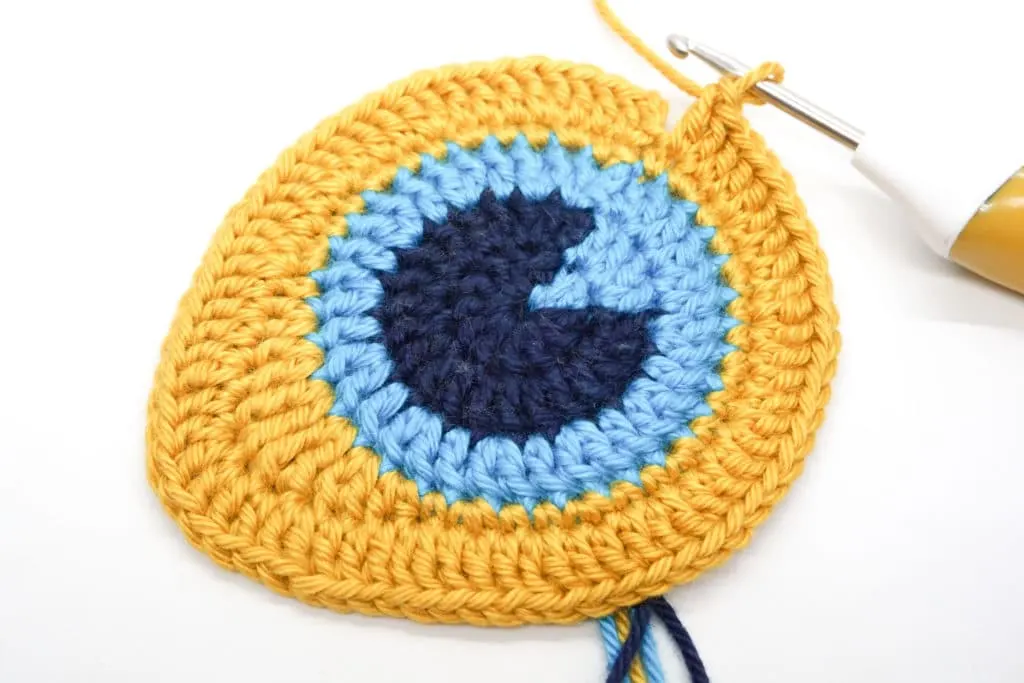
When crocheting joined rounds or also called “closed rounds“, you crochet new rounds on top of the previously crocheted round, just like with spiral rounds. However, unlike spiral rounds, you close each crocheted round, which is why the pattern on your crochet piece is not a spiral, but self-contained circles.
You start crocheting in joined rounds by making a slip knot. With this you connect the yarn to the crochet hook and then you make a so-called magic ring. This represents the starting round around which the next round is crocheted.
Instead of simply crocheting onto the next stitch on the magic ring, however, you close the magic ring. To do this, crochet 1 slip stitch in the 1st stitch of the magic ring. You have closed the round.
You will begin the new round by crocheting chain stitches. These are used to ensure that the new stitches of the new round are not compressed. The larger the stitch you crochet in the new round, the more chain stitches you will need.
| Stitch | Number of Chain Stitches |
| single crochet stitch | 1 chain stitch |
| half double crochet stitch | 2 chain stitches |
| double crochet stitch | 3 chain stitches |
| treble crochet stitch | 4 chain stitches |
| double treble crochet stitch | 5 chain stitches |
When crocheting in joined rounds, the chain stitches and the slip stitches that close the round are not counted and are not crocheted into. Also, the 1st stitch to be crocheted is always crocheted into the same stitch as the closing slip stitch of the previous round.
Since you have a visible beginning and end when crocheting in joined rounds, you do not need a stitch marker to show you where each round begins or ends.
With joined rounds, as in spiral rounds, it is very easy to crochet circles. Due to the visually clean demarcation of the individual circles, you can crochet very uncomplicated beautiful round cloths, round rugs or even hats and the like.


